How to Draw a Cat
Do you want to learn how to draw a cat without dealing with complex shapes or difficult anatomy? This easy cat-drawing tutorial breaks the process down into small, simple steps, allowing children and beginners to draw it easily, one line at a time.
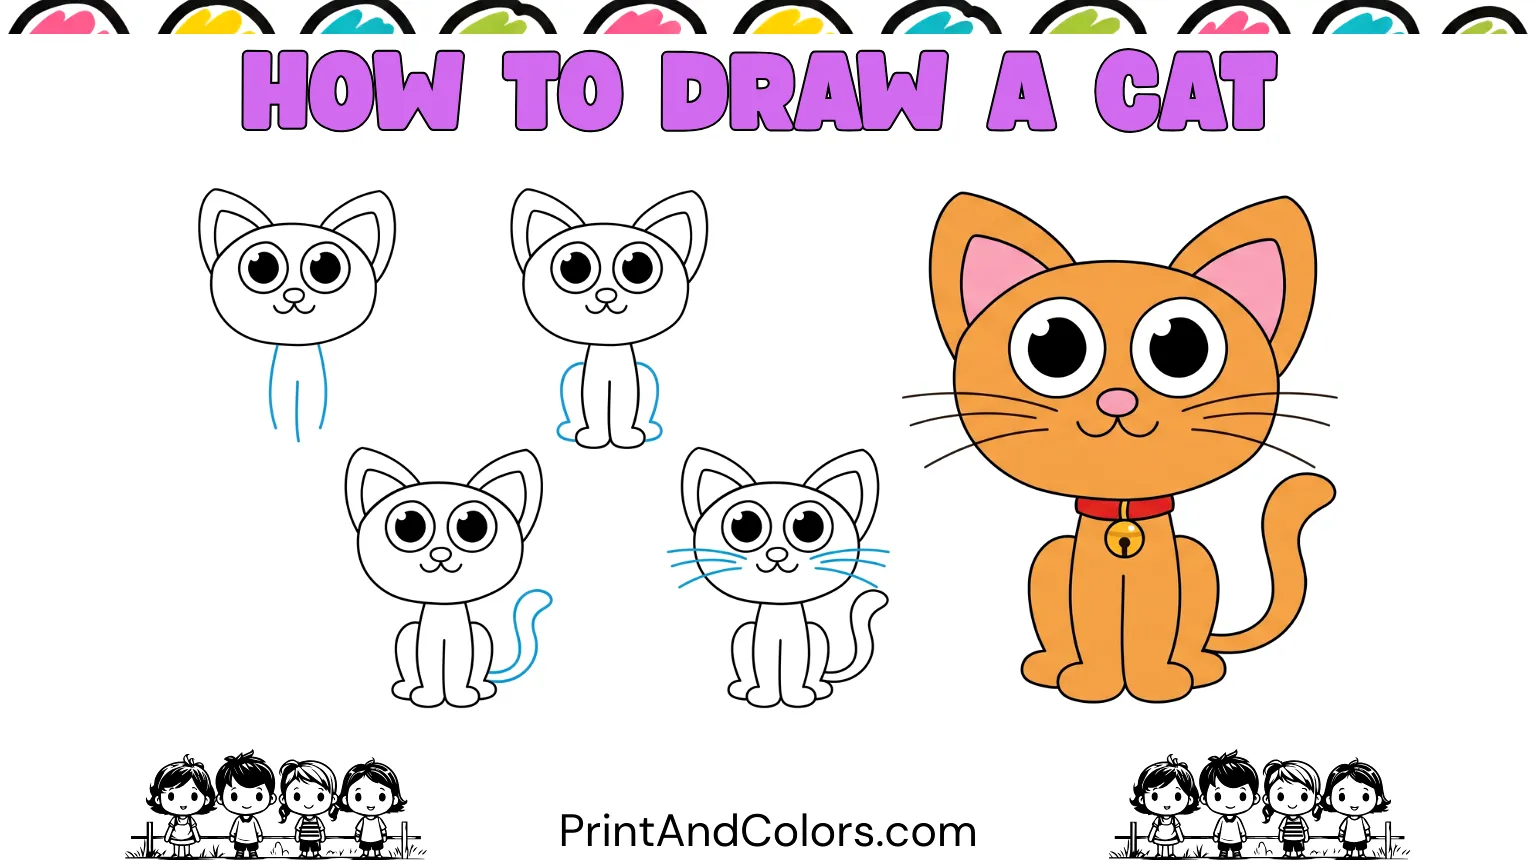
We will start by drawing a seated cat using a simple head shape, then add the eyes, facial details, ears, legs, paws, tail, whiskers, and a collar. Finally, you can bring your drawing to life with your favorite colors.
The best part? You don’t need to be an expert artist. Just grab a pencil and paper, follow the blue lines in each step, and enjoy the process.
Your next masterpiece awaits—try these stunning pages!
What You Need to Draw a Cat
Keep your supplies simple. You probably already have everything you need.
- Pencil
- Drawing paper
- Eraser
- Black marker or pen, optional
- Crayons, colored pencils, or markers
- A flat surface for drawing
Tip: Start with light pencil lines. If a shape isn’t quite right, erase it and try again. Drawing is practice, not a test!
Step 1: Build the Cat’s Face
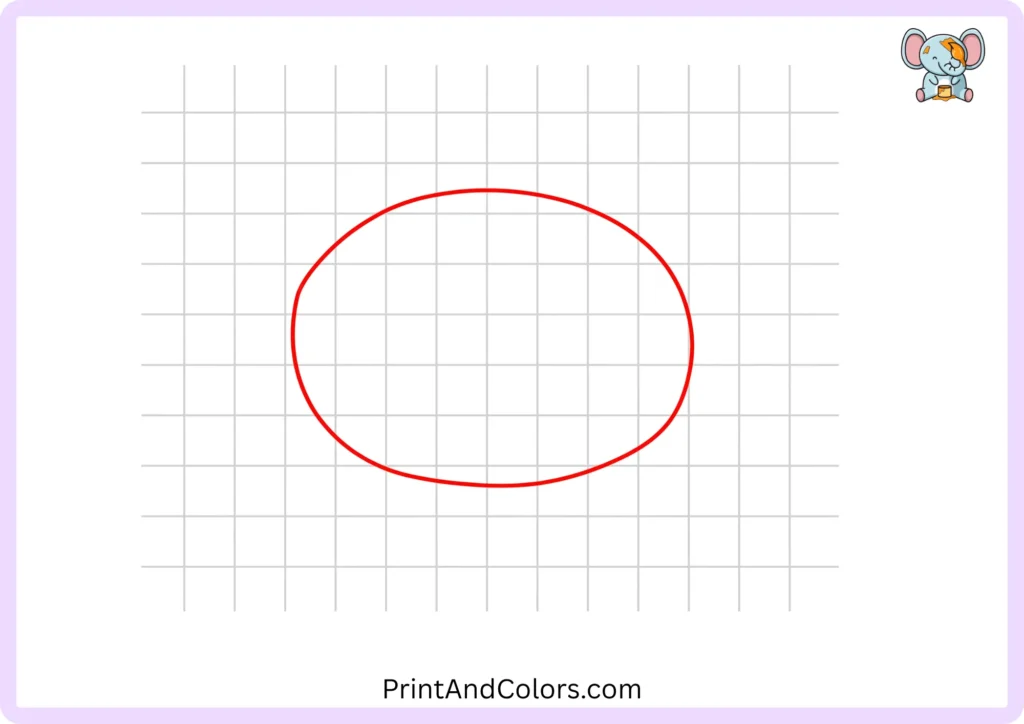
To draw the cat’s head, sketch a large, slightly horizontal oval.
Do not make it too small; leave enough space inside the shape for the eyes, nose, mouth, and other facial details. A larger head gives the finished cat a cute look that appeals to children.
Drawing tip: Instead of pressing hard with the pencil, sketch the oval shape lightly at first.
Step 2: Place the Big Round Eyes
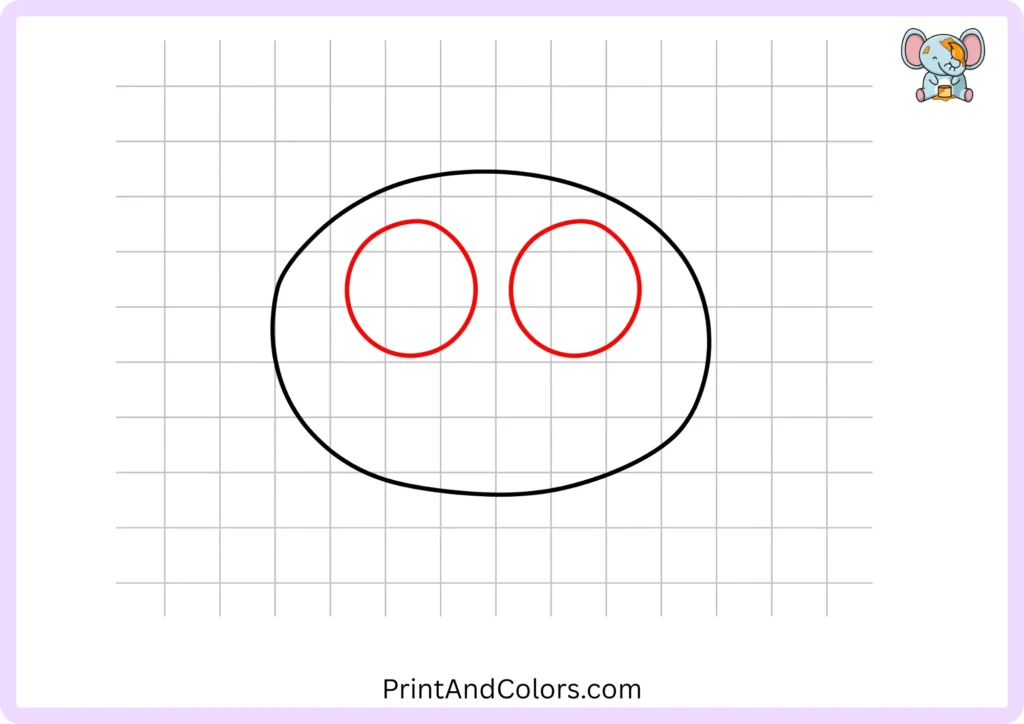
Draw two large, round eyes on the upper part of the head.
Try to make both eyes roughly the same size and leave a small, equal amount of space between them. Don’t worry if they aren’t exactly identical; a slight difference can make your cat look even more lively and playful.
Step 3: Give the Eyes a Bright Look
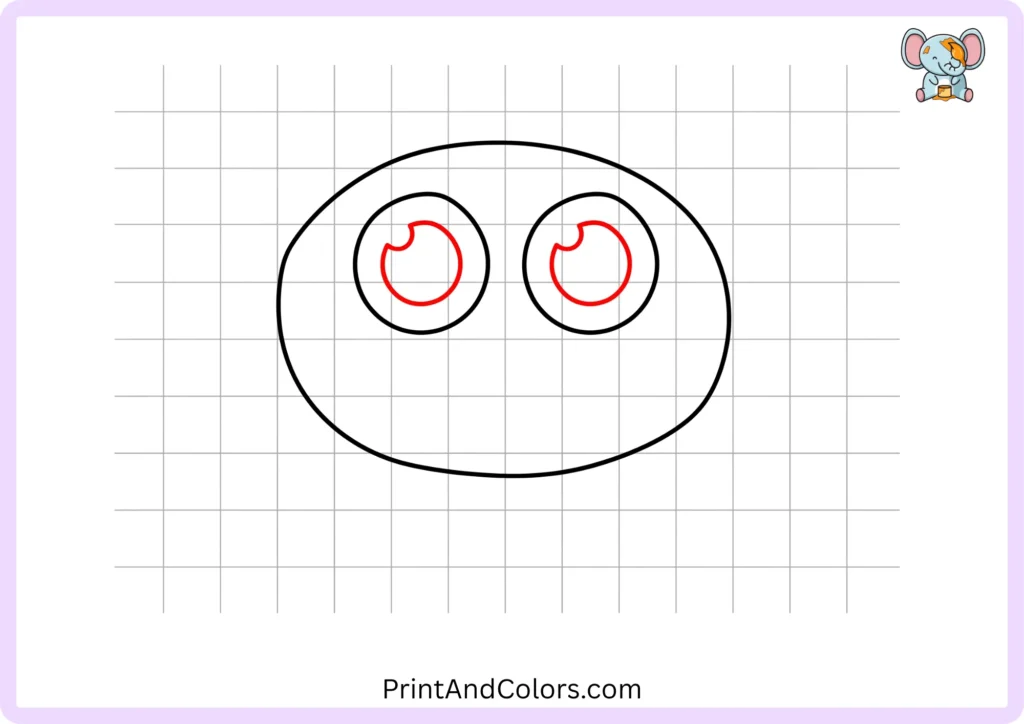
Now, draw small shapes inside the eyes.
Leave a small, curved or round area blank near the top of each eye. When you color the drawing, this spot will serve as a ‘highlight’ (a bright point), making the eyes look shiny and lifelike.
You can also experiment with different eye colors later, such as green, blue, amber, or brown.
Step 4: Shape the Little Face
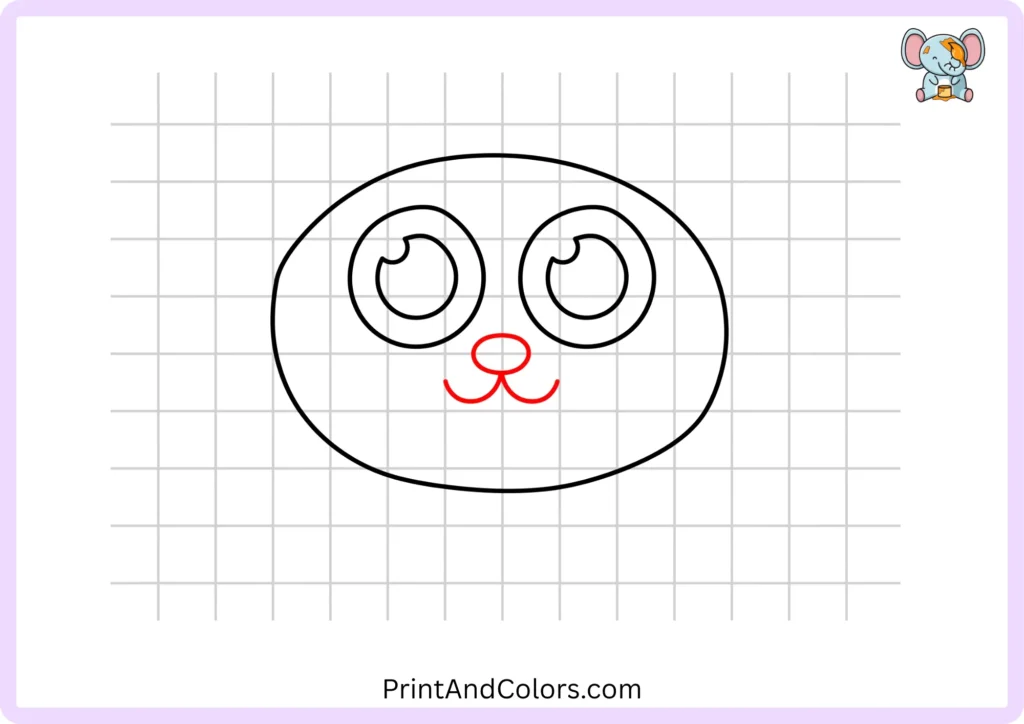
Draw a small oval or round shape below the eyes for the nose.
Then, draw two small curved lines beneath it to form the mouth. Keep the lines simple; the face doesn’t need a lot of detail to look like a cat.
At this stage, your drawing should start to look like a small kitten.
Step 5: Give Your Kitty Pointy Ears
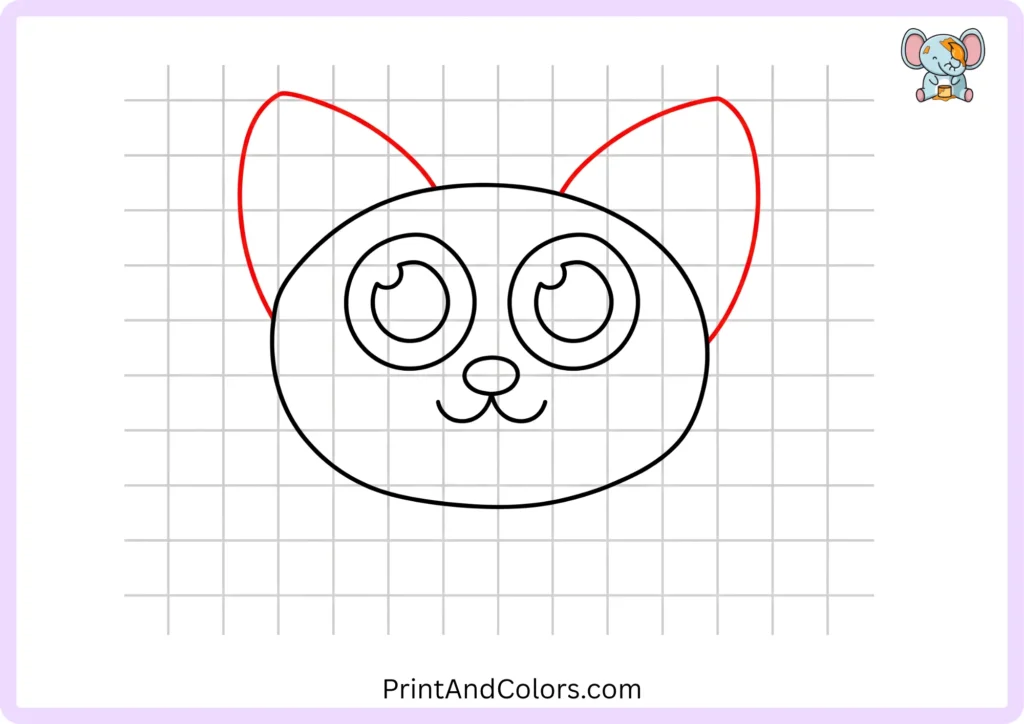
Cats are famous for their pointed ears, so let’s add those now.
Draw an ear on each side of the top of the head. Start each ear from behind the head’s outline and draw the lines upwards, ending in a slightly rounded tip.
Try to keep the ears similar in size, though they don’t need to be exactly identical (perfectly symmetrical).
Step 6: Add Depth Inside the Ears
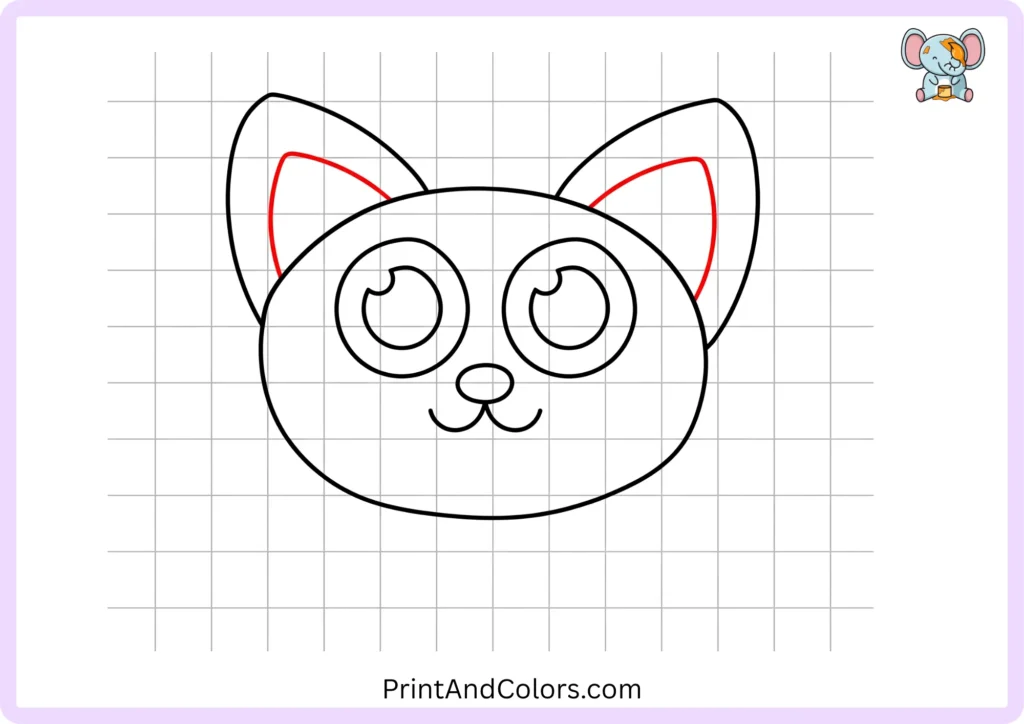
Draw a small, pointed shape inside each ear.
These inner ear shapes follow the general direction of the outer ears while leaving some empty space (a margin) around them. Later, you can fill this area with pink, peach (a light orange-ish hue), gray, or any color that contrasts noticeably with the cat’s fur color.
Step 7: Bring Down the Front Legs
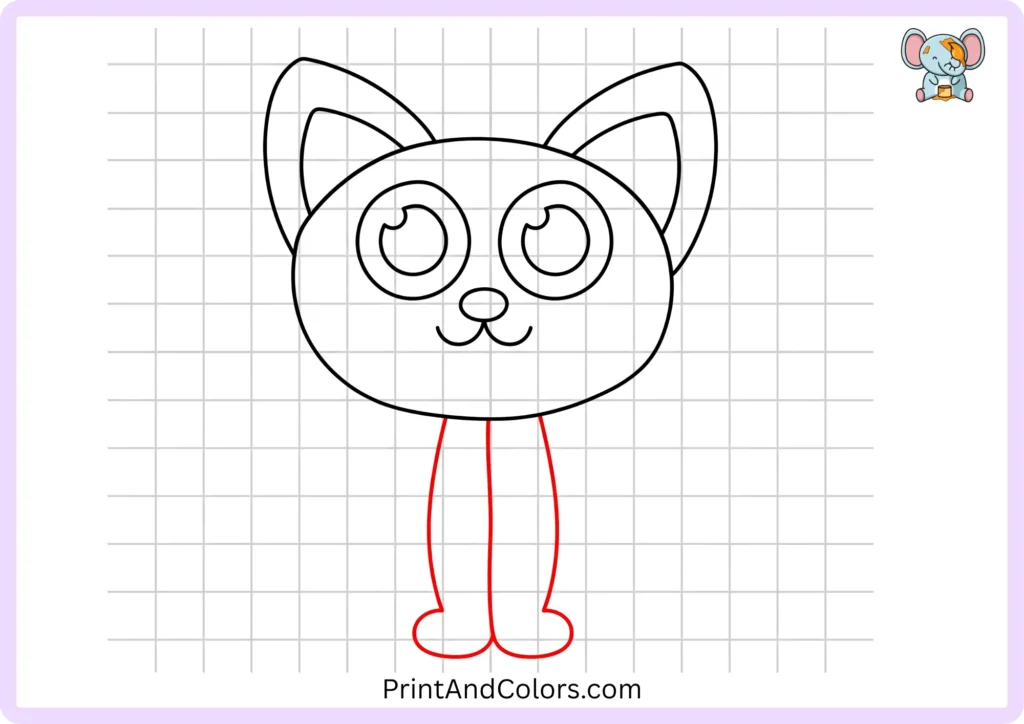
Now, extend the drawing down from the base of the head to create the cat’s front legs.
Draw two long, slightly curved legs extending downwards. Keep them close together and draw a small, round paw at the bottom of each leg.
Don’t worry about drawing the details of individual toes on the paws for now. Simple, round paws are easier for young artists to draw and still clearly convey the shape.
Step 8: Round Out the Back Legs
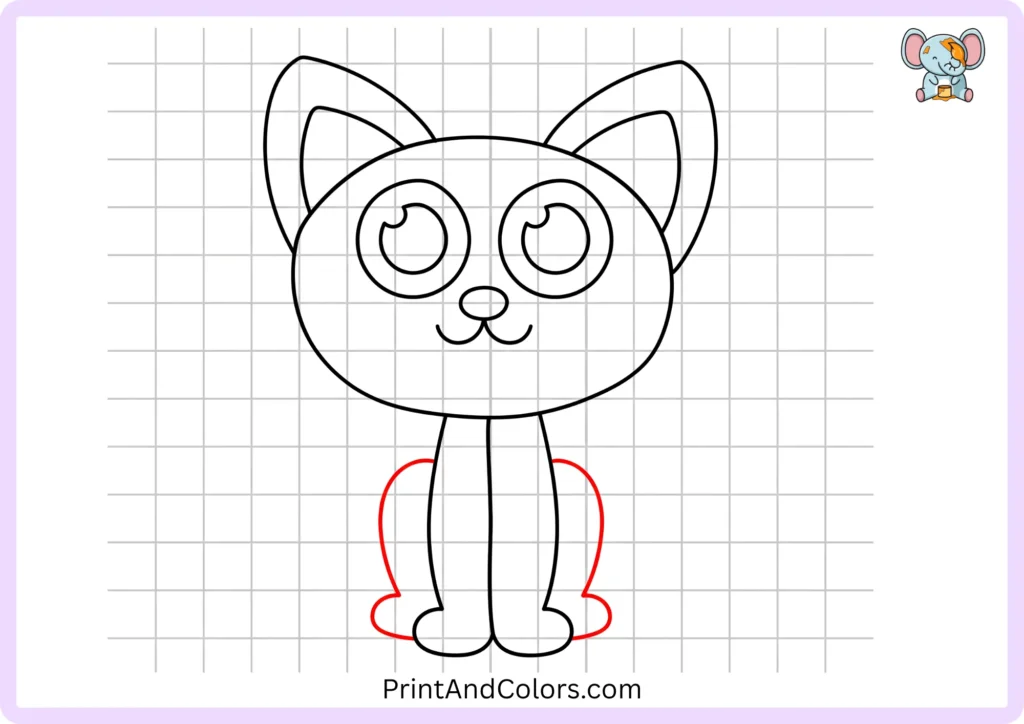
It is not necessary to draw the cat’s legs perfectly straight. In this sitting position, the hind legs can be depicted alongside the front legs as large, curved shapes.
Draw a rounded hind leg on each side and shape their visible ends into soft paws.
These large curves help give the cat’s body a full, substantial appearance, while keeping the drawing simple enough for beginners to easily recreate.
Step 9: Sweep in the Curved Tail
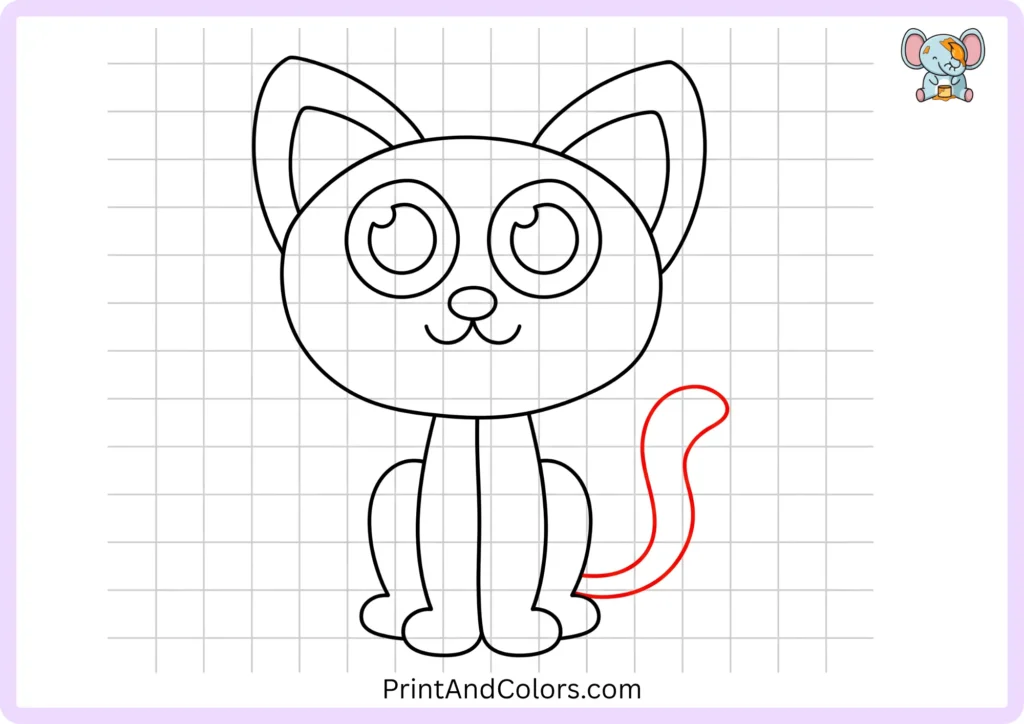
A cat needs a tail!
Draw a long, curved tail rising upwards from one side of the body. Instead of keeping it perfectly straight, draw it curving outwards and upwards.
Finish the tail by gently rounding off its tip. Later, you can alter the cat’s personality by changing the direction of this curve, for instance, a curved tail might suggest a calm cat, while an upright tail could make it appear cheerful and curious.
Step 10: Add the Signature Whiskers
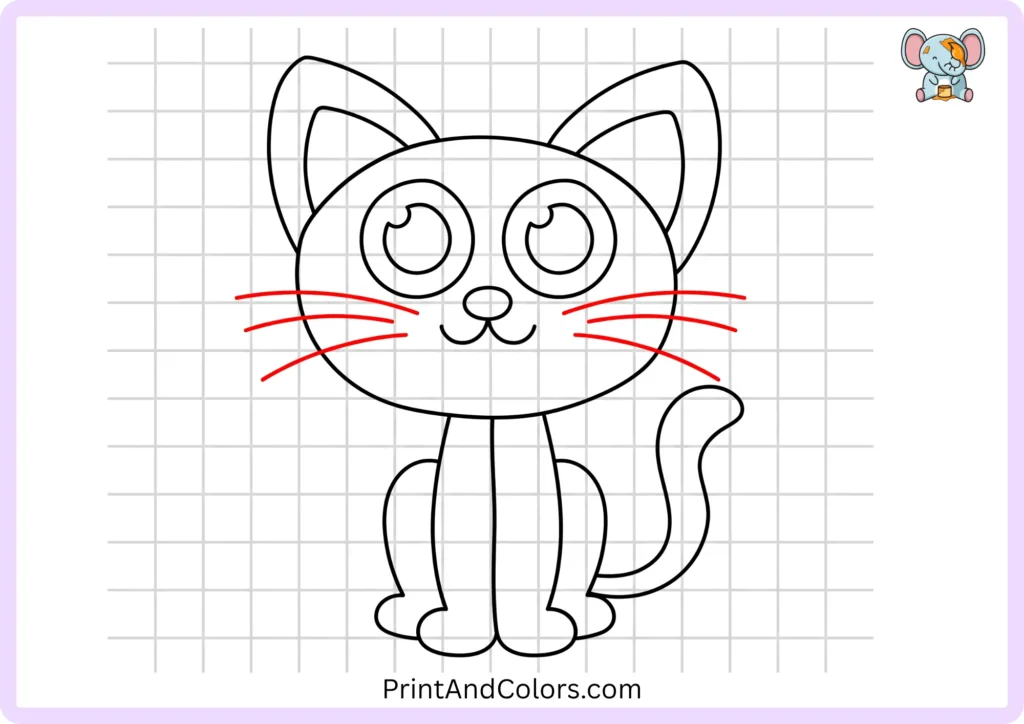
Now, here is a simple way to ensure your drawing is instantly recognizable as a cat.
Draw three or more long, curved whiskers extending from each side of the face. Instead of converging them at a single point, leave some space between them.
Use light, fluid strokes. Whiskers are delicate, so they generally look best when the lines are not too thick.
Step 11: Finish the Look With a Collar
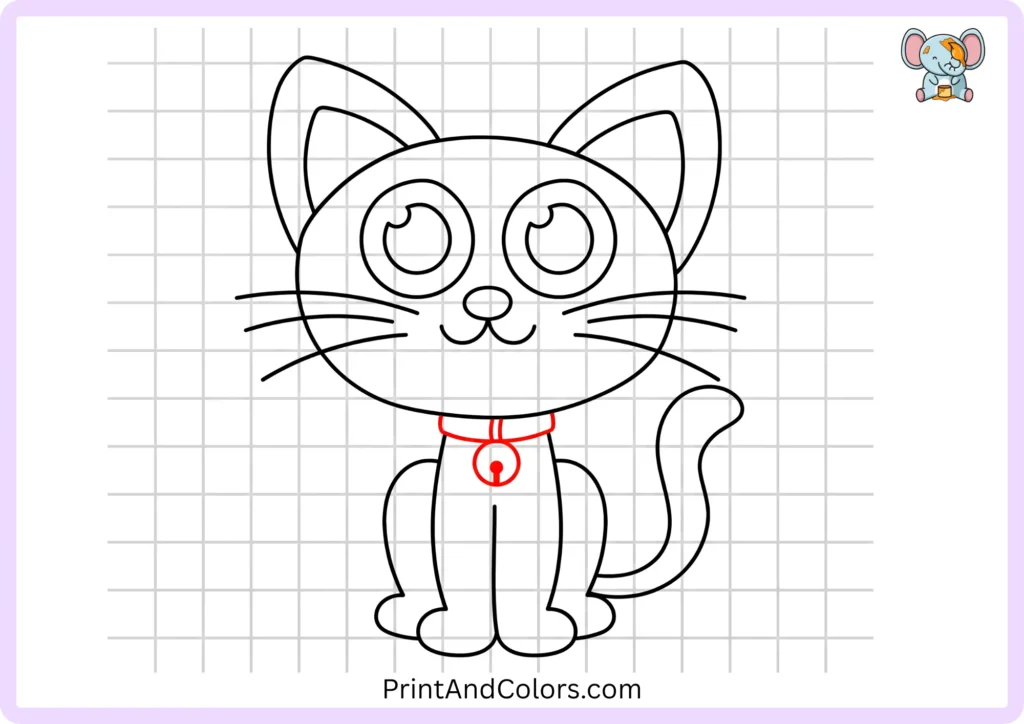
To add a unique touch to your cat’s picture, draw a collar around its neck.
Draw a curved band that follows the shape of the cat’s neck. You can also add a small round tag, a heart, a star, a bell, or any other simple decoration.
This is also a great opportunity for children to customize the picture to their liking. Color the collar in any color they choose!
Step 12: Bring Your Cat to Life With Color
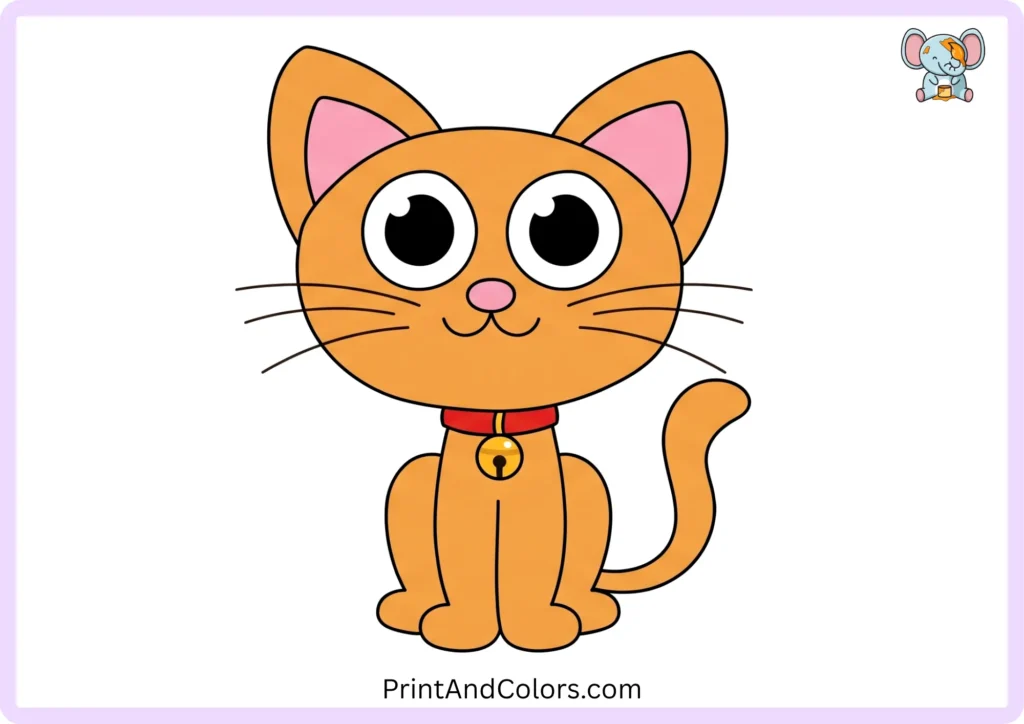
Your cat drawing is finished, but now comes one of the most fun parts: coloring!
You can make your cat realistic or completely imaginative. Try:
- Orange with darker orange stripes
- Gray with white paws
- Black with a pink nose
- White with blue eyes
- Brown with darker ears and tail
- Calico with several patches
- Any fun colors you can imagine
For a simple shaded effect, choose one main color and use a slightly darker shade underneath the ears, around the body, and near the paws.
Printable Cat Drawing PDF & Drawing Book
Do you want to practice without constantly looking at the screen?
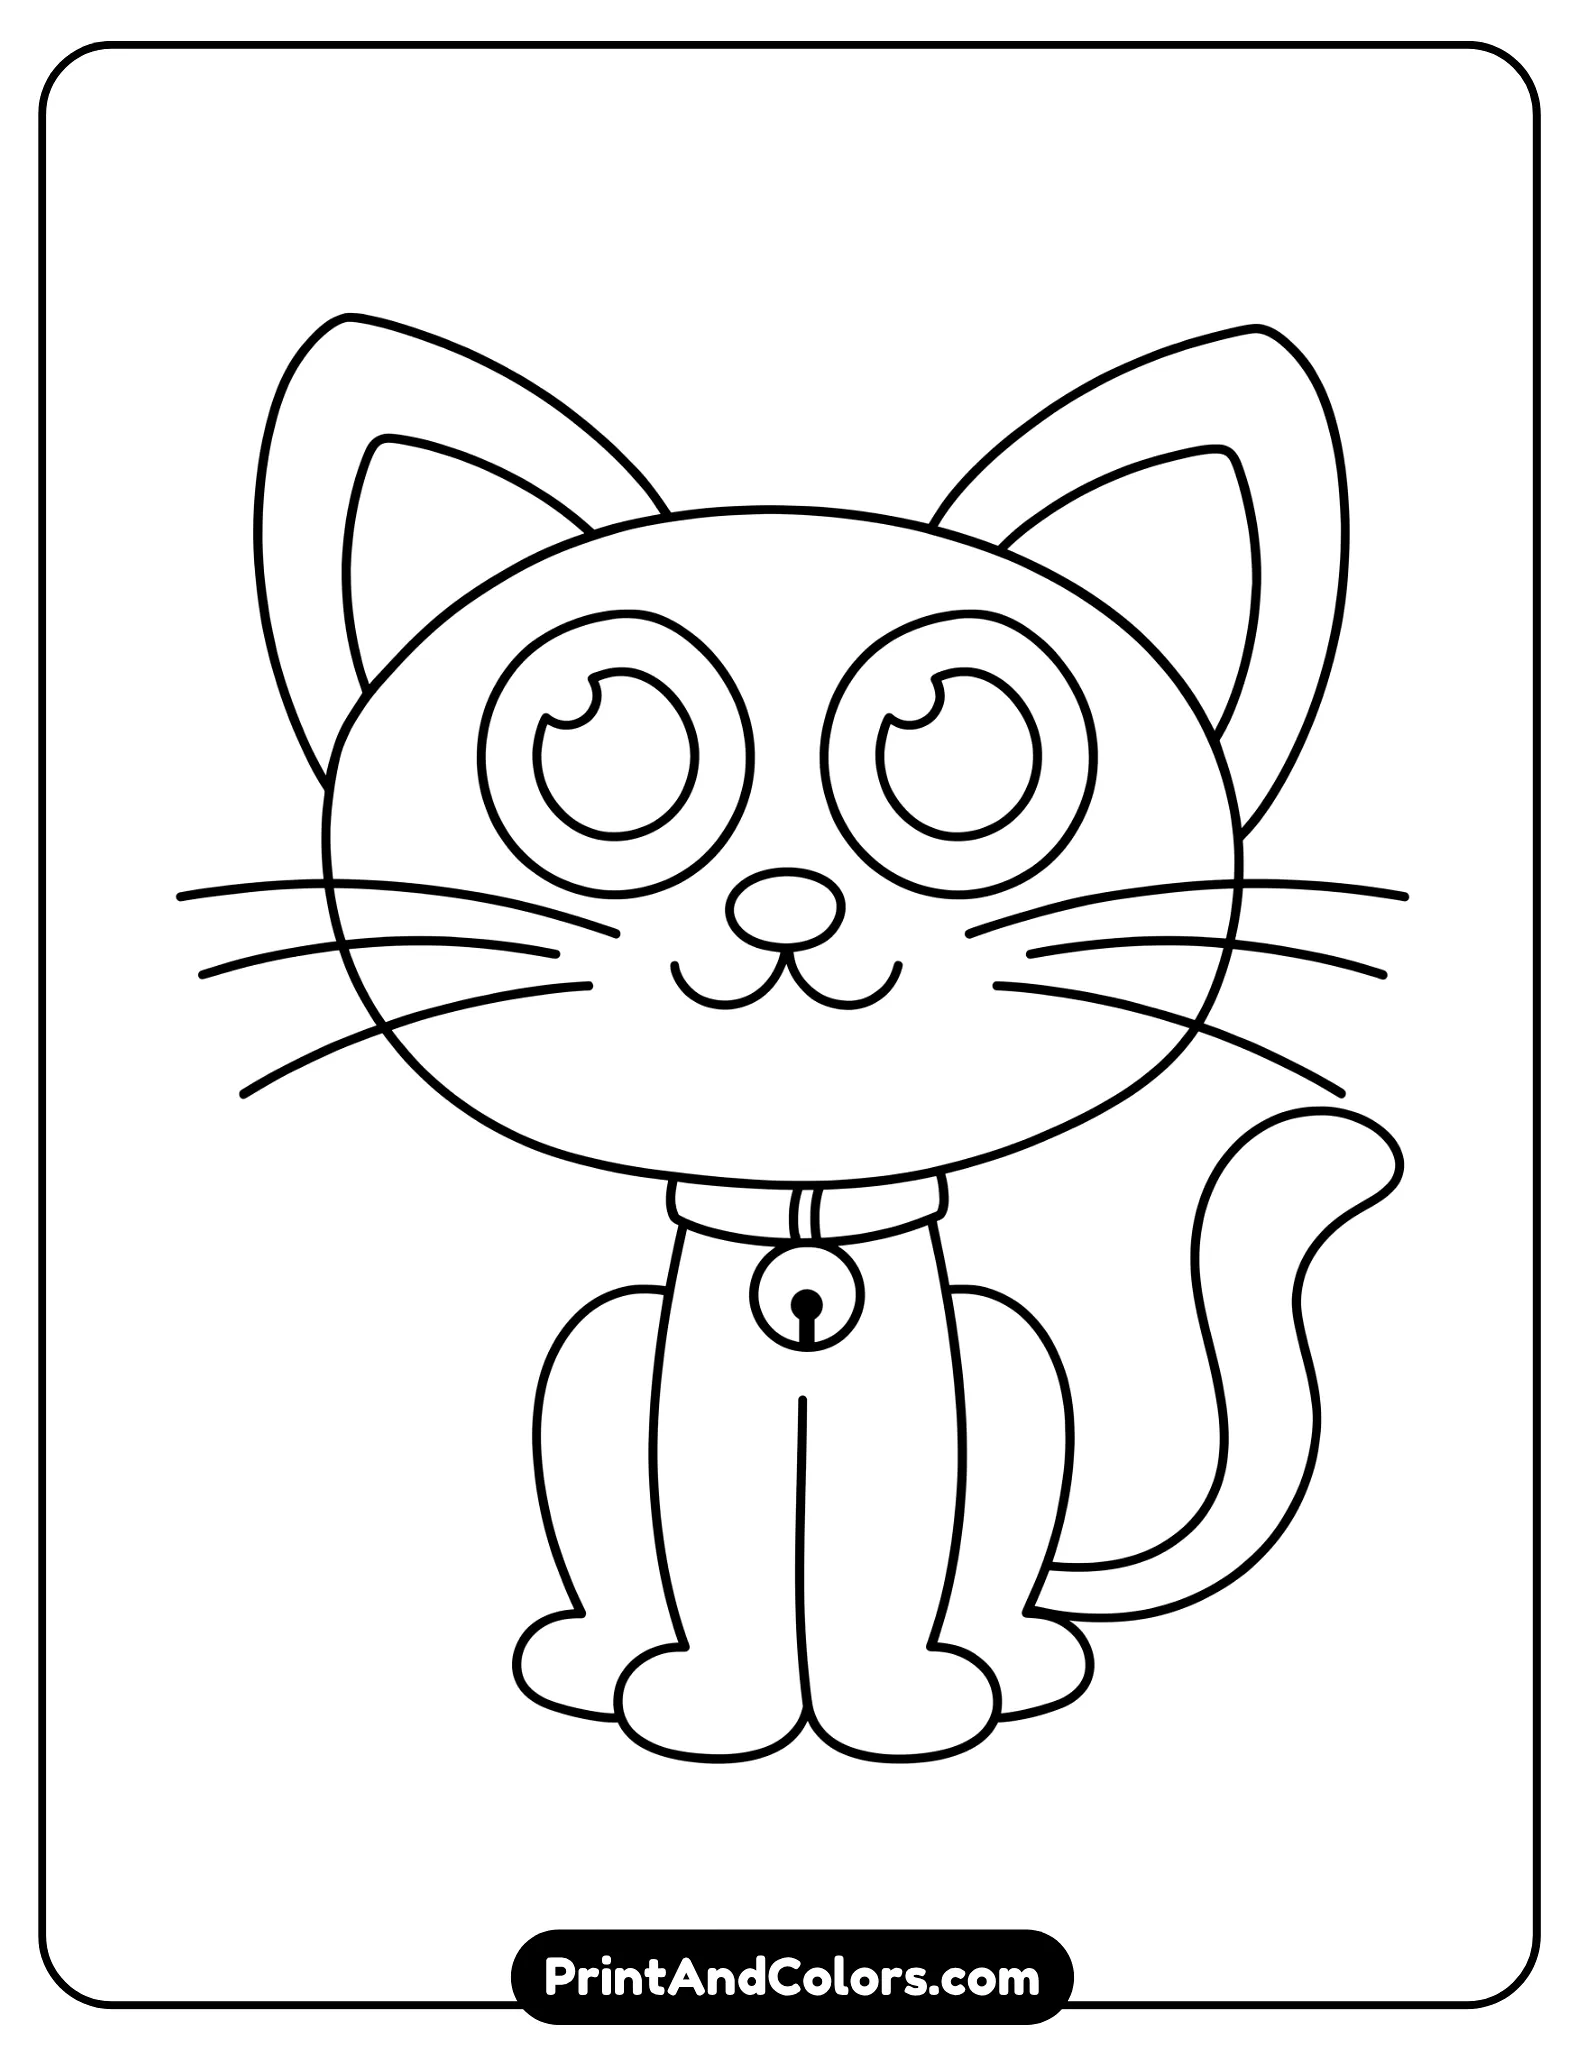
Printable Cat Drawing PDF & Book
Printable Cat Drawing PDF Book preview showing multiple pages of the easy cat drawing tutorial with sequential drawing steps for kids and beginners
Use our Printable Cat Drawing PDF Book to follow the complete drawing sequence on paper. The printable resource brings all of the steps together in one convenient, print-ready format, so children can work through the lesson at their own pace.
Print the pages, grab some crayons or colored pencils, and practice the cat again. You can even print another copy and challenge yourself to change the cat’s colors, facial expression, collar, or tail.
More Cat Drawing Ideas
Once you’ve completed this easy cat, try creating your own variations. Draw a sleepy cat curled into a ball, a playful kitten chasing a toy, a fluffy long-haired cat, or a cartoon kitty with oversized eyes.
You can also explore our Cat Coloring Pages for more printable artwork to color and enjoy.e.
Easy Ways to Make Your Cat Drawing Better
If your first attempt doesn’t look exactly like the example, that’s completely normal. Try these beginner-friendly tricks:
- Use light lines first: Heavy pencil marks are harder to erase.
- Check the eyes: Keeping them close in size helps the face look balanced.
- Leave breathing room: Don’t squeeze the ears, whiskers, or tail against the edge of the paper.
- Use curved lines: Cats have many soft, flowing shapes, especially around their body and tail.
- Don’t over-detail the fur: A few well-placed lines can suggest fur without drawing every hair.
- Try different expressions: Change the eyes and mouth to make your cat happy, sleepy, surprised, or curious.
- Practice the head separately: Once you can draw the basic face, experiment with different ear shapes and eye sizes.
What Can You Change in Your Cat Drawing?
Once you’ve mastered this simple version, don’t stop there. The same basic shapes can become many different cats.
| Part of the Drawing | Try This Variation |
|---|---|
| Ears | Small, large, rounded, or pointed |
| Eyes | Big, sleepy, narrow, blue, green, or yellow |
| Fur | Short, fluffy, striped, spotted, or curly |
| Tail | Curled, raised, straight, or wrapped around the paws |
| Collar | Bell, heart, star, bow, or name tag |
| Colors | Black, white, orange, gray, brown, calico, or fantasy colors |
| Pose | Sitting, standing, stretching, or sleeping |
Learning to draw from simple shapes is useful beyond one picture. Once children understand how circles, ovals, curves, and simple outlines work together, they can begin creating their own animals and characters instead of copying one fixed drawing.
Frequently Asked Questions
How do you draw a cat step by step?
Start with a simple oval shape for the head, then draw the eyes, facial features, ears, legs, paws, tail, whiskers, and collar. Sketch the larger shapes first, then work on the finer details. Using light pencil strokes makes it easier to adjust proportions as you work.
What is the easiest way to draw a cat for kids?
The easiest method is to break down the cat’s form into basic shapes, such as ovals, circles, curved lines, and simple pointed shapes. This eliminates the pressure of drawing the entire animal at once, allowing children to complete one small part at a time.
What should I use to draw a cat?
To get started, a pencil, paper, and eraser are sufficient. Once the sketch is complete, use crayons, colored pencils, markers, or paint to add color. A black pen or marker can also be used to highlight the final outlines.
How can I make my cat drawing look cute?
Try using large, round eyes, a relatively large head, small facial features, soft, curved lines, and rounded paws. You can also add a colorful collar, a small tag, or a playful tail position to give your cat a more unique look.
Can I print this cat drawing tutorial?
Yes. A printable Cat Drawing PDF Book can be used as a paper-based reference, allowing children to follow the drawing sequence without constantly looking at a screen. You can also print the finished outline as a coloring activity.
What can I draw after learning a cat?
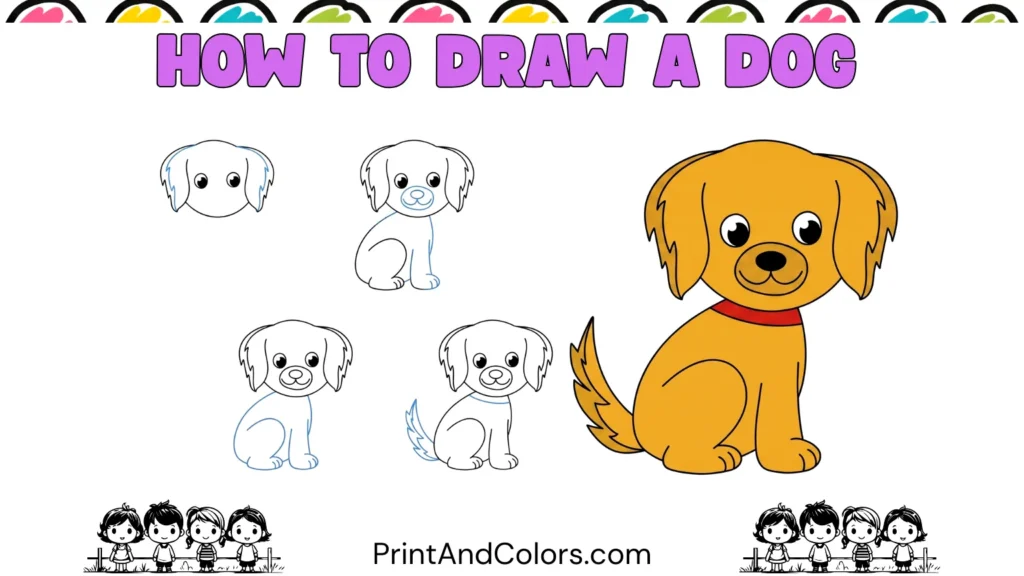
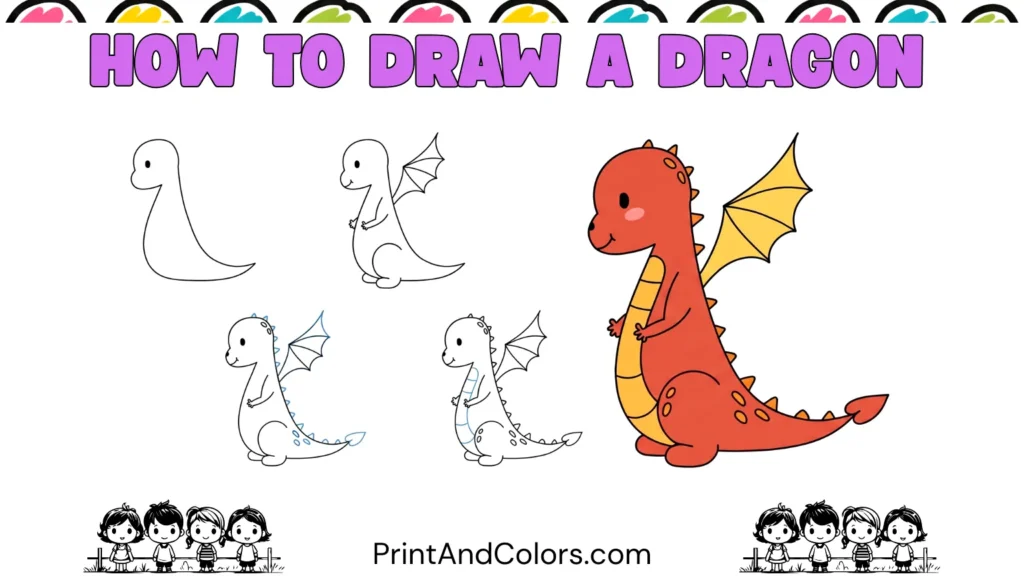
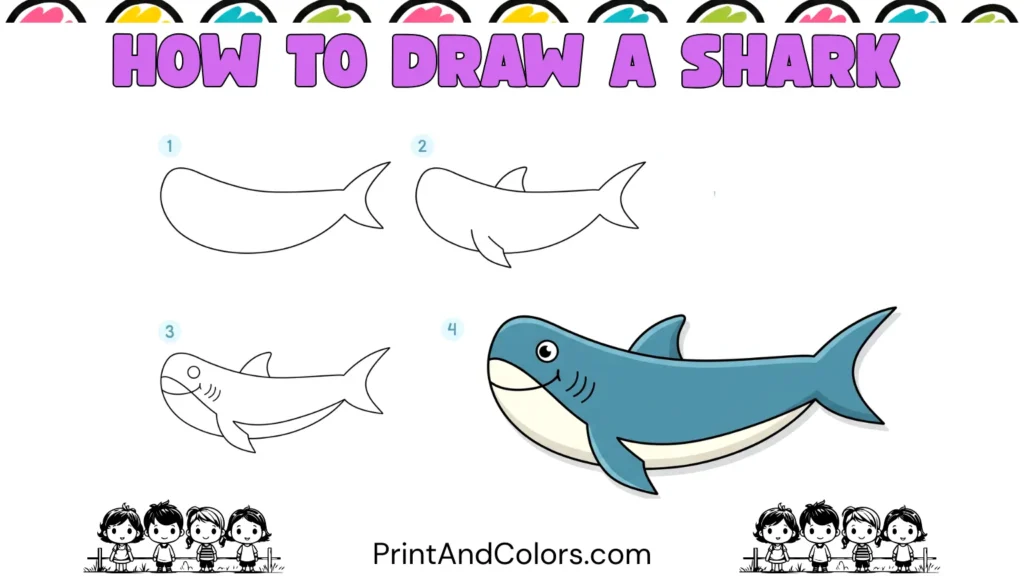
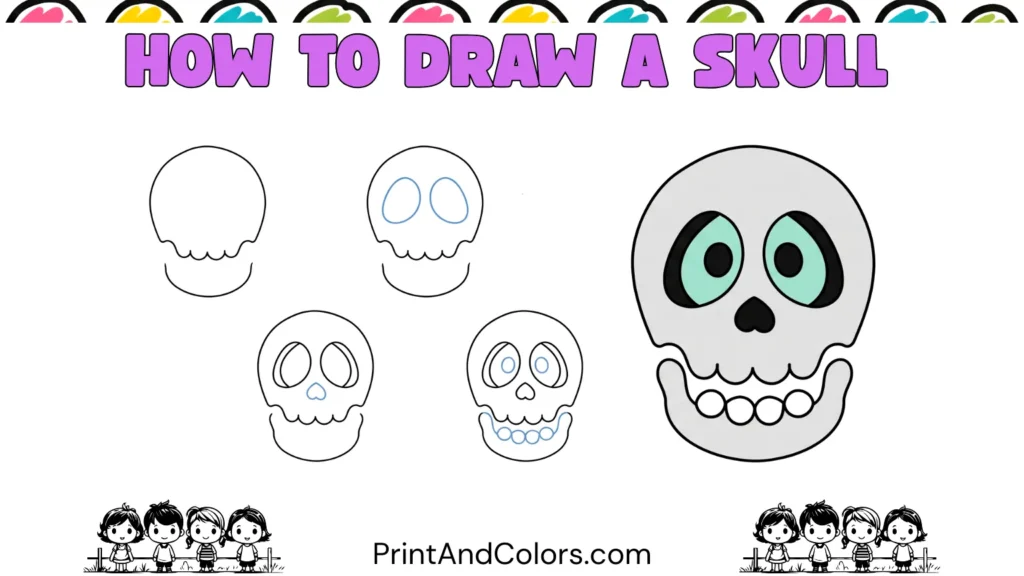
After practicing with the cat, try drawing another animal using the same method of basic shapes. The forms of dogs, rabbits, foxes, bears, and other animals can also be simplified into circles, ovals, curved lines, and distinctive features.
Your Cat Is Ready!
You started with a few simple shapes and ended up with a complete cat, featuring expressive eyes, pointed ears, paws, a curved tail, whiskers, and a unique collar.
Remember, the goal isn’t to make every line absolutely perfect. The real aim is to practice, experiment, and enjoy the drawing process. Try this tutorial again using different colors, or modify the ears, expressions, tail, and collar to create a cat that reflects your own unique style.
When you’re ready for another drawing challenge, check out ‘PrintAndColors‘ for more easy animal drawing tutorials and printable coloring activities.
Now grab your pencil, print the cat drawing PDF, and give your kitty a name!
Bring Every Imagination to Life
Premium Coloring Books & Instant Digital Printables
Transform your creative vision into high-quality, personalized coloring products perfect for gifts, education, or special events. Our team of illustrators crafts unique designs tailored to your exact needs.