How to Draw a Dog
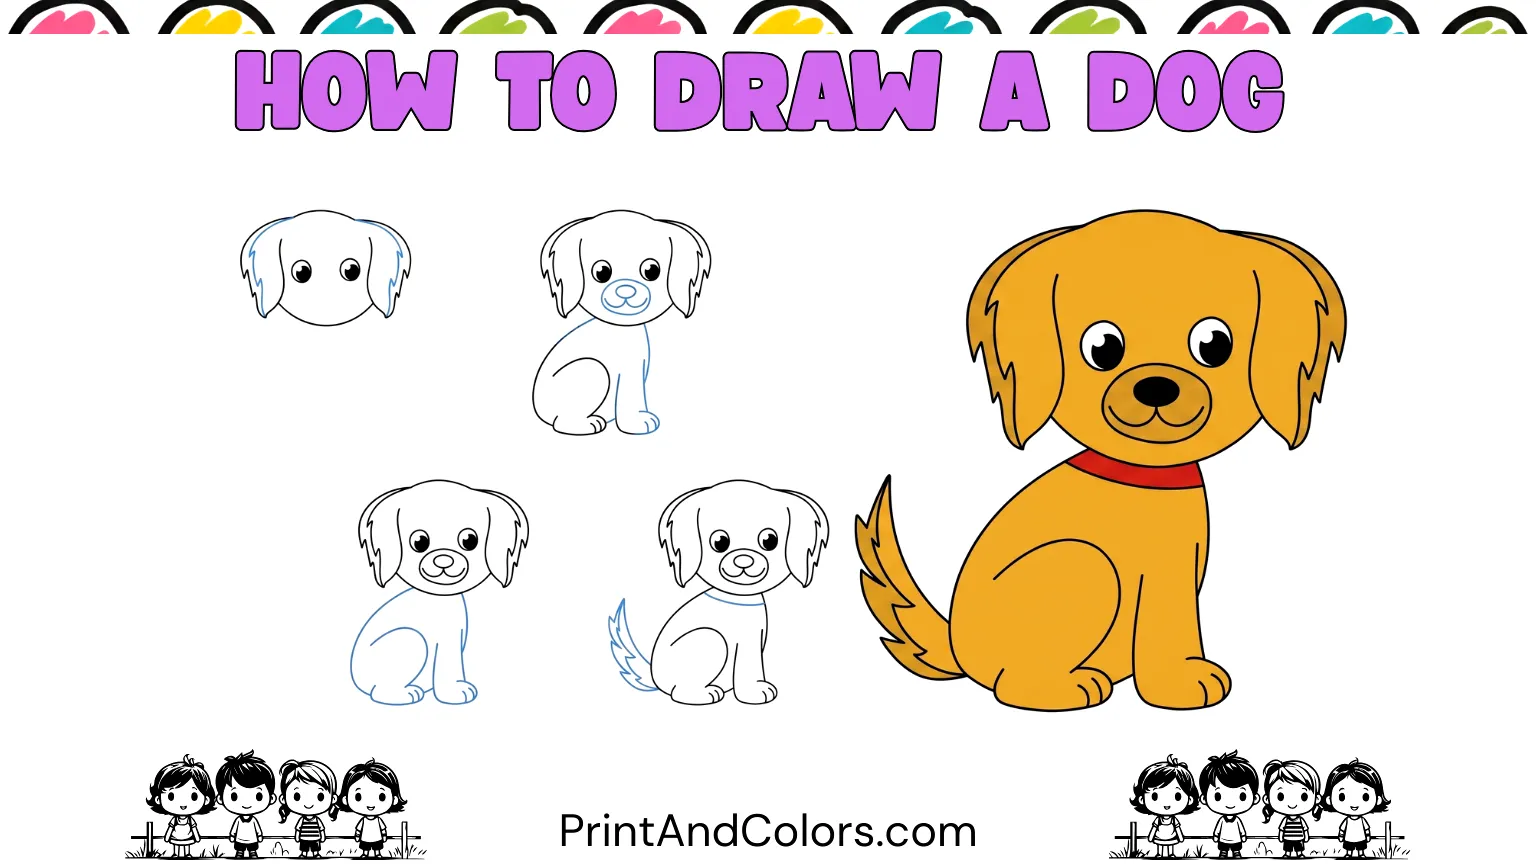
Learning to draw a dog doesn’t require starting with complex anatomy or perfect proportions. For children and beginners, the easiest approach is to construct the dog using a few simple shapes and then add the features that make it recognizable.
In this step-by-step dog drawing tutorial, you will begin with basic guidelines for the head and body before adding details such as floppy ears, legs, paws, a curved tail, expressive eyes, a snout, and a collar. Finally, you can color your drawing or print out a dog drawing PDF to practice the complete composition on paper.
Your next masterpiece awaits—try these stunning pages!
Step 1: Build the Basic Head and Body
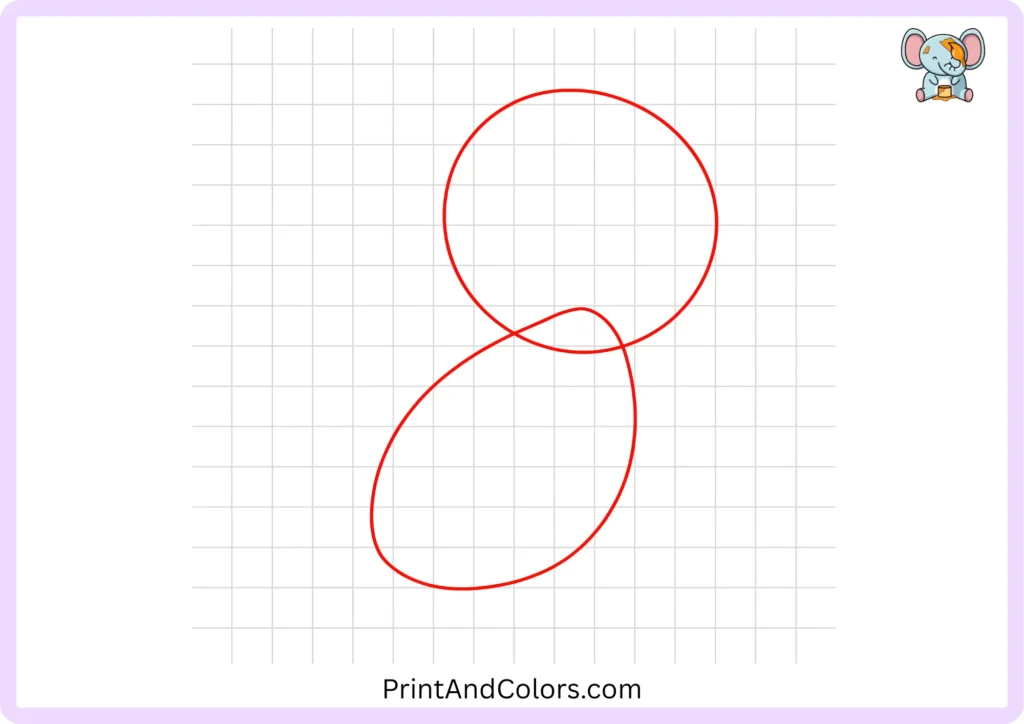
Start the construction sketch with two simple shapes.
Draw a large, round circle for the dog’s head. Below it, sketch a slightly slanted oval for the body. Position the upper part of the body so that it overlaps or connects with the lower part of the head.
These shapes serve as the basic framework for your drawing, so sketch with a light touch rather than pressing hard with the pencil.
Step 2: Shape the Floppy Ears
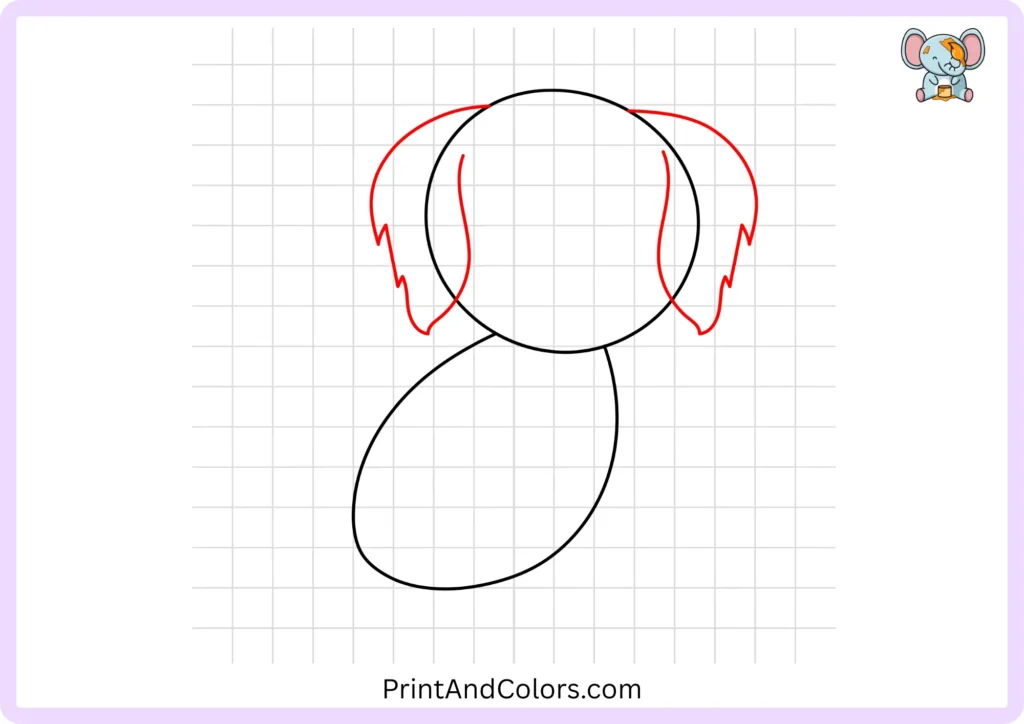
Now, draw your dog’s characteristic floppy ears.
Draw a long, curved ear on each side of the head, positioning them to hang downwards rather than making them perfectly symmetrical. Add a few small, irregular curves near the bottom of the ears to create the impression of soft fur.
Don’t worry about making both ears exactly alike; slight differences can actually make the dog’s appearance look more natural.
Step 3: Form the Back Leg and Paw
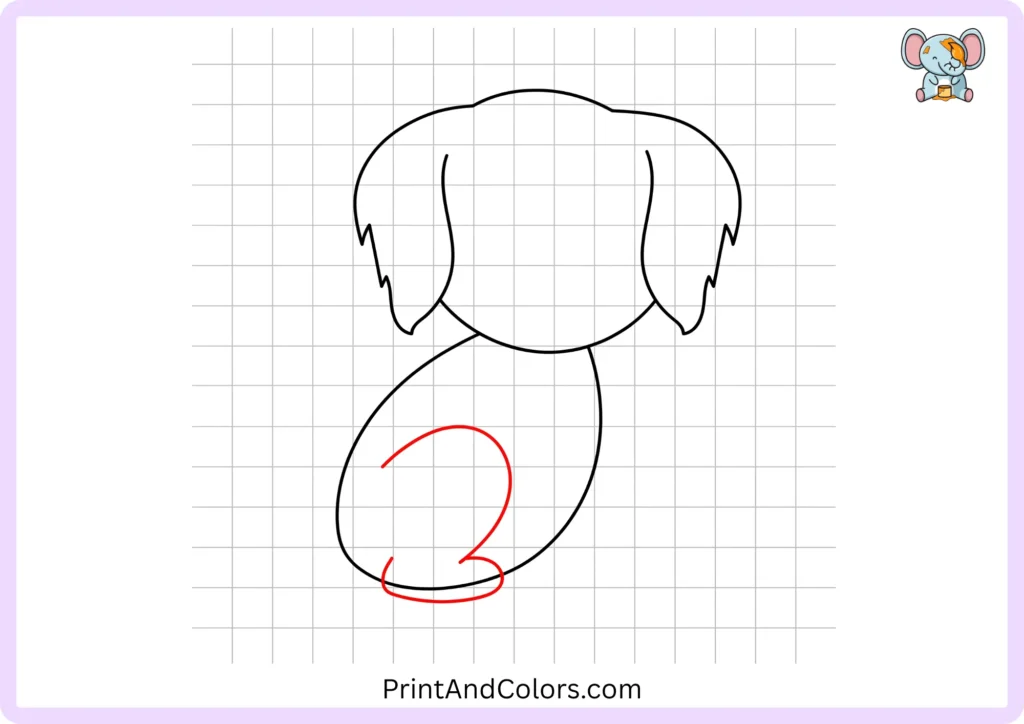
Now, move towards the lower part of the body.
Draw a broad, curved line on the left side of the body that extends downwards. Curve this line around the lower section to form the dog’s hind leg and rounded paw.
Keep the paw relatively broad and simple in shape. At this stage, you are establishing the overall silhouette of the body rather than adding fine details.
Step 4: Add the Front Leg
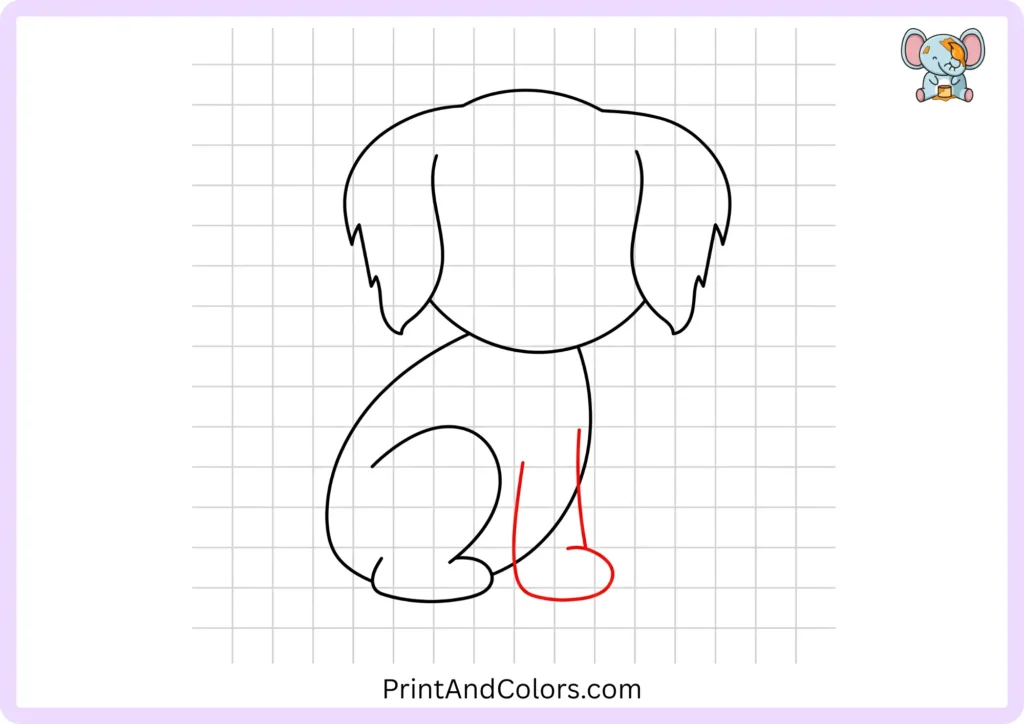
Next, draw your dog’s front leg.
Draw a long, curved line extending downwards from the front part of the body. Draw another line alongside it and connect the bottom ends with a rounded curve.
These two lines form the shape of the leg, while the rounded bottom section becomes the paw.
Step 5: Give Your Dog a Curved Tail
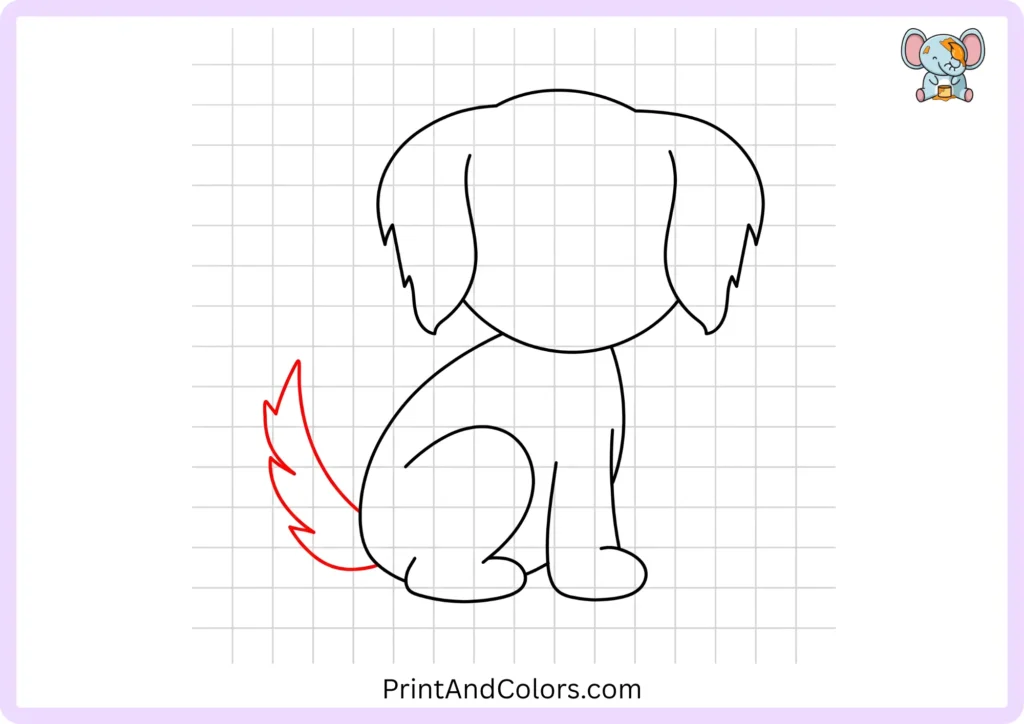
A dog needs a tail, and this is a great opportunity to add a touch of uniqueness to its personality.
Starting near the rear of the body, draw a tail that curves outwards and upwards. Keep the edges slightly uneven or add small, pointed curves to give it a thick, fluffy appearance.
You can make the tail thin, thick, straight, or curly, depending on the type of dog you have in mind.
Step 6: Draw Bright, Expressive Eyes
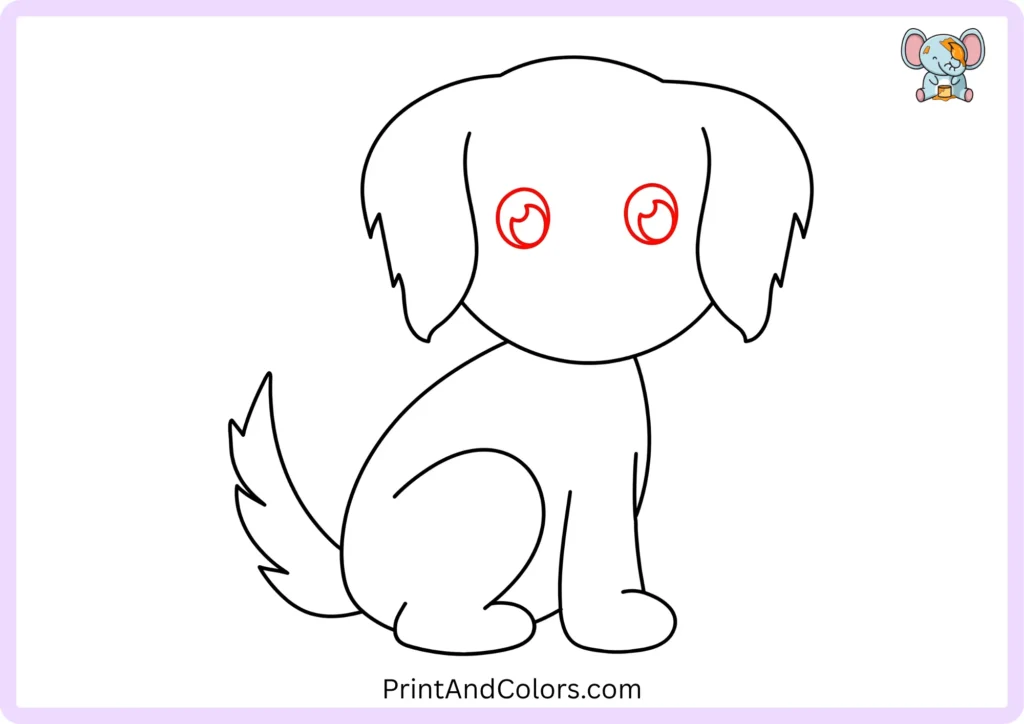
Let’s return to the face.
Draw two large, round eyes at the top of the head. Inside each eye, draw a small circular shape and leave a little white space blank for light reflections (highlights).
These small reflections of light make the eyes look lively and attractive, rather than flat or lifeless.
Step 7: Create the Nose and Happy Mouth
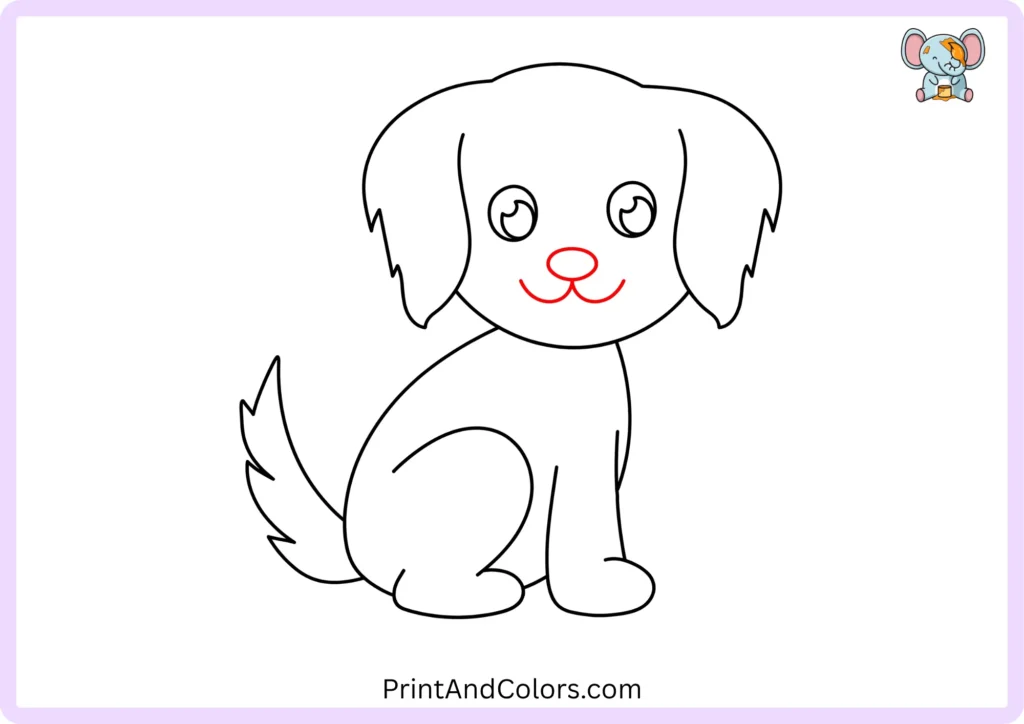
Draw a small, horizontal oval shape below the eyes for the dog’s nose.
Draw two gently curved lines extending outward from the bottom of the nose; these lines form the simple shape of a smiling mouth.
Keep the facial features relatively large. This is what makes this drawing of a dog, which is especially suitable for beginners, look cute and charming.
Step 8: Add Texture to the Ears
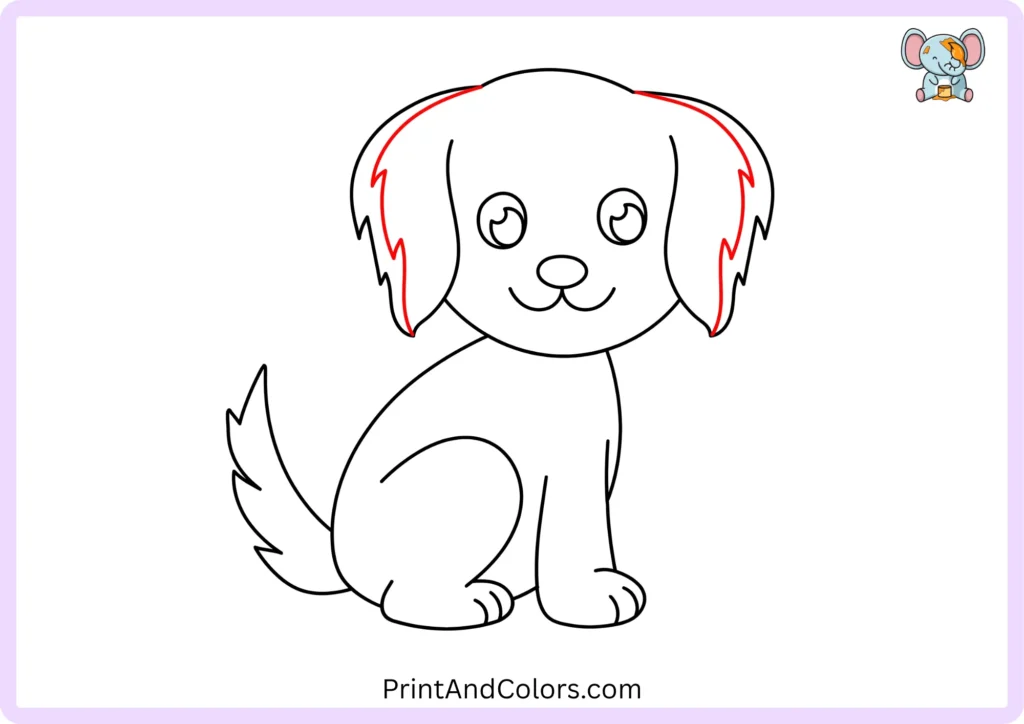
Now, return to the ears and give them a more defined shape.
Draw another curved and furry line around the outer edge of each ear. Instead of perfectly straight lines, use short, soft variations in direction.
This extra layer gives the drooping ears a thicker appearance and a more textured look.
Step 9: Define the Dog’s Muzzle
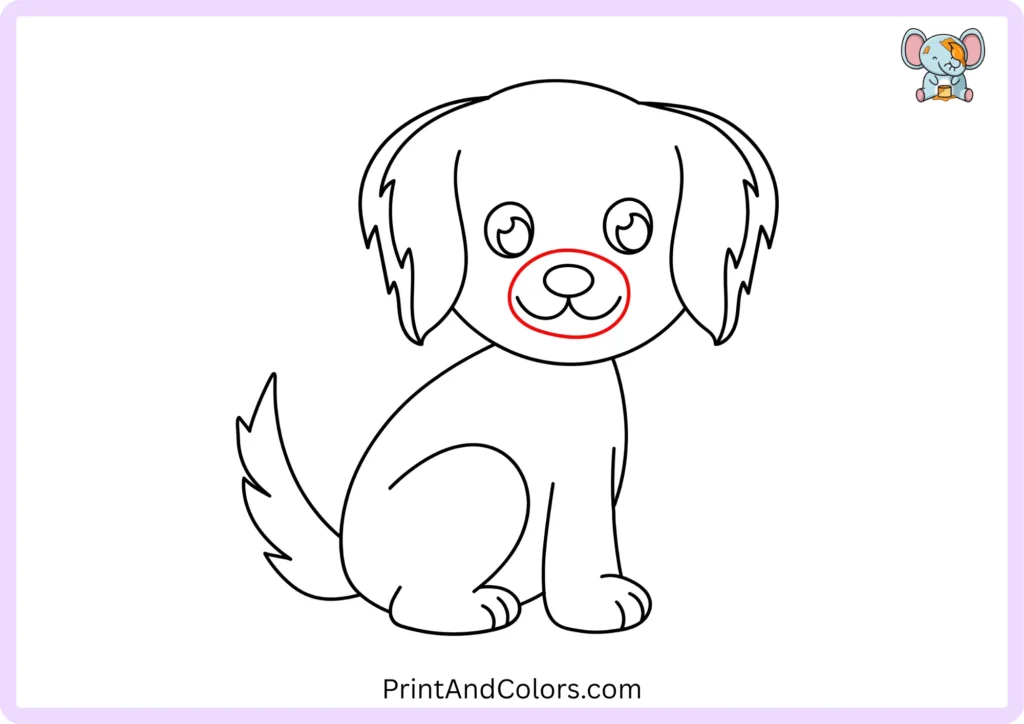
The term ‘muzzle’ refers to the area around the nose and mouth.
Draw a large, rounded oval shape around the central facial features. Position the nose and mouth near the center of this shape.
Intricate anatomical details are not required here; a simple, rounded muzzle is particularly well-suited for a cute, cartoon-style dog.
Step 10: Give the Tail Some Fur
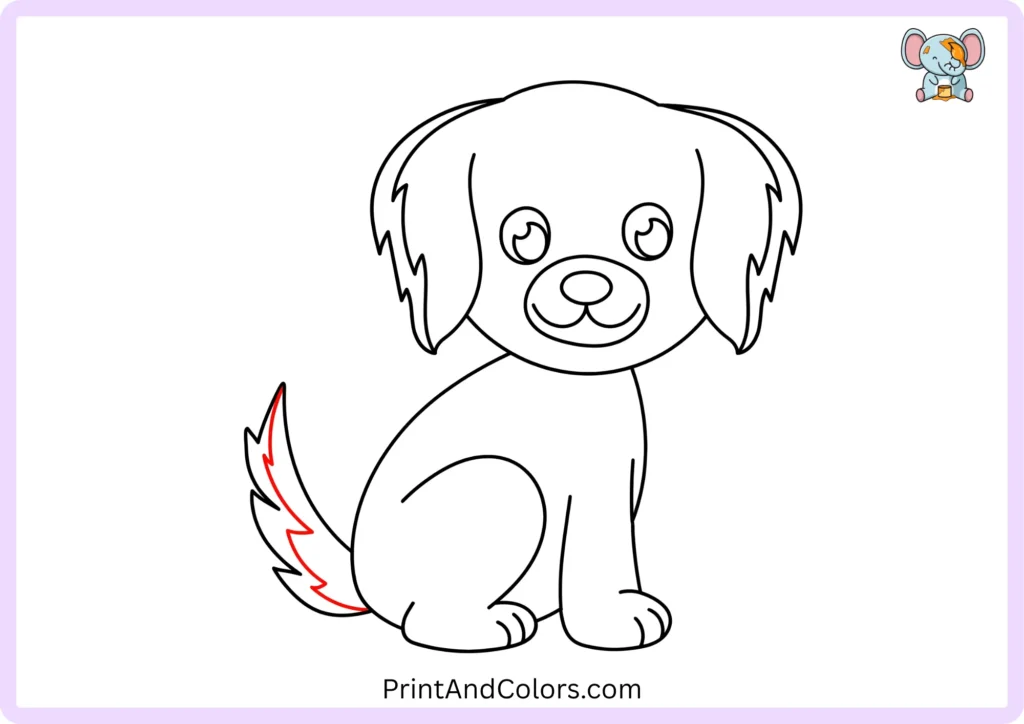
Return to the tail for the final details.
Inside the tail, draw another curved or slightly pointed line that follows its general direction. Add a few small tufts of fur where appropriate.
These additional marks help distinguish the tail from the simple initial shapes used earlier.
Step 11: Add a Simple Collar
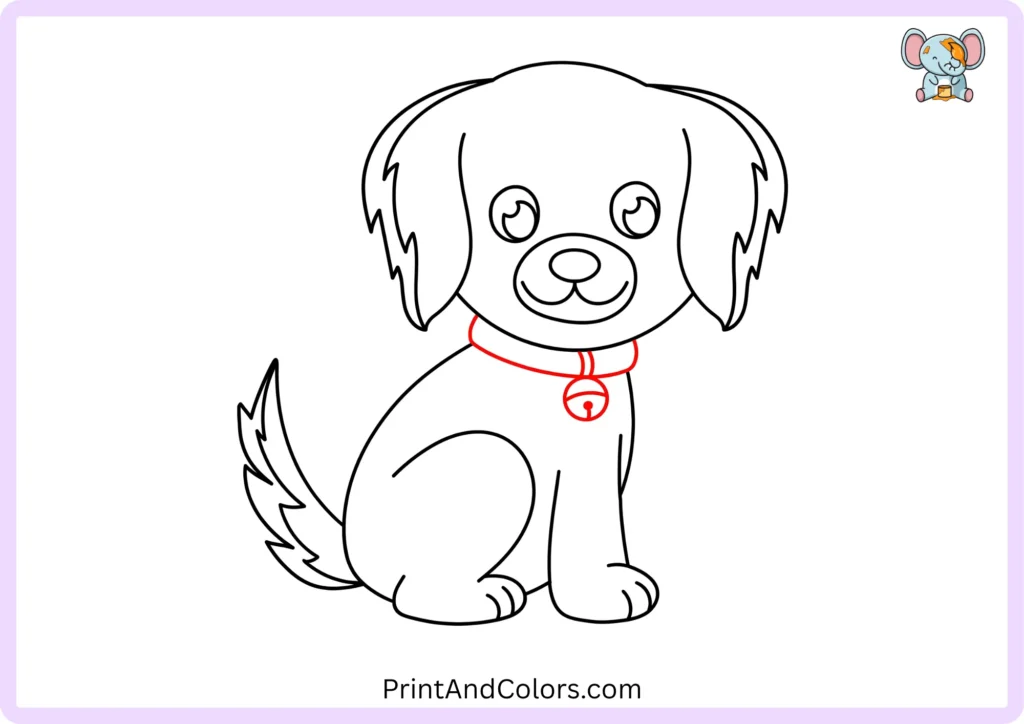
The drawing of your dog is almost complete.
Draw a curved band beneath the head, following the shape of the dog’s neck. Add another curved line below it to give the collar some thickness.
If you wish to give your drawing a unique or personal touch, you can also add a small tag or a bell.
Step 12: Bring Your Dog to Life With Color
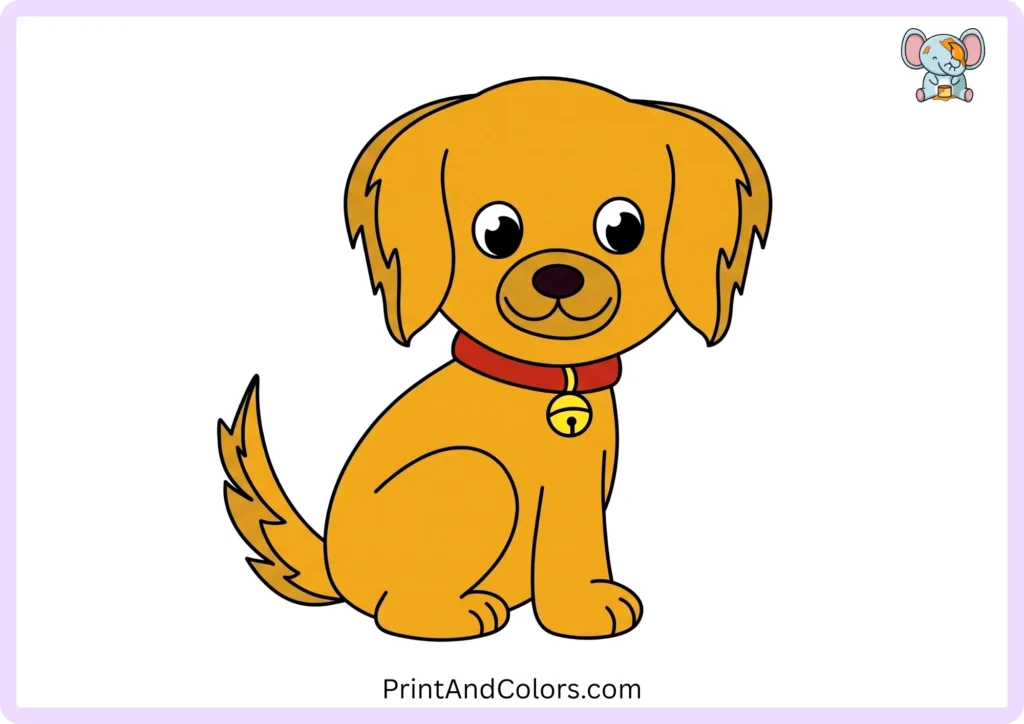
Now comes the fun part: coloring!
For our example, you could use warm brown for the body, darker brown around the muzzle, ears, and tail, black for the nose and eye centers, white for the eye highlights, and a bright color for the collar.
But your dog doesn’t have to be brown.
Try:
- Golden yellow
- Cream
- Gray
- Black and white
- White with brown spots
- Tan and dark brown
- A completely imaginative color pattern
Remember: there isn’t one correct color for a dog drawing. Choose the colors that make your picture fun.
Printable Dog Drawing PDF & Drawing Book
Do you want to practice without constantly looking at the screen?
Use our ‘printable dog drawing PDF’ (or PDF book) so you can keep the full lesson with you. The drawing steps in this printable book are arranged in such a simple way that children can follow along at each stage using just a pencil and paper.
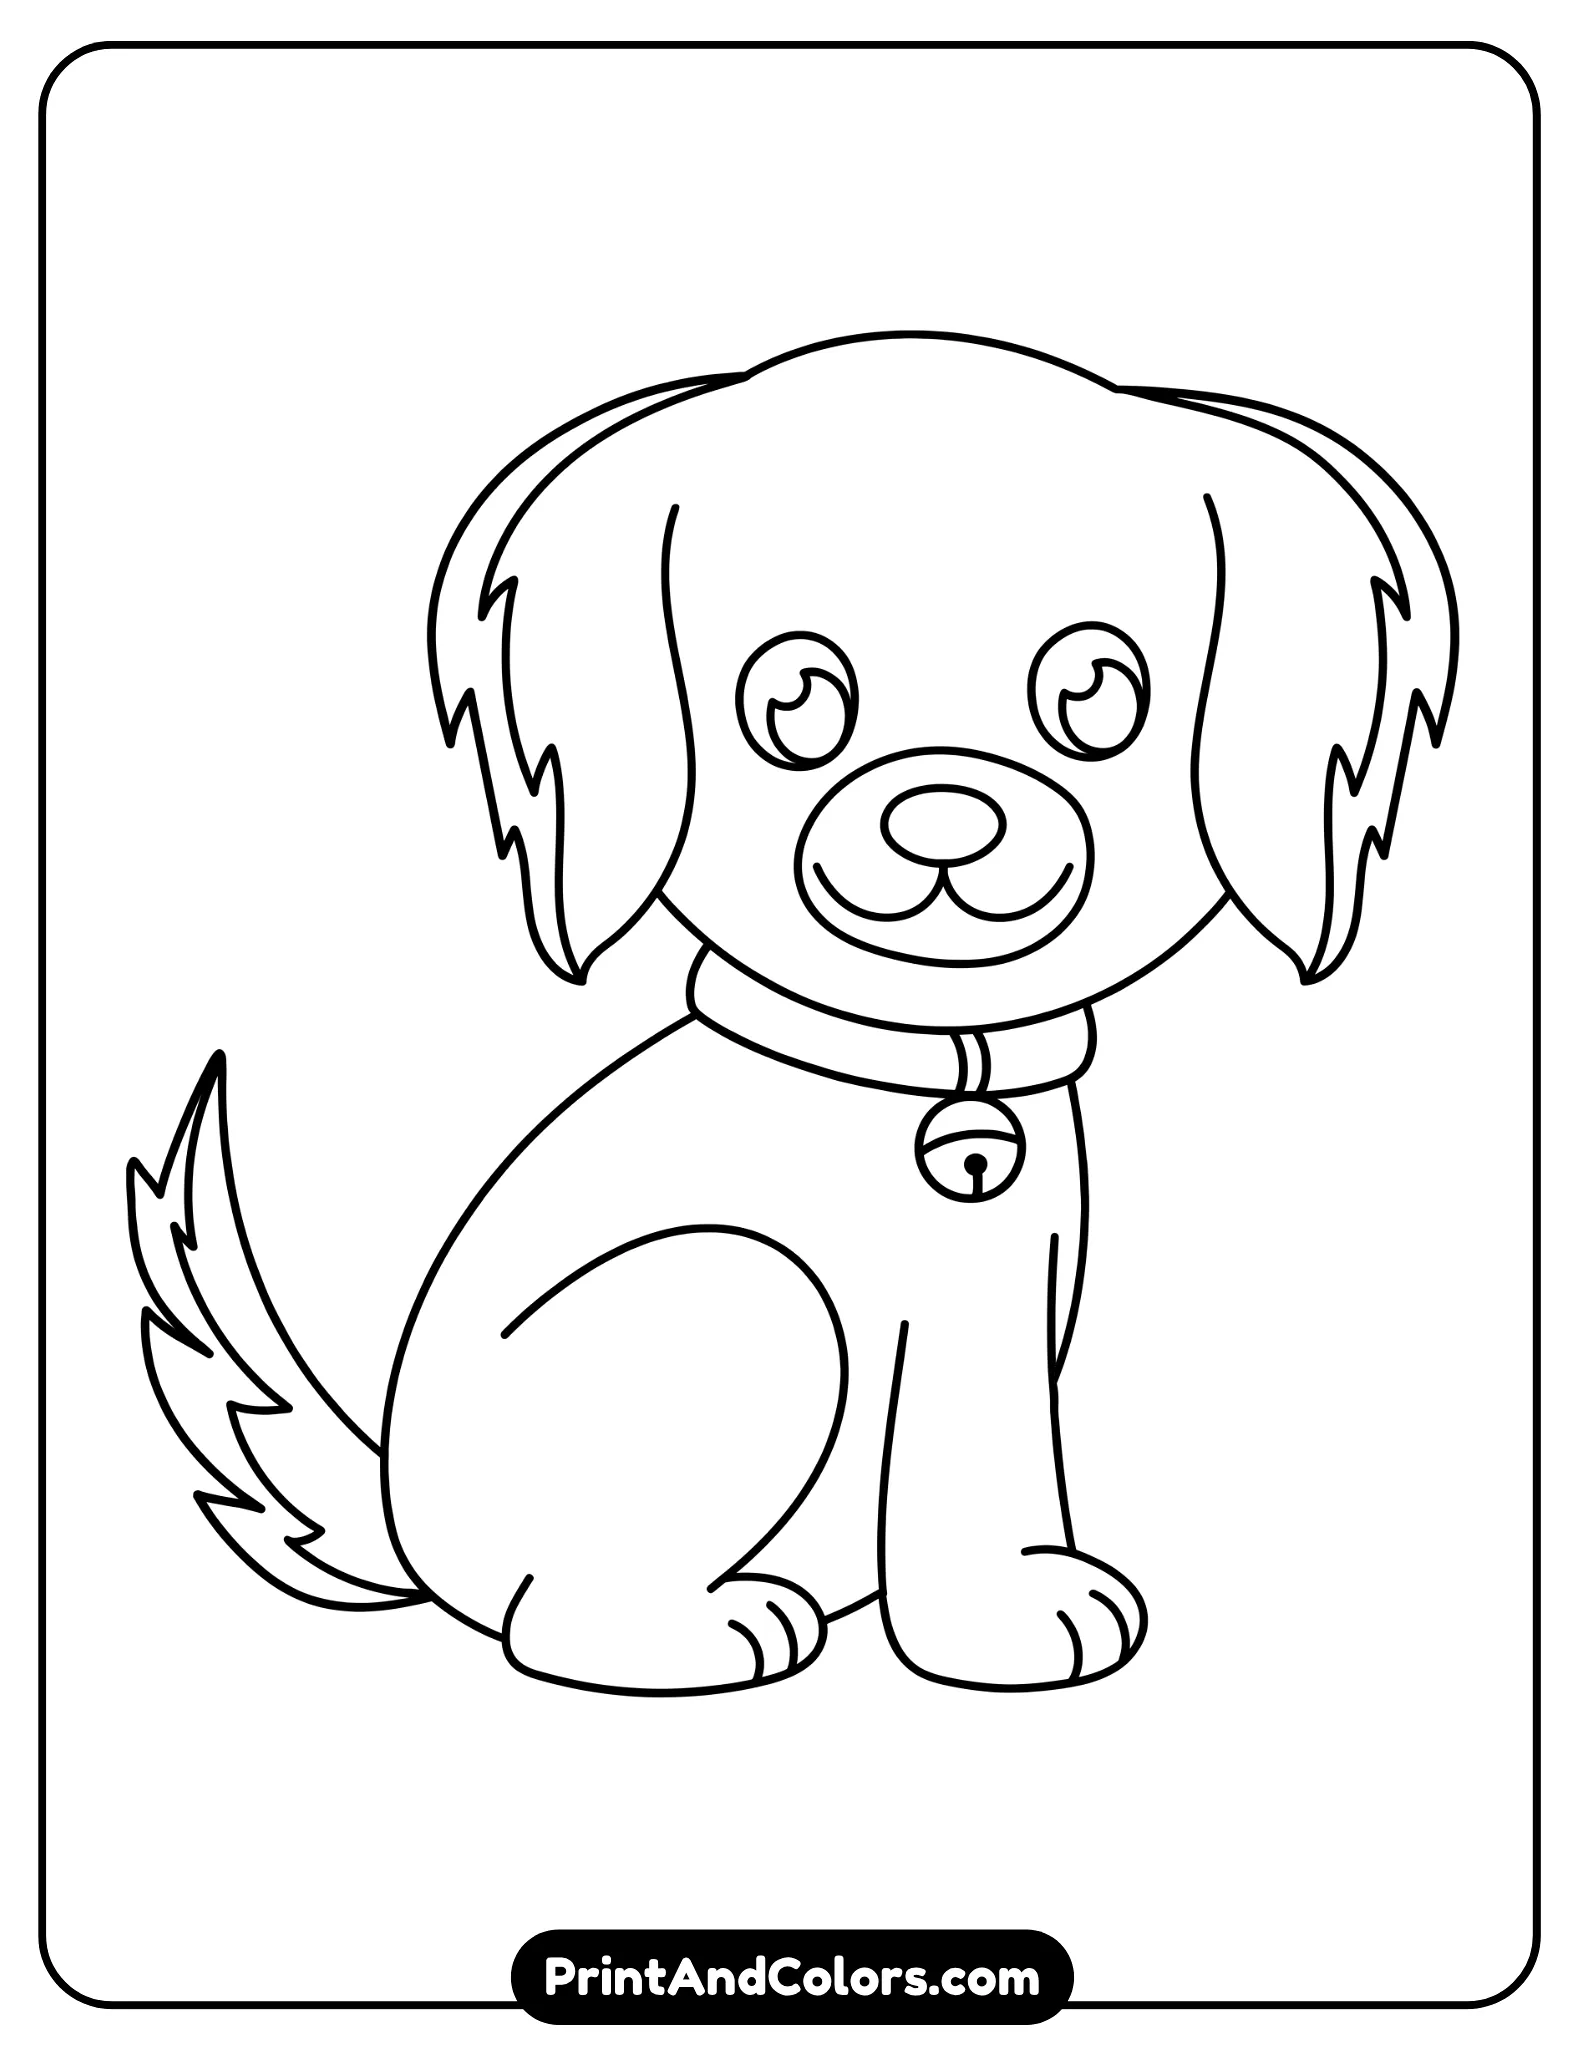
Printable Dog Drawing PDF & Book
Print the complete dog drawing PDF book with all drawing steps arranged in an easy practice sequence for children
The printable version is especially useful for:
- Kids’ drawing practice
- Classroom art activities
- Homeschool lessons
- Coloring activities
- Weekend crafts
- Rainy-day activities
- Repeated drawing practice
Print the pages, grab some pencils or crayons, and let young artists work through the dog one stage at a time.
Frequently Asked Questions About Drawing a Dog
How Can I Make My Dog Drawing Look Better?
Before diving into the details, focus on the overall structure. Keep your initial sketch lines light, and ensure the head, body, legs, and tail are correctly positioned before drawing features like the eyes or fur.
You can also enhance the drawing by making slight adjustments to the curves of the lines. Perfectly straight or uniform lines can make a cartoon animal look lifeless or stiff, whereas subtle variations in the lines give it a more unique and lively appearance.
What Is the Easiest Way to Draw a Dog?
The easiest way is to start with basic shapes. Use a circle or round shape for the head and an oval shape for the body, then add the ears, legs, tail, and facial features around them.
This method breaks down the structure of a complex animal into manageable parts, making it suitable for young children and first-time artists.
How Do You Draw a Cute Dog for Kids?
Use exaggerated, friendly features such as large round eyes, a small nose, a rounded muzzle, floppy ears, and soft curved paws. Keeping the shapes simple also makes the dog easier for children to copy.
A colorful collar or playful fur pattern can add personality without making the drawing more difficult.
What Should I Use to Color a Dog Drawing?
You can use almost any children’s coloring medium, including crayons, colored pencils, markers, or washable paints. Brown, tan, cream, black, gray, and white are common choices, but there is no rule that your drawn dog has to use realistic colors.
Can I Print This Dog Drawing and Practice It Later?
Yes. The printable dog drawing resource can be used as a practice sheet or coloring activity. The Printable Dog Drawing PDF Book brings the individual stages together so children can follow the sequence away from the screen and repeat the drawing whenever they want.
Final Thoughts
You don’t need advanced drawing skills to create a cute dog. Start with the shapes for the head and body, build the silhouette by adding ears, legs, paws, and a tail, and then add an expressive face and small details. Once the sketch is complete, coloring transforms a simple pencil outline into a fully realized character.
Most importantly, don’t worry about making your first attempt perfect; drawing improves with repetition. Try drawing the dog again with a different ear shape, tail position, coat pattern, or collar color, and see how much personality you can create using the same basic shapes.
Ready to draw? Grab your pencil, follow the 12 steps above, and then print out the dog drawing PDF for another round of practice.
Bring Every Imagination to Life
Premium Coloring Books & Instant Digital Printables
Transform your creative vision into high-quality, personalized coloring products perfect for gifts, education, or special events. Our team of illustrators crafts unique designs tailored to your exact needs.
One Comment