How to Draw a Horse
Drawing a horse might seem difficult at first. With its long legs, curved neck, flowing mane, and expressive face, each featuring distinct shapes, it can appear complex; however, you do not need to be an expert in equine anatomy to get started.
In this easy drawing lesson, we will gradually build the image of the horse using simple shapes and lines. You will begin with the head and body, then add the neck, legs, tail, hooves, and facial features, finally finishing with the mane, mouth, and coloring.
This lesson is designed for children, beginners, parents, and teachers who want to learn how to draw a horse using a simple, step-by-step approach.
Your next masterpiece awaits—try these stunning pages!
Easy Horse Drawing for Kids and Beginners
Before you start, gather a few simple supplies:
- Our printable horse drawing PDF, if you want to practice on paper
- Pencil or black marker
- Drawing paper
- Eraser
- Crayons, colored pencils or markers
If you are drawing with a pencil, keep the initial lines light. This makes it easier to correct the proportions before creating the final, darker outline.
A useful tip is to leave plenty of space around the initial shapes. Your horse needs room for its head on one side and its flowing tail on the other.
Step 1: Block In the Head and Main Body
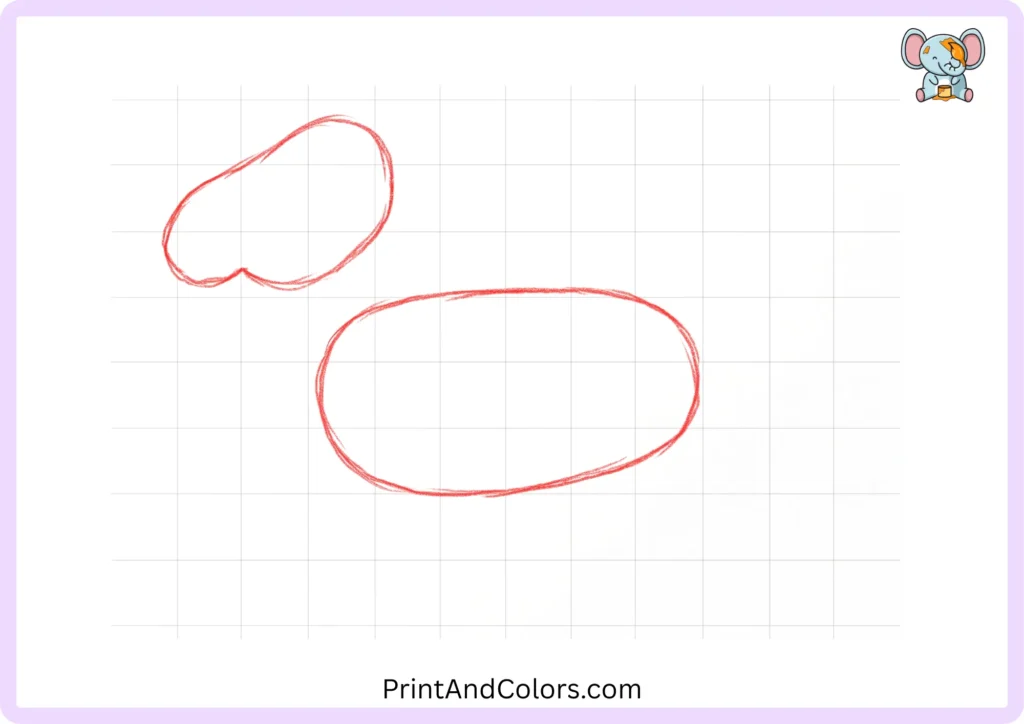
Start with two simple round shapes.
Draw a small round shape towards the top-left of the page for the horse’s head. Then, draw a larger, elongated round shape below it and slightly to the right for the body.
Don’t worry about making these shapes perfect; their purpose is to provide a basic outline of the horse.
Leave a little space between the head and the body, as the neck will connect them in the next step.
Step 2: Shape the Neck and Front Chest
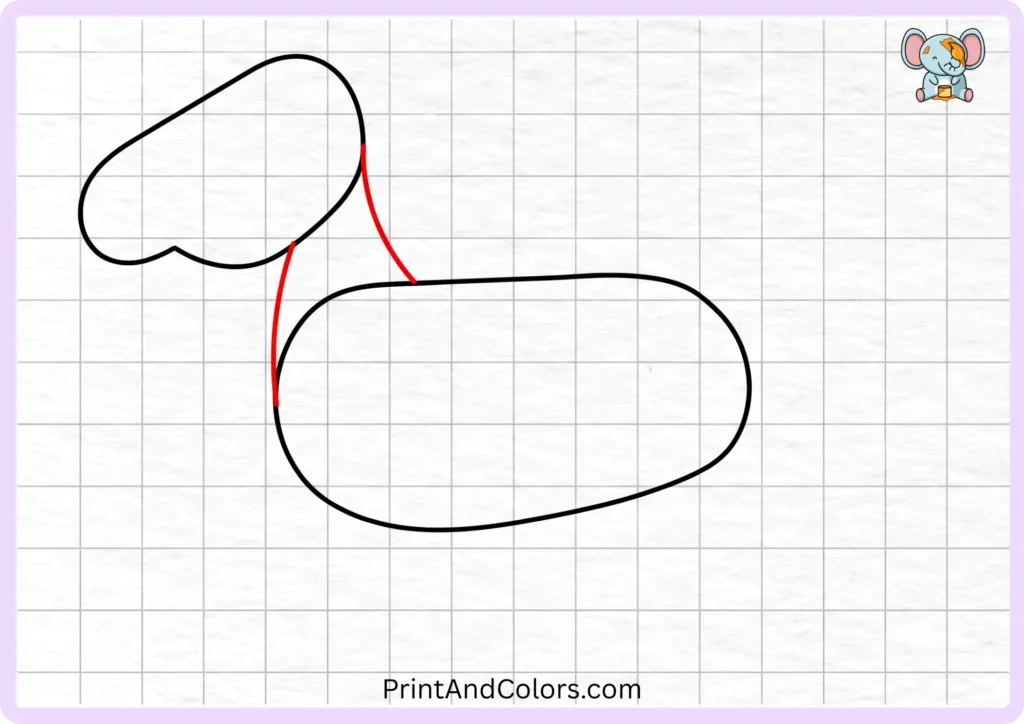
Now, connect the two basic shapes.
Use two smooth, curved lines to form the horse’s neck. One line should extend from the back of the head toward the upper part of the body, while the other should connect the underside of the head to the front of the body.
Try to keep the neck slightly curved rather than perfectly straight; these flowing lines help give your horse a more natural appearance.
Step 3: Build the First Pair of Legs
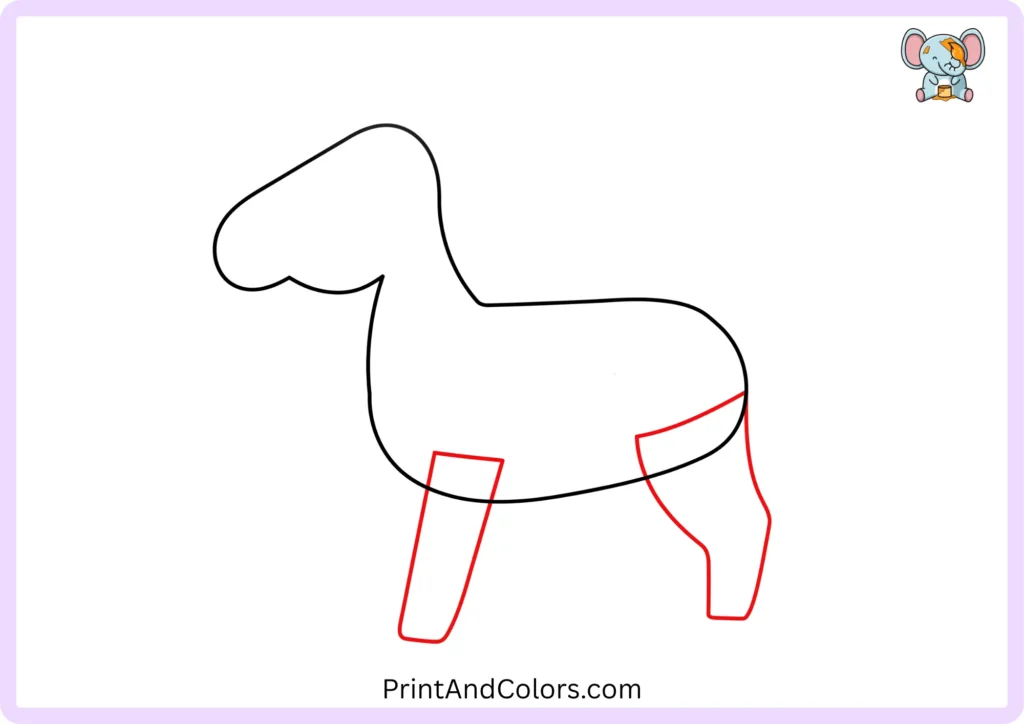
Now it is time to shape your horse’s legs.
Form a long front leg extending from the lower part of the body. Then, add a hind leg towards the rear of the body. Give the hind leg a slight bend so it does not look like a straight stick.
At this stage, focus on the overall positioning of the legs rather than on small details.
Step 4: Complete All Four Legs
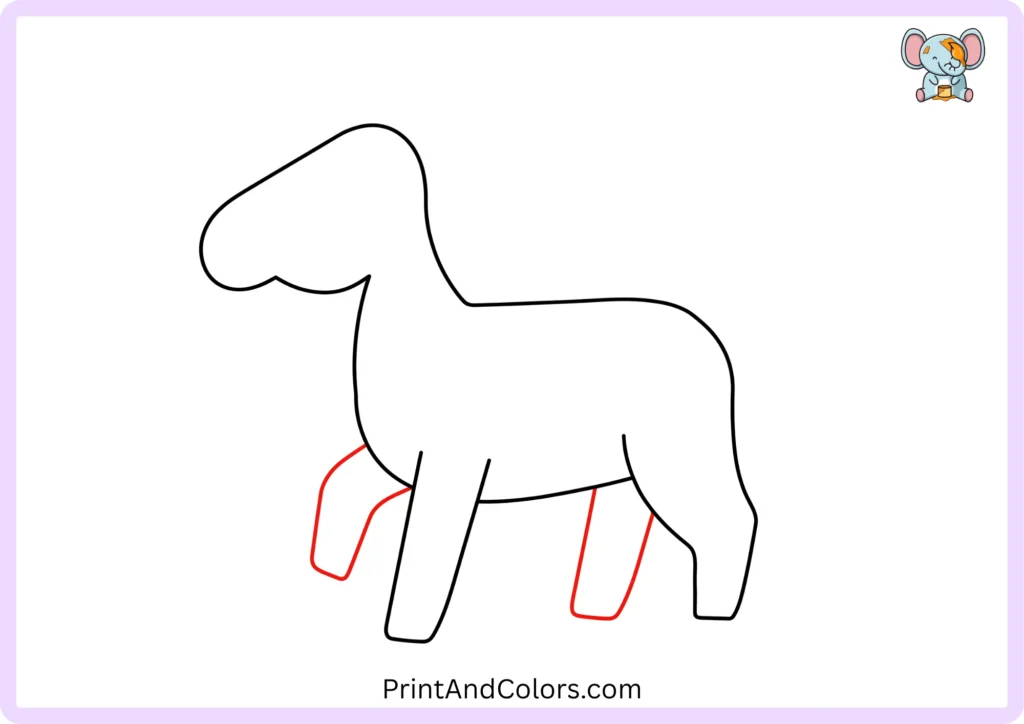
A horse requires four visible legs, so include the remaining pair as well.
Position the second front leg behind the first one; you can draw it slightly raised or bent to create a sense of movement. Next, add the second hind leg beneath the rear section of the body.
Leave some space between the legs. Excessive overlapping can make the overall drawing difficult to interpret.
Step 5: Give Your Horse a Flowing Tail
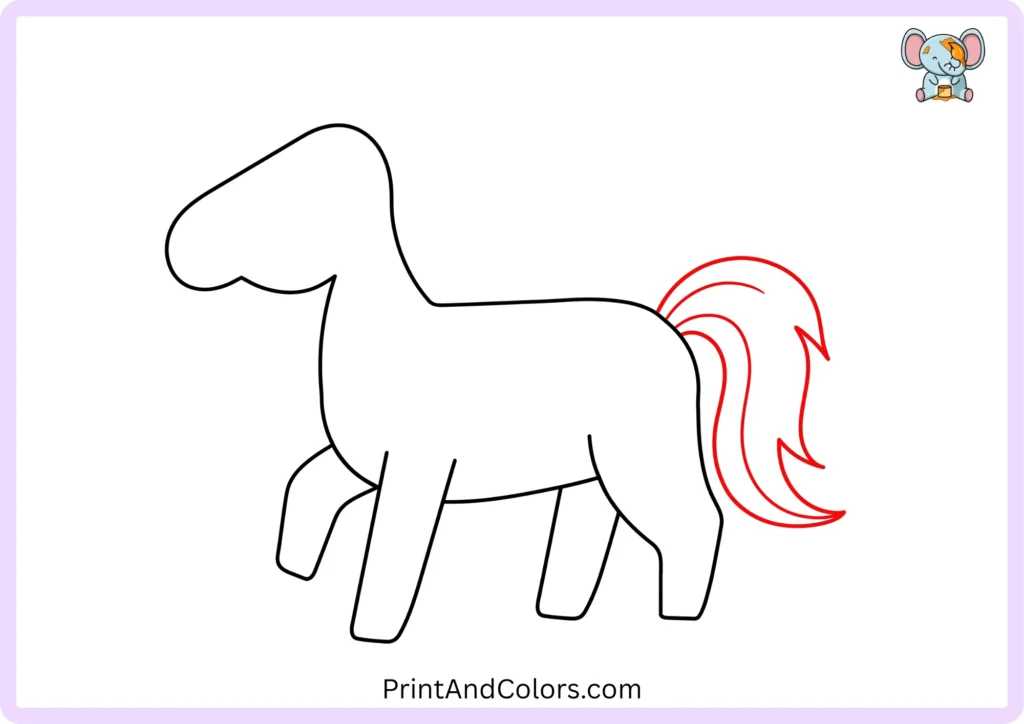
Move to the back of the body and draw the tail.
Use long, curved lines that sweep outward and slightly upward before curving back down to a pointed tip. Add another line inside the tail to highlight the texture of the hair.
A large, flowing tail gives the horse a more lively appearance and provides children with another fun area to color.
Step 6: Define the Four Hooves
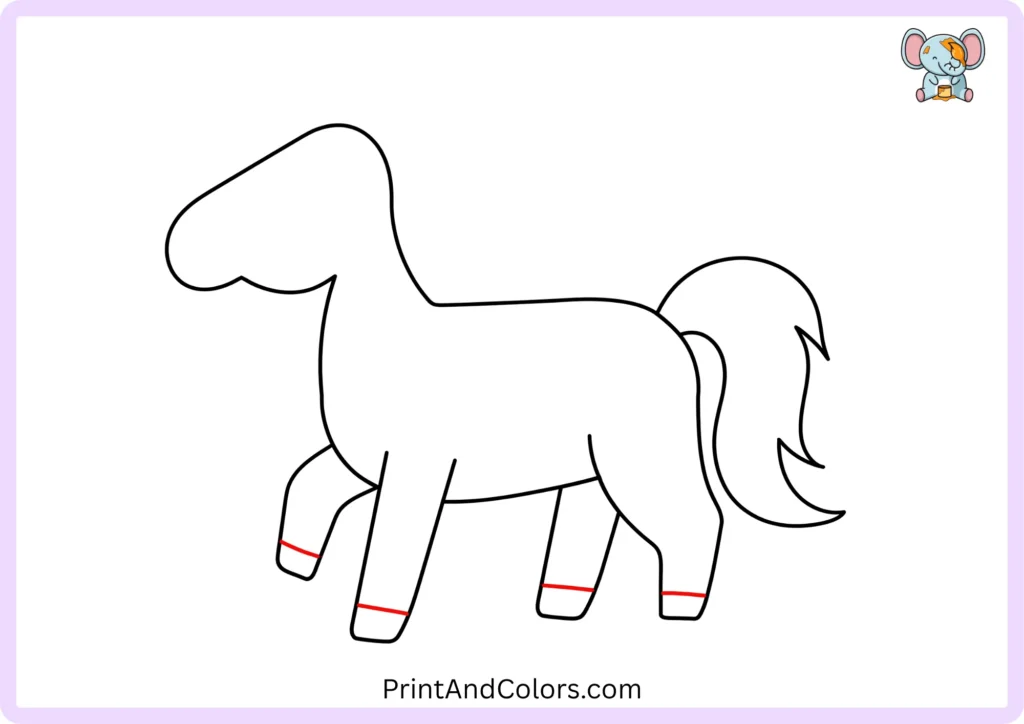
Draw hooves near the bottom of each leg.
You only need a few short, curved, or angled lines to separate each hoof from the lower leg. Keep them relatively small compared to the legs.
This is also a good time to check your horse’s stance. If any leg looks unusually long, erase it slightly to make corrections before moving on.
Step 7: Shape the Muzzle and Nostril
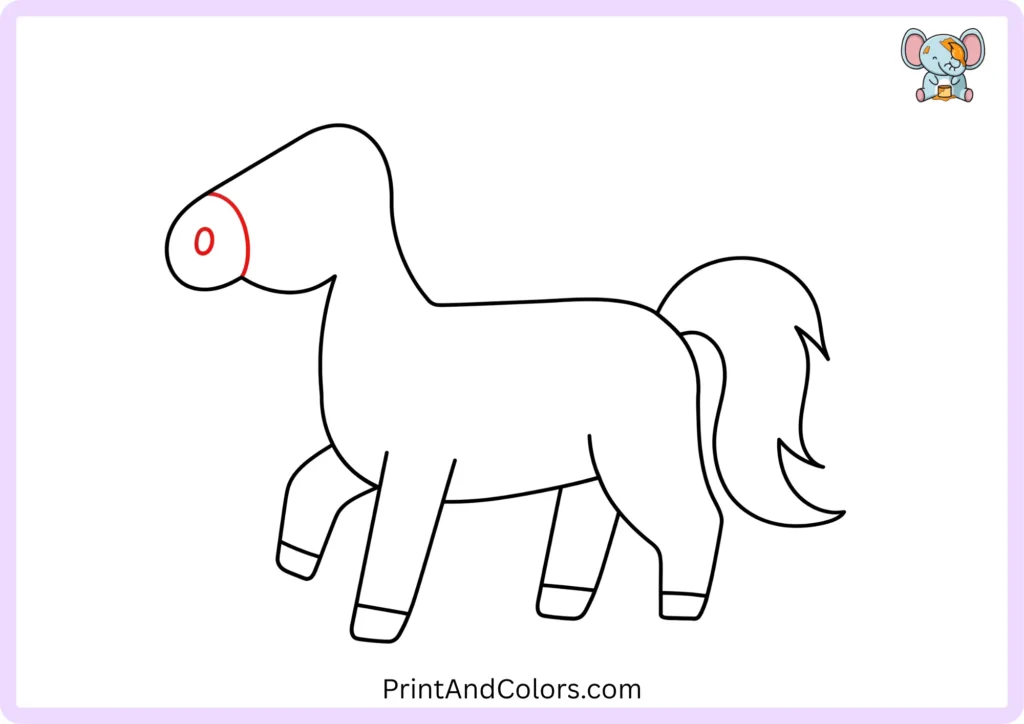
Now, focus on the horse’s face.
Draw a curved muzzle on the front part of the head. Inside this area, draw a small oval or curved mark to indicate the nostril.
The muzzle is important because it instantly transforms the simple head shape into that of a horse.
Step 8: Place the Expressive Eye
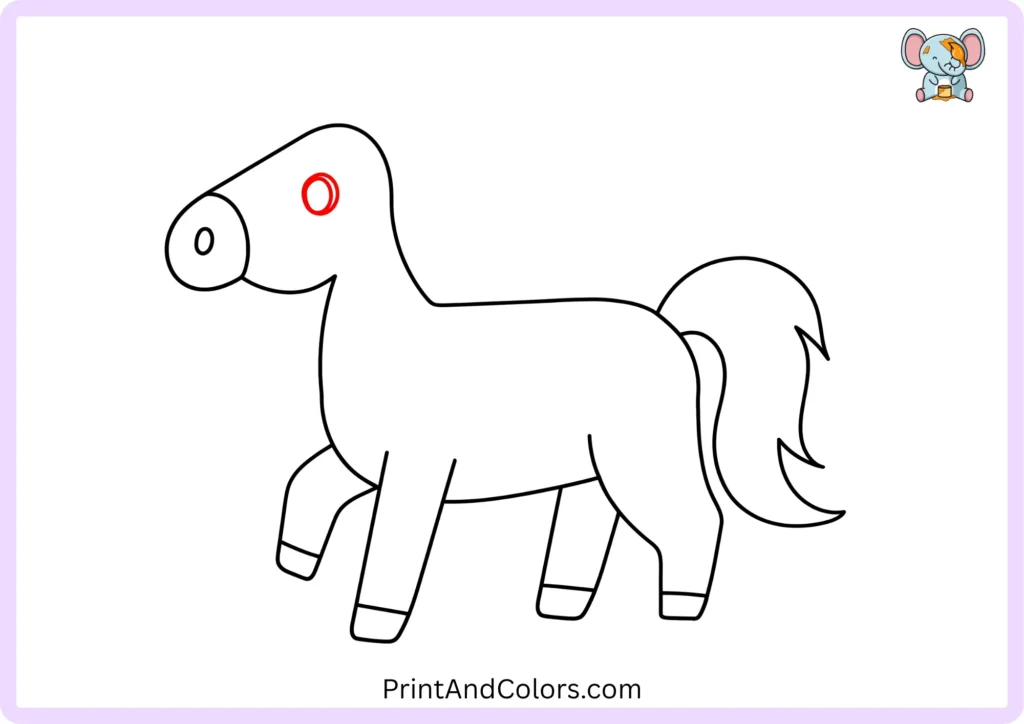
Draw a small, oval-shaped eye above the muzzle.
Position it towards the upper-middle part of the head, leaving enough space above it for the ears and the mane. You can keep the eye simple, as even a small, dark shape can give the horse a friendly expression.
If you want a cute, cartoon-like style, make the eye slightly larger than that of a realistic horse.
Step 9: Add Highlights to the Eye
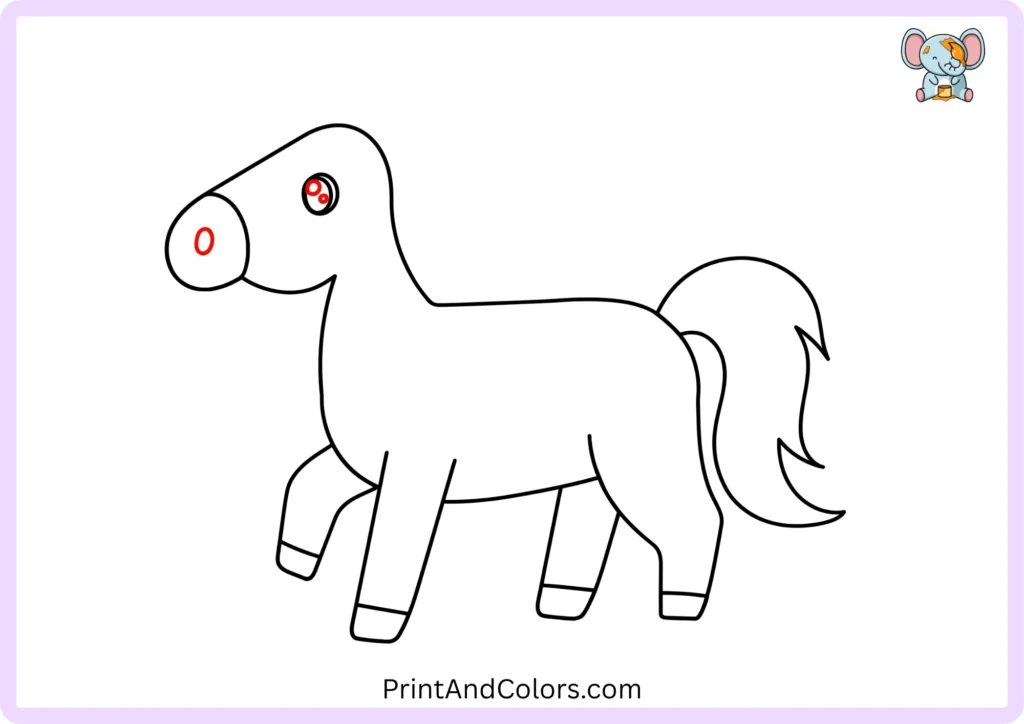
Let’s make the eye more expressive.
Draw one or two small circles inside the eye. Darken (blacken) the surrounding area while leaving these small circles white.
These ‘highlights’ create the impression of reflected light and make the horse look more lively and attractive.
Step 10: Draw the Pointed Ear
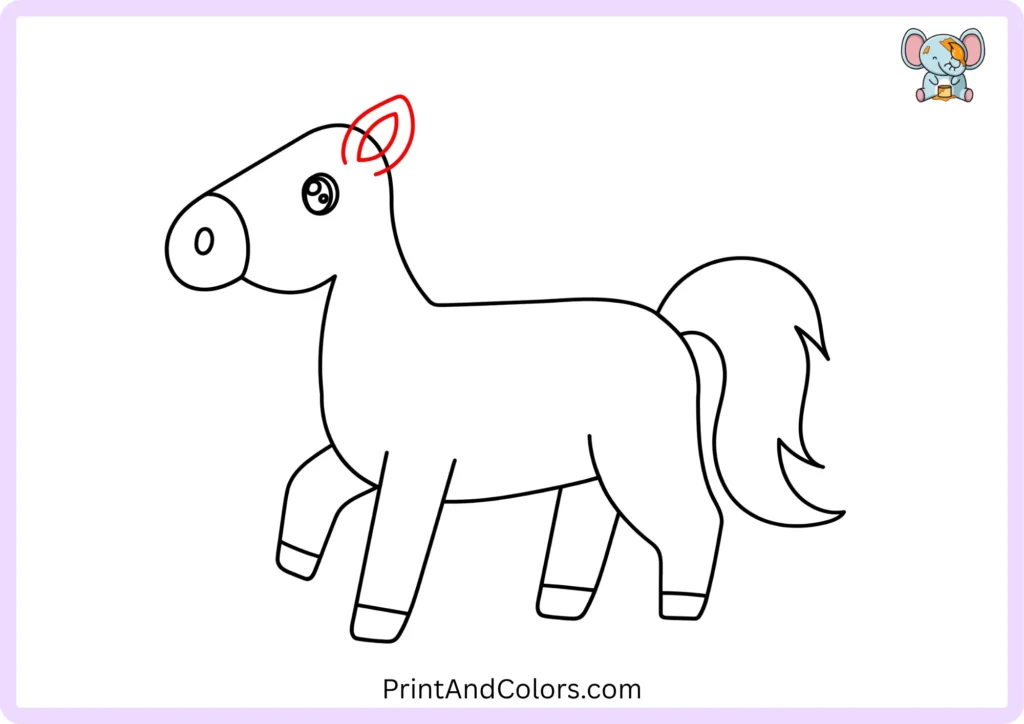
Draw a horse’s ear on the top of the head.
Use two curved lines to create a pointed ear, and then draw a small shape inside it to indicate the inner part of the ear.
You can tilt the ear slightly forward. Such small adjustments can make your horse’s personality stand out and appear more unique.
Step 11: Create the Mane Along the Neck
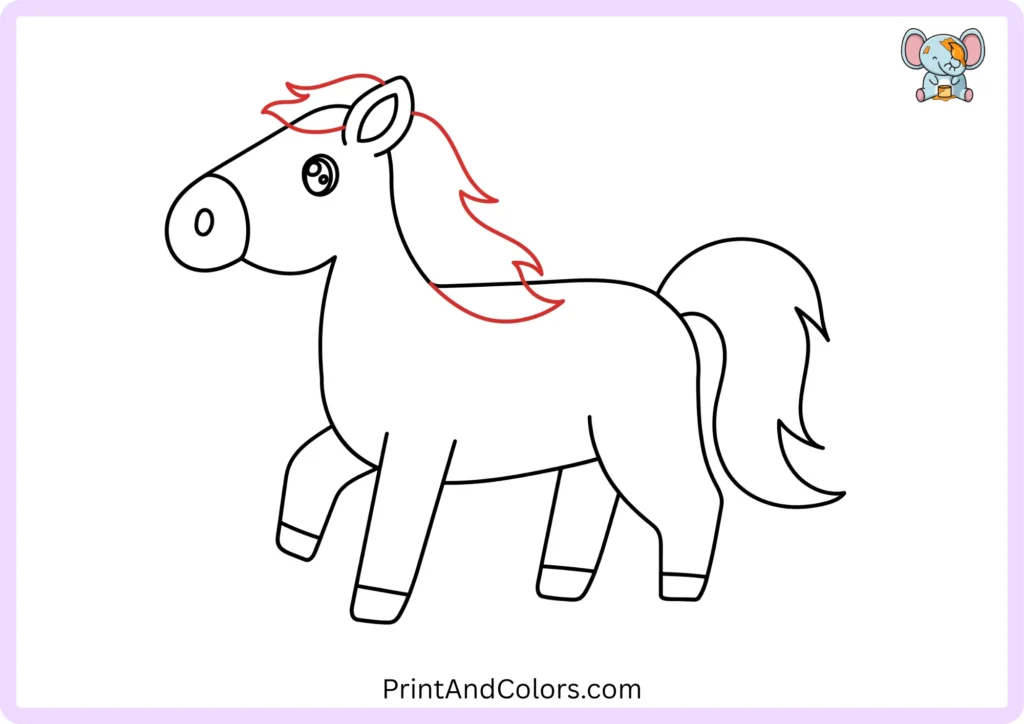
Now, add one of the horse’s most distinctive features: its mane.
Start near the top of the head and create a series of wavy, pointed sections that flow from behind the ear down along the neck.
The hair does not need to be perfectly symmetrical; in fact, uneven sections can make it look more natural and provide interesting areas for coloring.
Step 12: Finish the Friendly Face With a Mouth
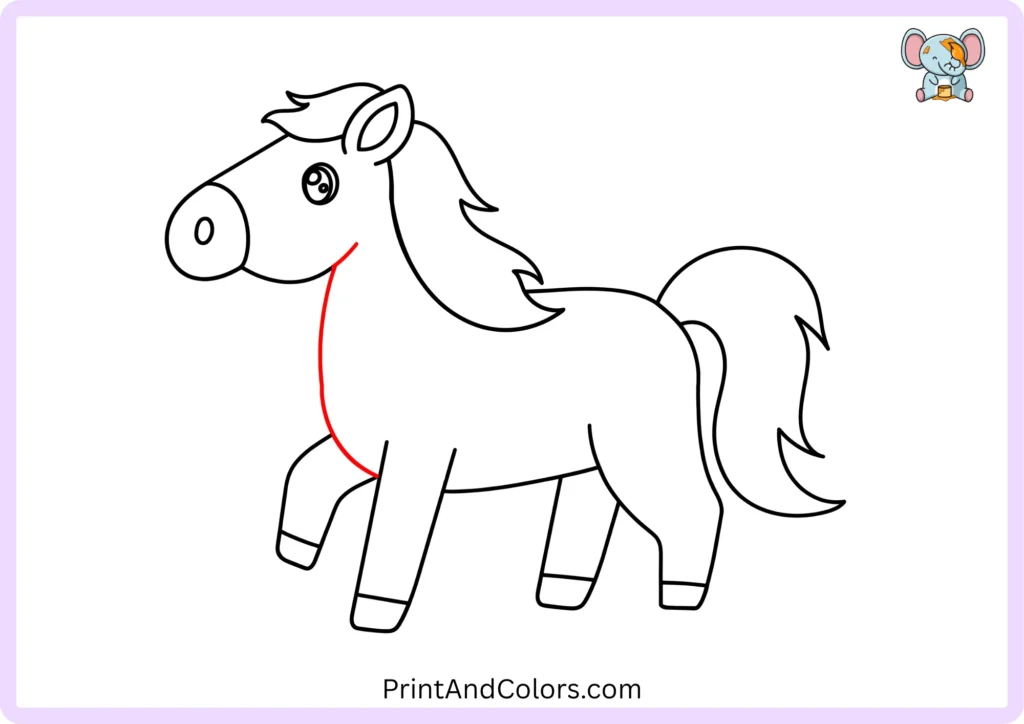
Complete the face by drawing a small, curved line for the mouth near the lower part of the muzzle.
Keep this line simple; the combination of the eye, nostril, and mouth is enough to give your horse a clear and friendly expression.
Before moving on to the coloring stage, take a moment to erase any unnecessary sketch lines and define or darken the outline you wish to keep.
Step 13: Bring the Horse to Life With Color
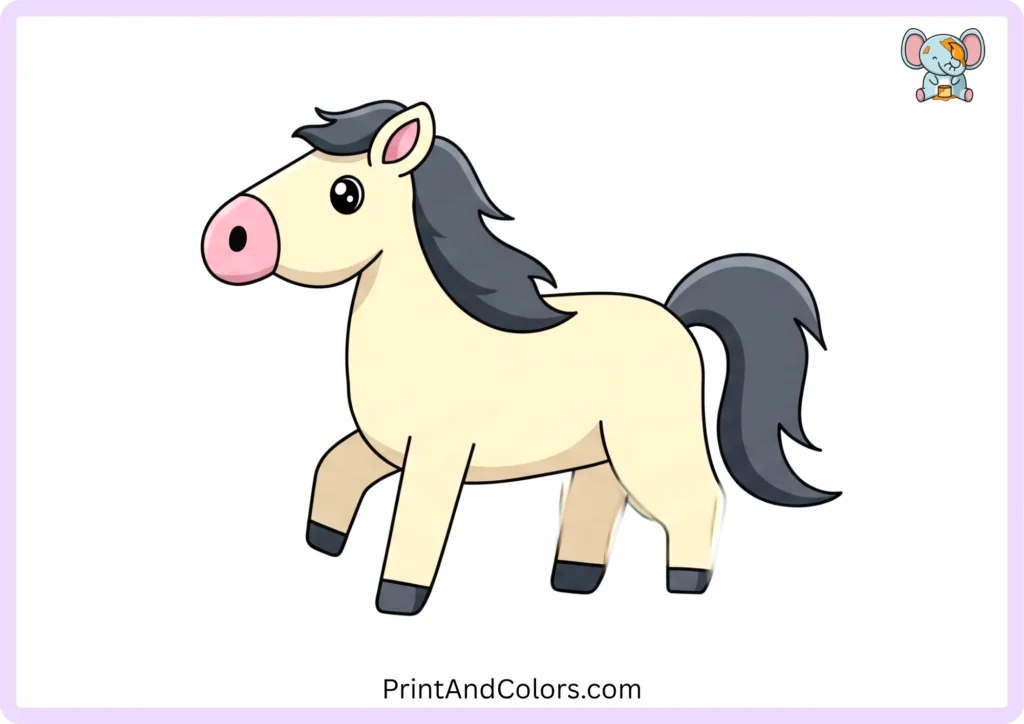
Your horse drawing is complete, so now it is time to color!
There is no single correct color for your drawing. Try a chestnut horse, a black horse, a gray horse or even a completely imaginative rainbow-colored horse.
Printable Horse Drawing PDF & Drawing Book
Want to practice without looking at your screen?
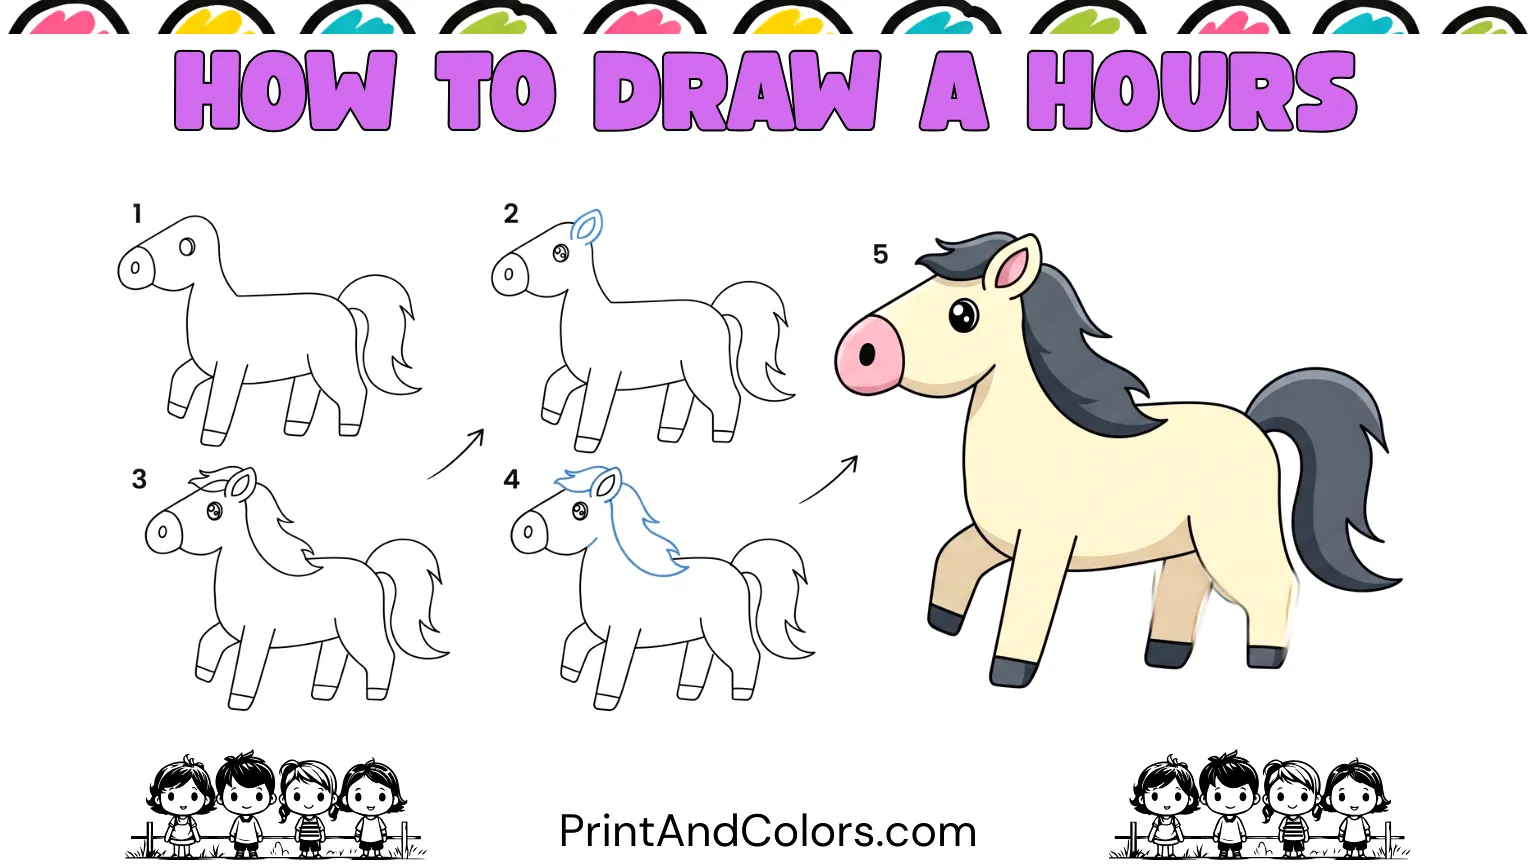
We have arranged the complete horse drawing lesson as a printable horse drawing PDF, with the stages placed in sequence so children can follow the drawing from the first basic shapes through the finished horse.
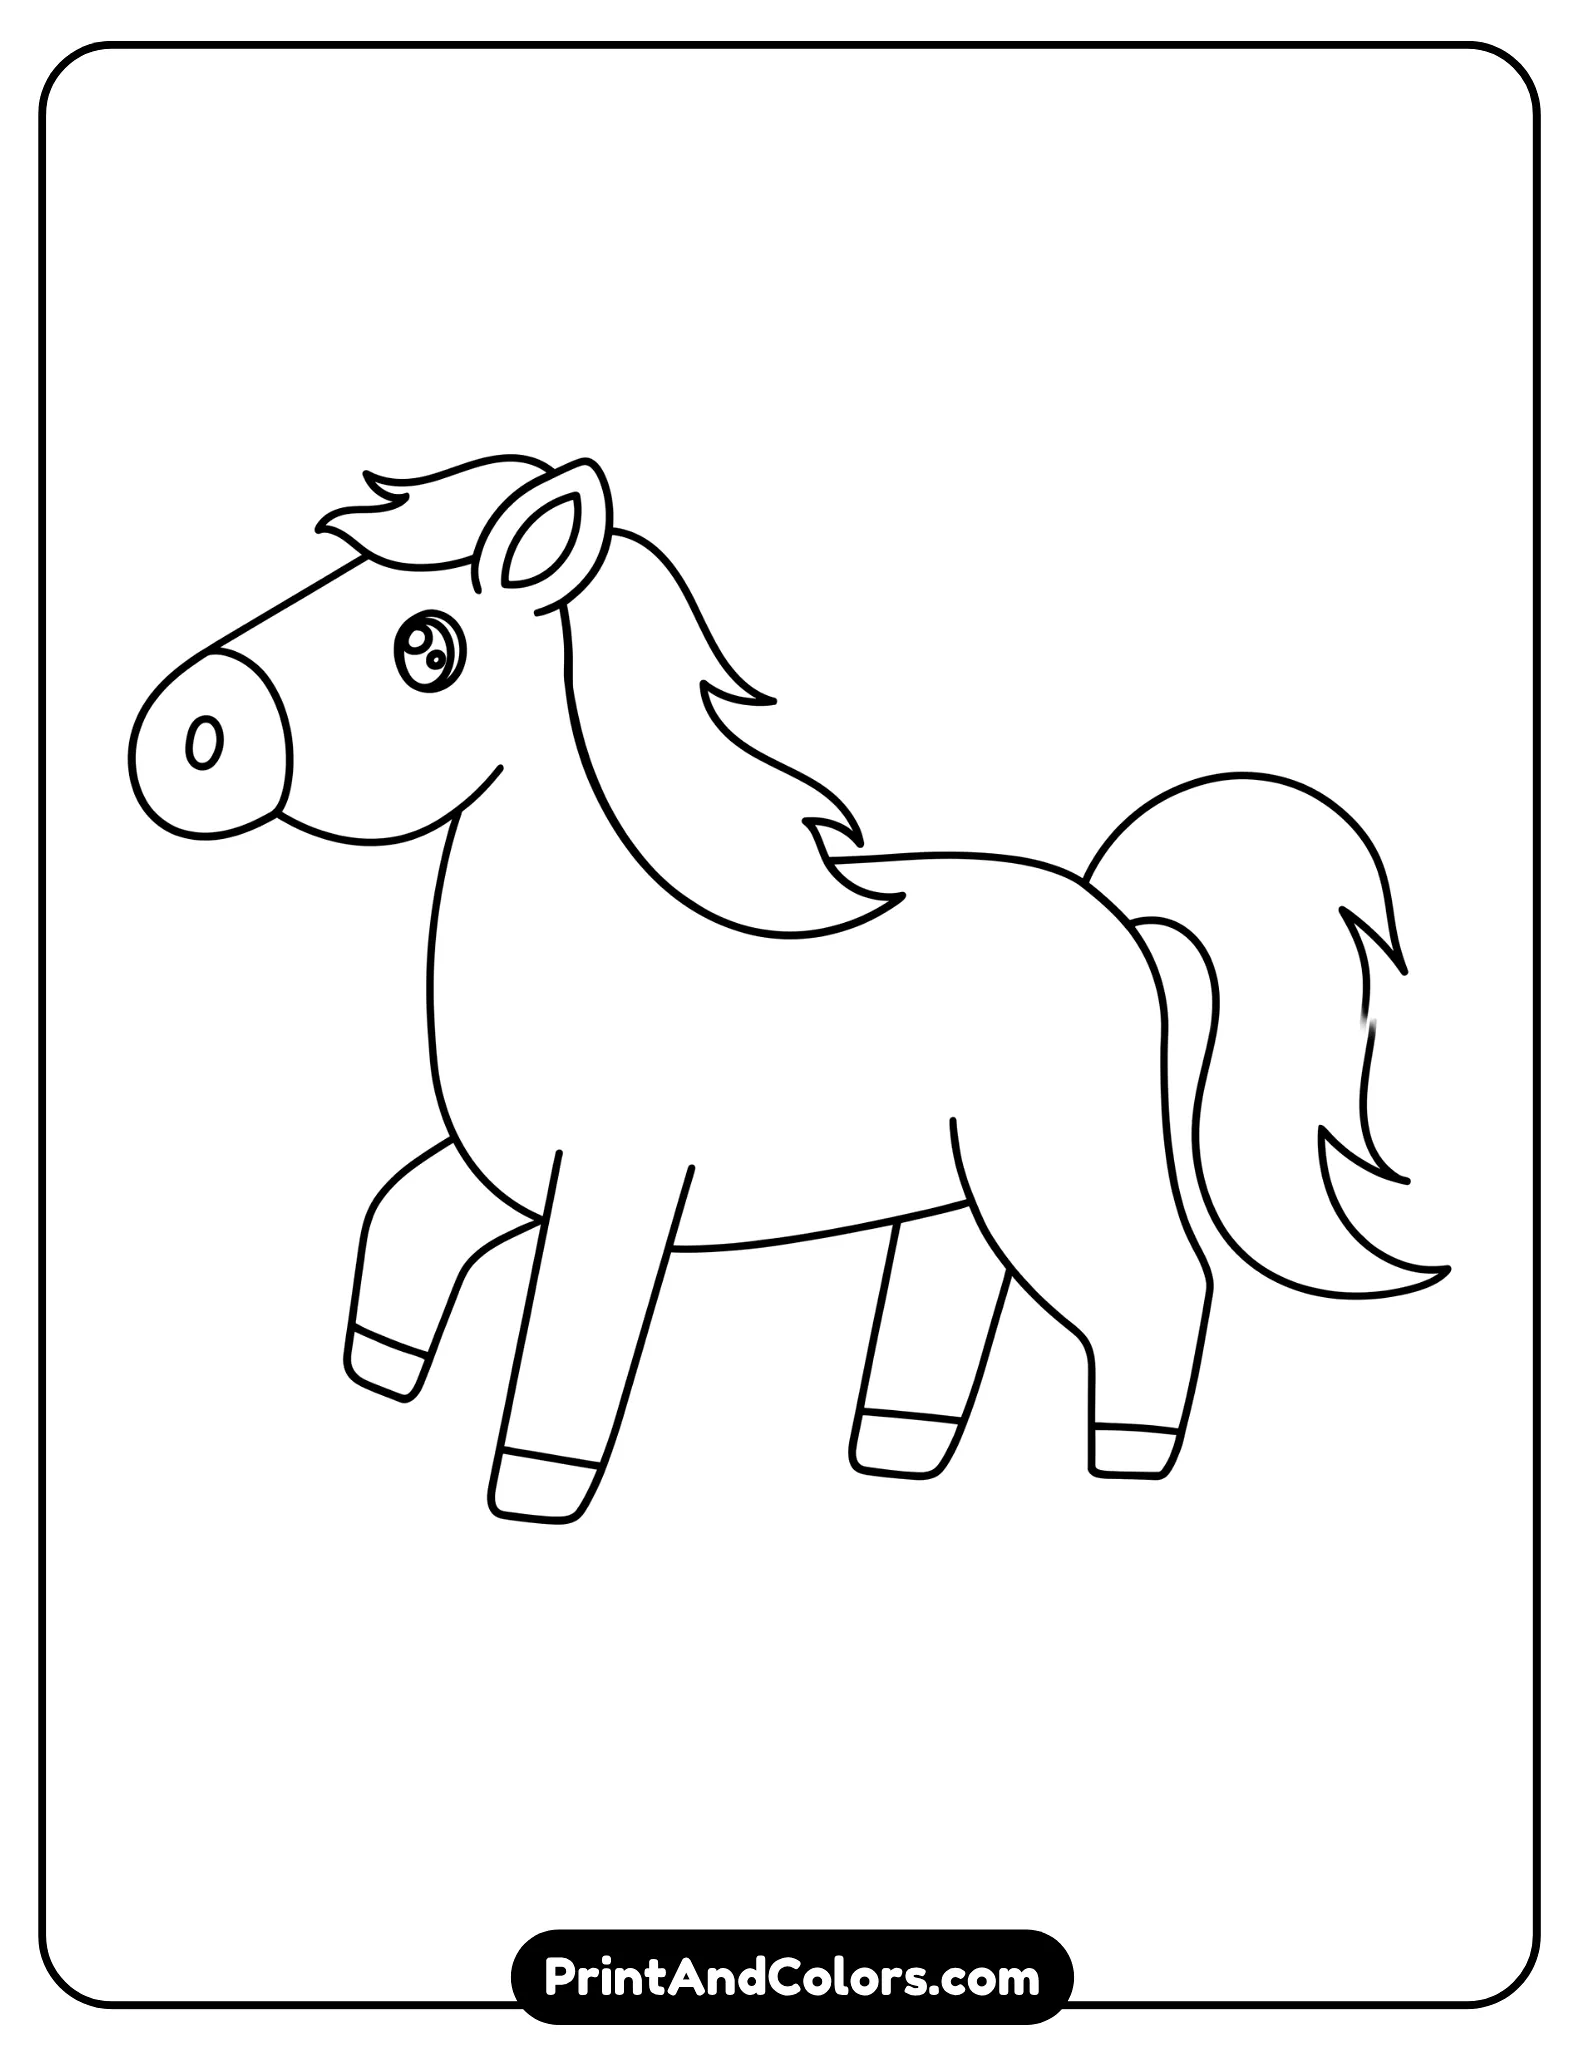
Printable Horse Drawing PDF & Book
Printable Horse Drawing PDF simple drawing steps arranged in order, designed for children and beginner artists
Print the complete lesson, keep the pages together as a small horse drawing book, and use it for home practice, classroom activities, art lessons or a quiet drawing session.
The printable version is especially useful because the entire sequence stays together instead of requiring you to scroll back and forth between individual steps.
Tips for Making Your Horse Drawing Easier
If this is your first attempt, do not worry if your horse does not look perfect immediately. Drawing improves through repetition.
Keep these beginner tips in mind:
- Start with light pencil lines.
- Think about the horse as several simple shapes rather than one complicated animal.
- Leave enough space between the legs.
- Make the neck and back gently curved.
- Keep the facial features relatively small.
- Use the mane and tail to add movement.
- Erase construction lines before coloring.
- Try the tutorial again after your first drawing and compare the two versions.
The goal is not to produce a perfect anatomical study. The goal is to understand how individual shapes work together to create a recognizable horse.
Frequently Asked Questions About Drawing a Horse
How do you draw a horse step by step?
The easiest method is to construct the horse using simple shapes. Start with the head and torso, connect them with the neck, draw the four legs, and then add the tail and hooves. Finally, fill in the details, such as the nostrils, eye, ears, mane, and mouth, then refine the outlines and add color.
What is the easiest way to draw a horse for beginners?
Instead of immediately trying to create a realistic horse anatomy, start with a simple cartoon horse in profile. Use round shapes for the head and body, curved lines for the neck and back, and simple, bent shapes for the legs. Adding facial features and the mane later makes the process much easier.
How can kids draw a horse easily?
Children can draw a horse by making one small change at a time. Start with the head and torso, then draw the neck and legs. Once the basic outline of the horse is recognizable, add details like the tail, hooves, and facial features. A printable worksheet with step-by-step instructions can make it easier to follow each stage.
What colors can I use for a horse drawing?
You can use almost any colors you like. Natural horse colors include brown, black, gray, white, tan and golden brown. For a creative children’s drawing, you can also experiment with unusual mane and body colors, patterns or colorful backgrounds.
Can I print the horse drawing tutorial?
Yes. A printable horse drawing PDF can turn the complete lesson into a practice worksheet or small drawing book. Printing the stages together allows children to keep the complete sequence beside them while drawing and coloring.
Your Horse Drawing Is Ready!
You have now built a horse from a few simple shapes into a complete drawing, including the head, body, neck, legs, hooves, muzzle, nostril, eye, ear, mane, tail and mouth.
On your second attempt, change the colors, make the mane longer, alter the tail position or give your horse a different expression. Once the basic construction becomes familiar, you can start experimenting with different horse poses and more detailed horse drawings.
Ready to practice? Print the complete Horse Drawing PDF Book, grab your pencils and start with Step 1.
Bring Every Imagination to Life
Premium Coloring Books & Instant Digital Printables
Transform your creative vision into high-quality, personalized coloring products perfect for gifts, education, or special events. Our team of illustrators crafts unique designs tailored to your exact needs.
4 Comments