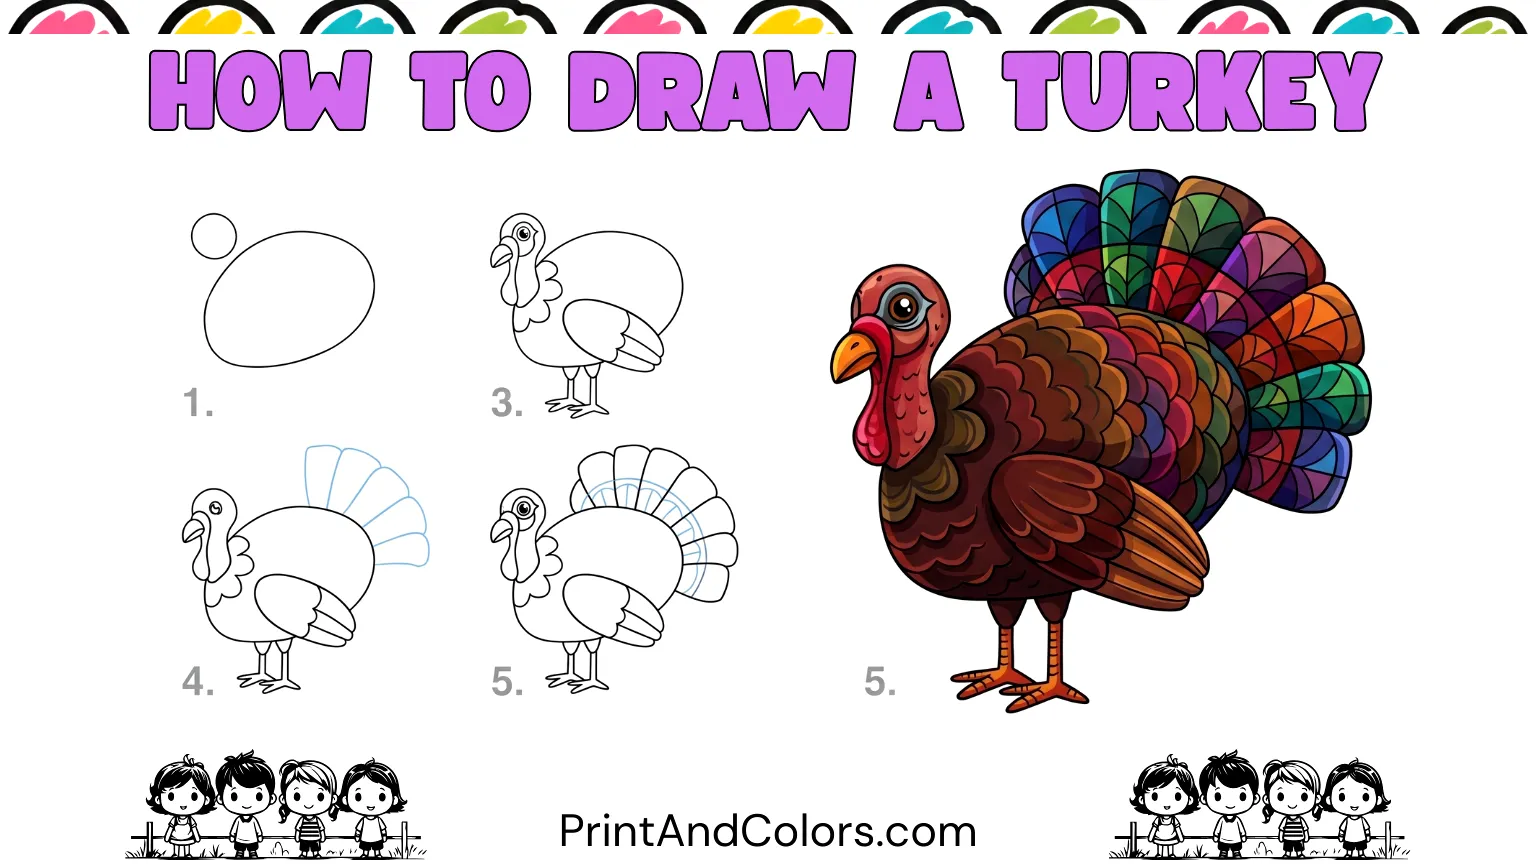
How to Draw a Turkey
Drawing a turkey might seem difficult at first, especially when you consider its large tail fan, detailed wings, long legs, and comical-looking wattle. But you don’t have to draw everything all at once.
In this easy turkey-drawing tutorial, we will build the bird by adding simple shapes one step at a time. You will start with the body and head, then add the wings, legs, face, feathers, and the large tail fan. Finally, you can outline and color your finished turkey.
This printable activity is designed for children, beginners, parents, teachers, and anyone looking for an easy Thanksgiving or autumn-themed drawing activity. You can follow the steps shown on the screen or use the printable turkey drawing PDF provided at the end of the tutorial.
Your next masterpiece awaits—try these stunning pages!
What You Need to Draw a Turkey
You don’t need a lot of art supplies. Just gather these items:
- Pencil
- Drawing paper
- Eraser
- Black marker or pen for outlining
- Crayons, colored pencils, or markers
- A printable guide for drawing a turkey (if you’d like to practice using a template)
Tip: Start by drawing light lines with your pencil. This makes it much easier to adjust the shape of the body, legs, and tail before adding darker colors or details.
Step 1: Draw the Turkey Body
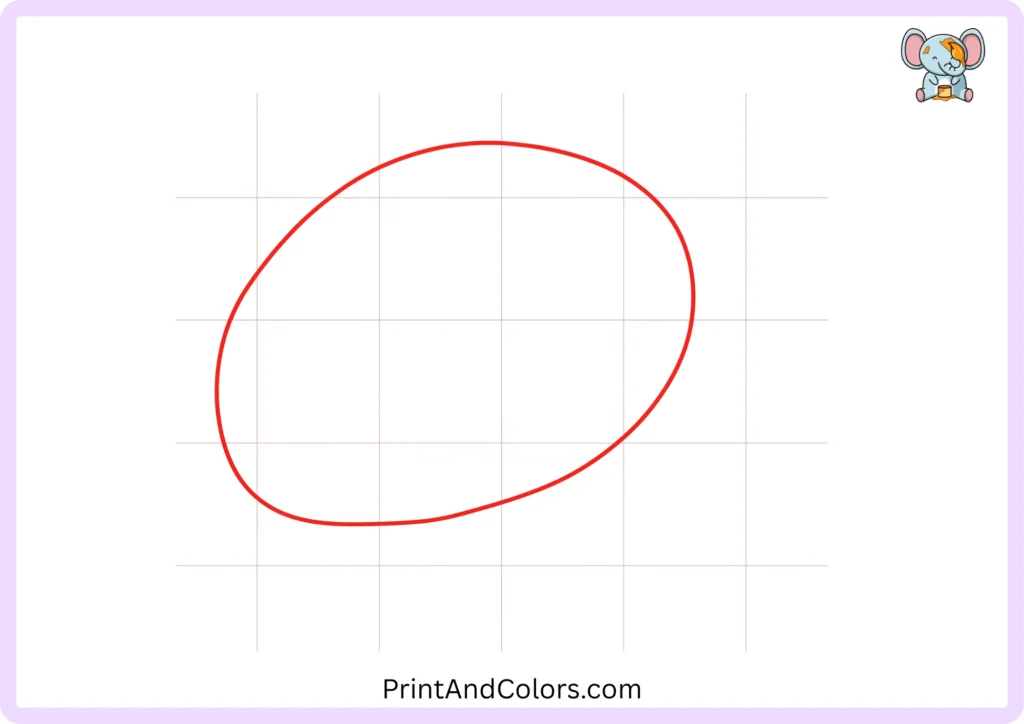
Start by drawing a large, round shape for the turkey’s body.
Instead of making the body a perfect circle, keep it slightly wider in the middle. Keep your pencil lines light, as we will build the rest of the turkey around this shape.
Step 2: Add the Head and Neck
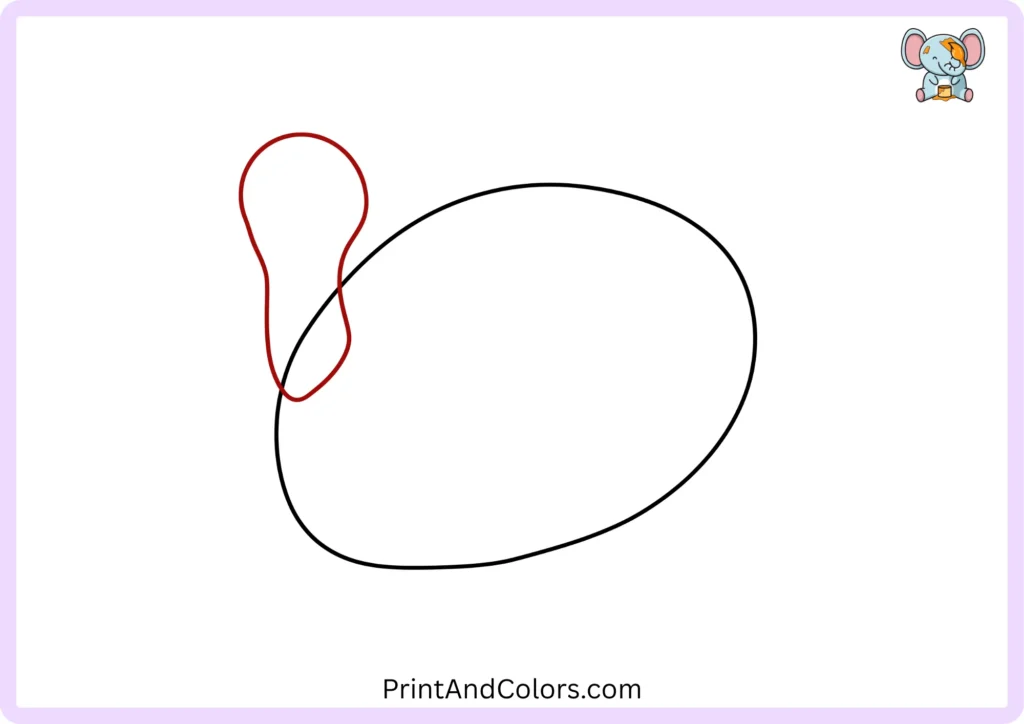
Now, draw the turkey’s head and neck on the upper left part of the body.
Give the head a rounded shape and keep the neck slightly thinner in the middle. Connect the neck to the body with a natural curve.
Do not worry if some of the sketch lines overlap or cross each other; these lines can be erased later.
Step 3: Draw the Turkey Wing
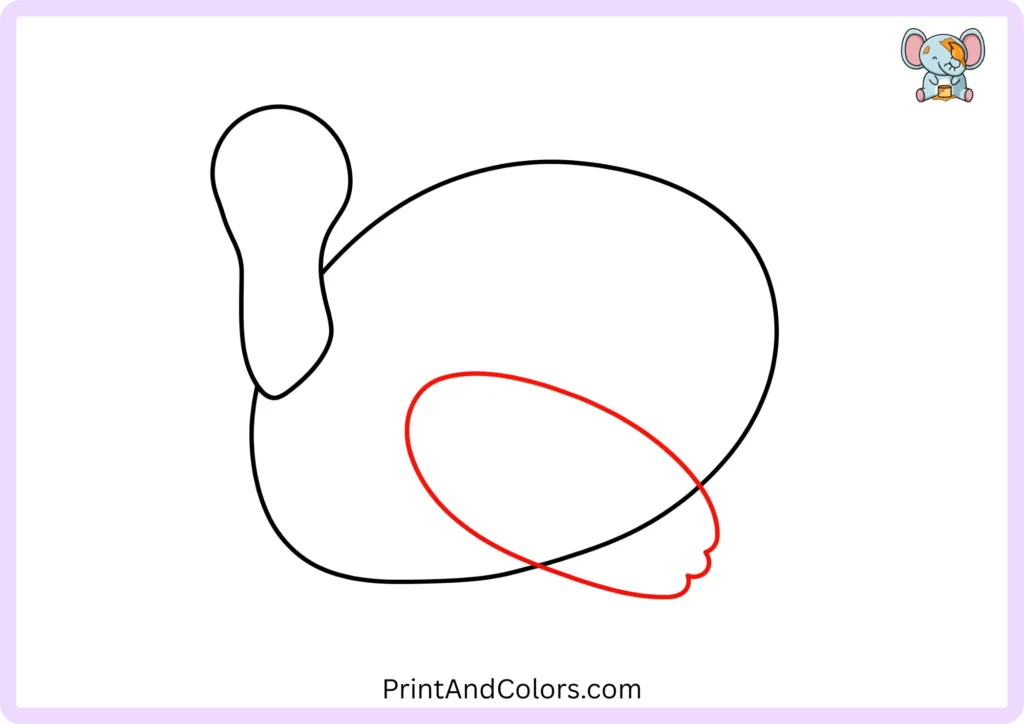
Inside the body, draw a large, curved shape for the wing.
The shape of the wing should follow the curve of the body rather than appearing completely flat. Finish the lower edge with a few small, rounded wing shapes.
Step 4: Add the Wing Feathers
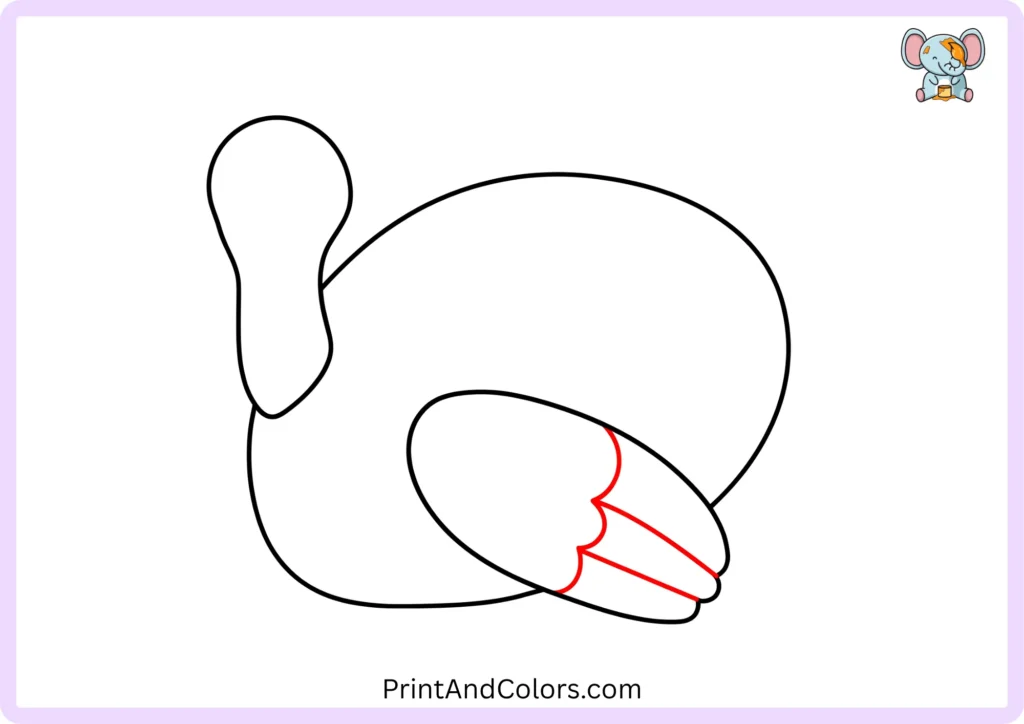
Draw two curved lines inside the wing.
These lines divide the wing into sections and make the simple shape look like a real bird’s wing.
For young children, these lines can be kept very simple; there is no need to draw each individual feather.
Step 5: Draw the Upper Legs
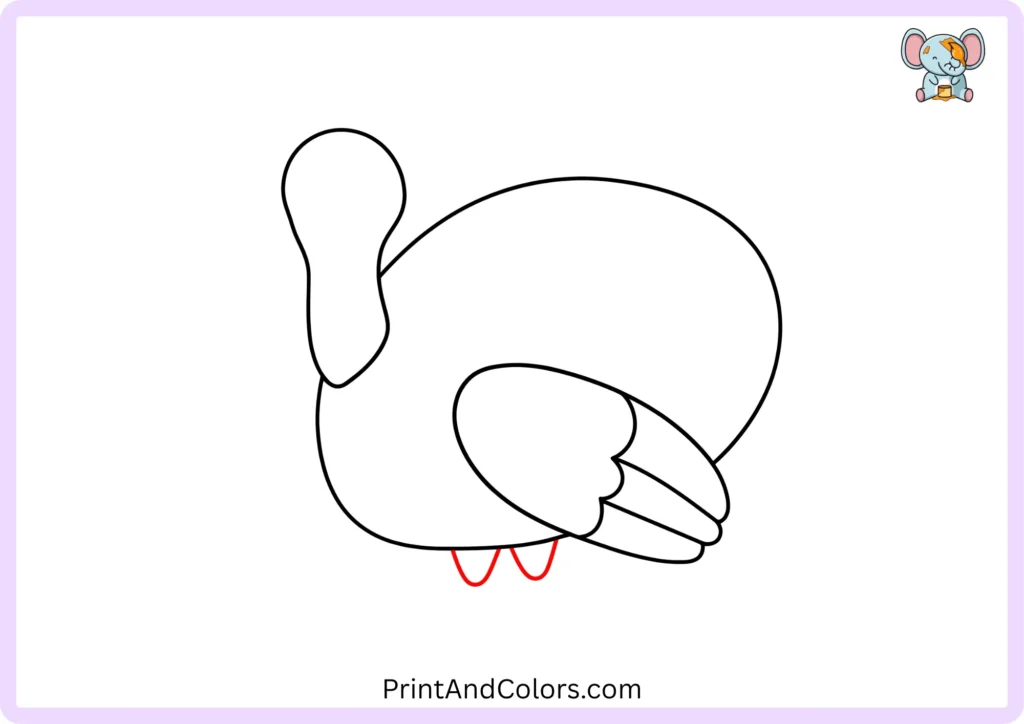
Below the body, draw two small, round shapes for the upper parts of the turkey’s legs.
Leave enough space between them so that the lower legs and feet can be clearly drawn in the next step.
Step 6: Add the Legs and Feet
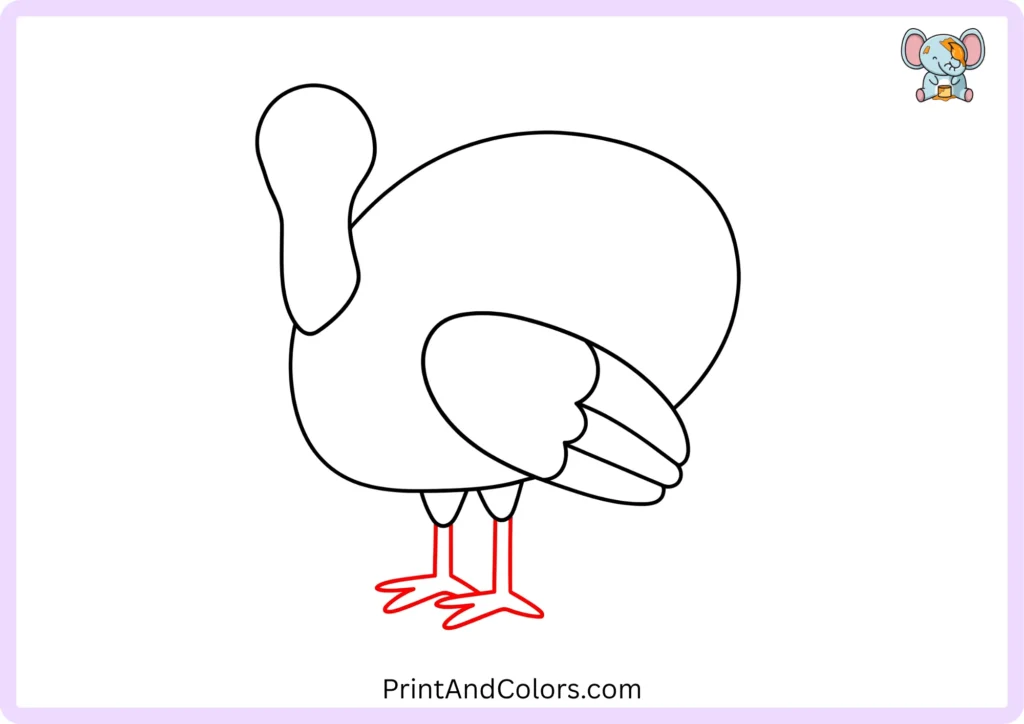
Draw two thin lines extending downwards from each of the upper leg sections to form the lower legs.
At the bottom, draw turkey feet with three pointed toes; keep the shape of the toes simple and splay them outwards.
If the feet don’t turn out perfectly on the first attempt, erase them and redraw them with a light touch. Since the feet are among the smaller, finer details of the drawing, getting them right might require a little practice.
Step 7: Draw the Chest Feathers
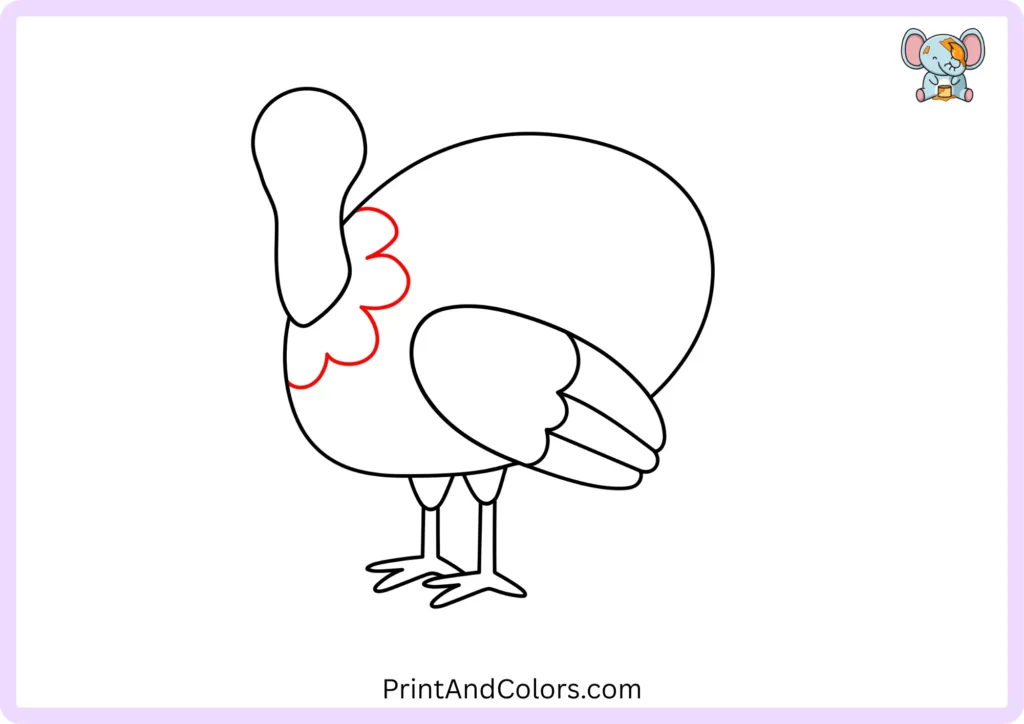
Between the neck and the body, draw a few interlocking curved lines to indicate the feathers on the turkey’s chest.
Use soft, rounded edges instead of sharp points or zigzag lines. These small curves help distinguish the neck from the body and give the turkey a soft, fluffy appearance.
Step 8: Add the Turkey Eye
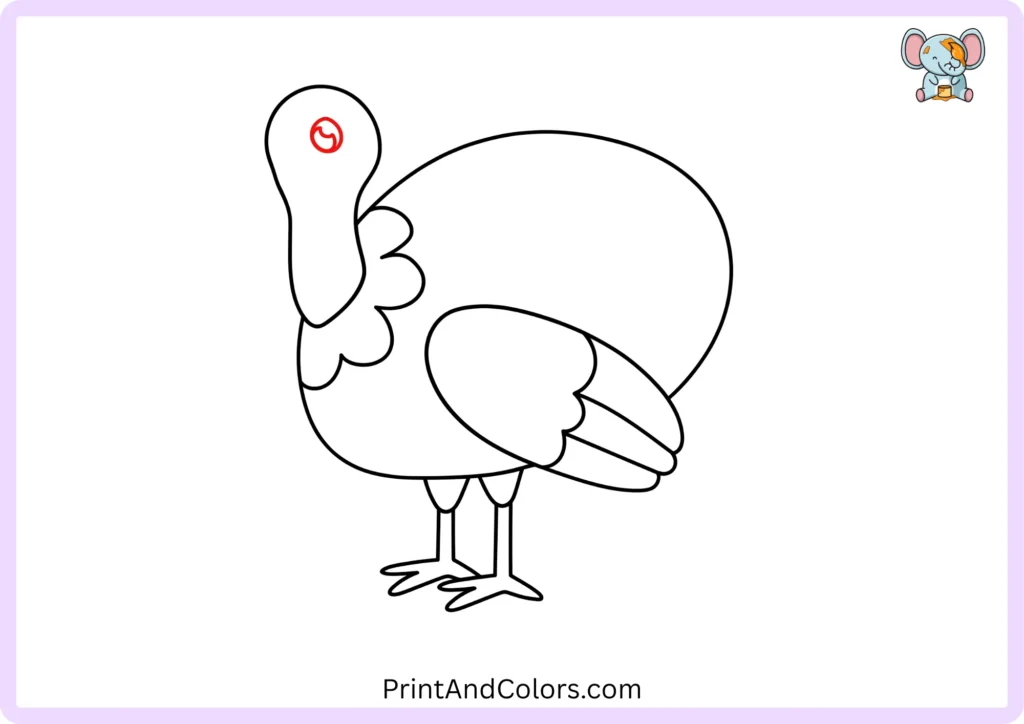
Draw a small circle for the turkey’s eye near the top of the head.
You can also draw one or two small white circles inside the eye to represent highlights (glints of light). Do not fill these areas with color later, so that the eye appears brighter.
Step 9: Draw the Beak
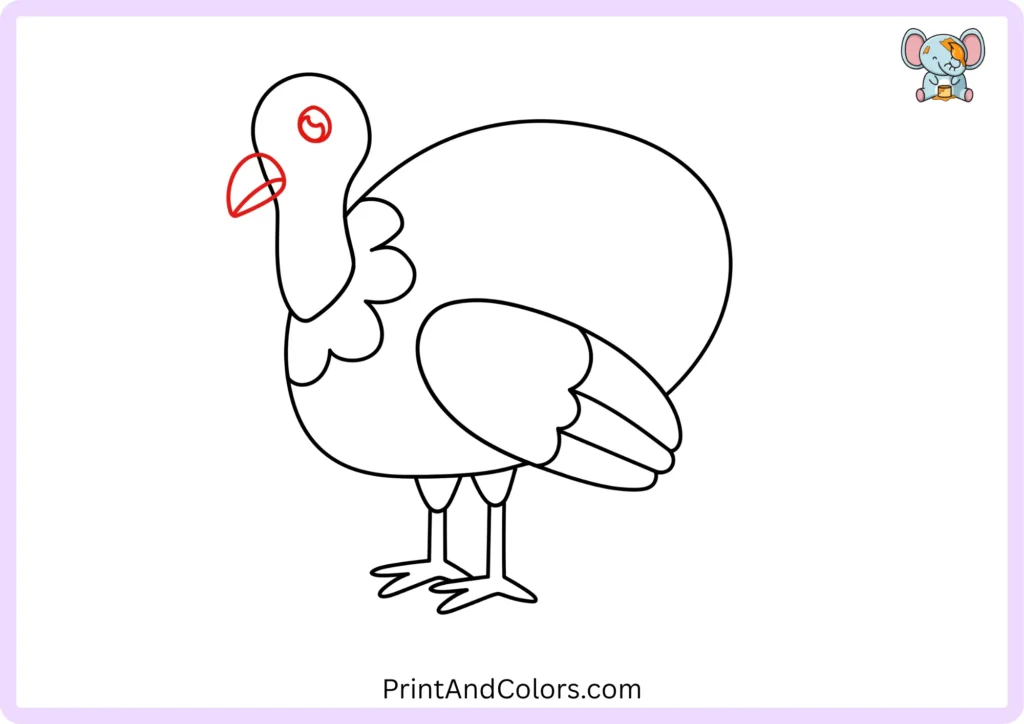
Draw the turkey’s beak on the front of its head.
Use two simple curved shapes for this: one for the upper part of the beak and the other for the lower part. The upper part can be slightly larger.
Do not make the beak too long. A short, curved beak keeps the drawing charming and easy for beginners.
Step 10: Add the Wattle
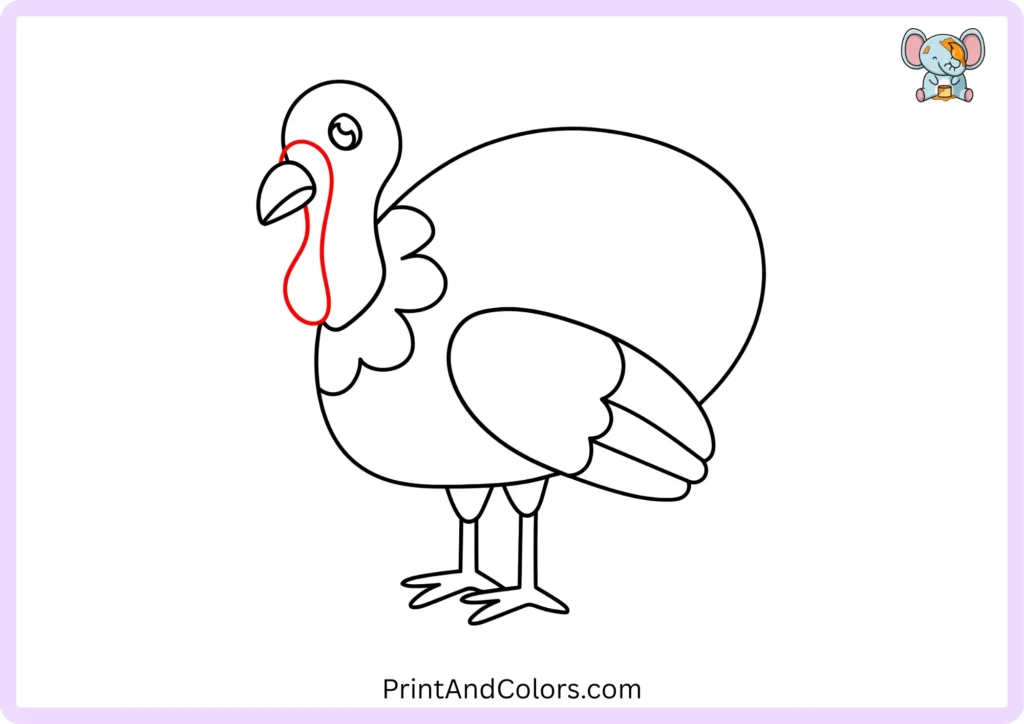
Now, give your turkey one of its most distinctive features, the ‘wattle’.
Draw a long, curved shape hanging down from beneath and alongside the beak. The ‘wattle’ is that fleshy red part that makes a turkey’s face so instantly recognizable.
Instead of making the shape perfectly symmetrical, keep it slightly loose and rounded.
Step 11: Draw the Tail Feather
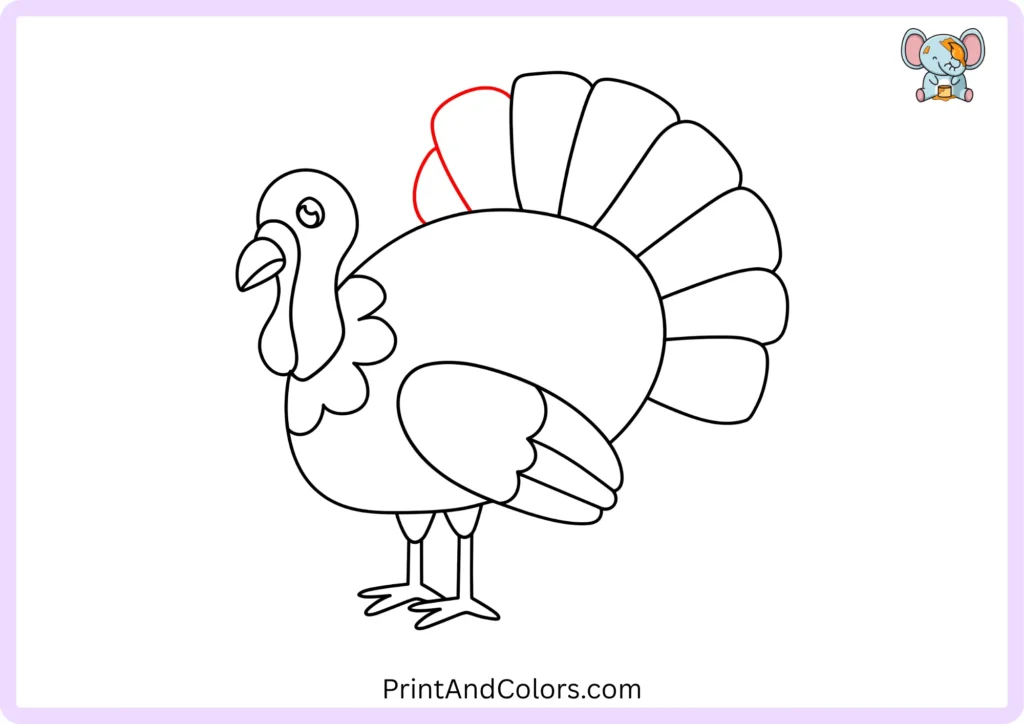
Now, let’s move on to the turkey’s most prominent feature: its tail.
At the rear of the body, draw the first large, rounded tail feather. Extend it outward so that the initial fan-like shape is clearly visible.
Visualize the tail as a cluster of feathers spreading outward from the back of the body.
Step 12: Add the Tail Details
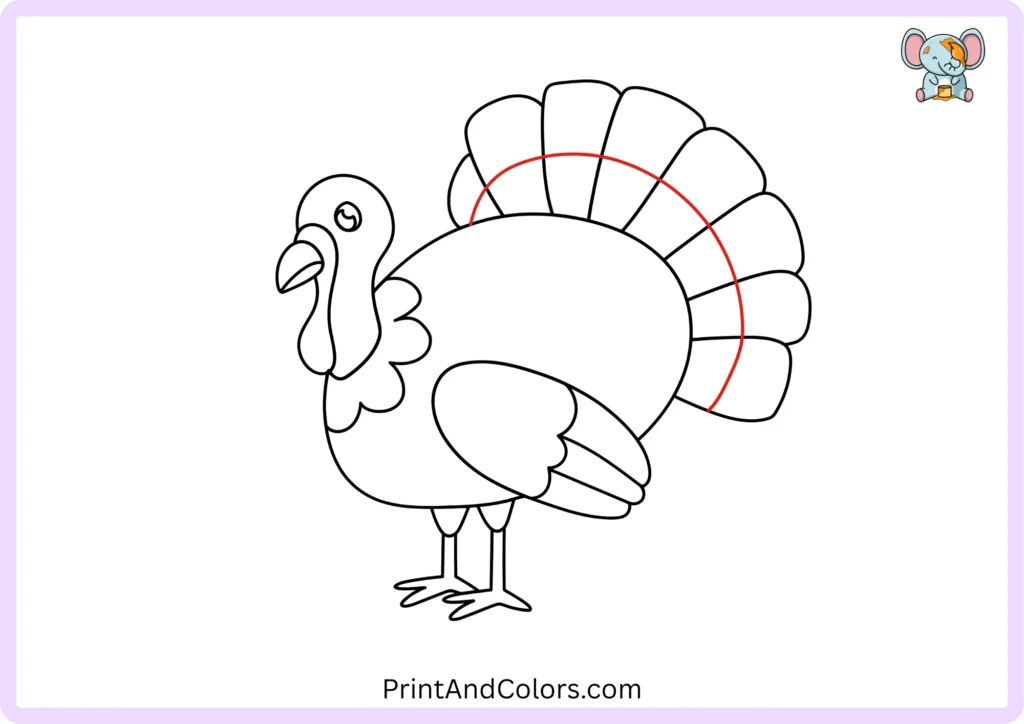
Draw two additional rounded feathers around the first tail feather.
Vary the direction and size of each feather slightly. Introducing subtle differences rather than making the feathers identical gives the tail a more natural appearance.
It is also helpful to consider ‘radial symmetry’ here, meaning the feathers fan out from a central point like the rays of the sun. This type of balance is often used in drawing lessons that teach children how to draw a turkey.
Step 13: Add the Details
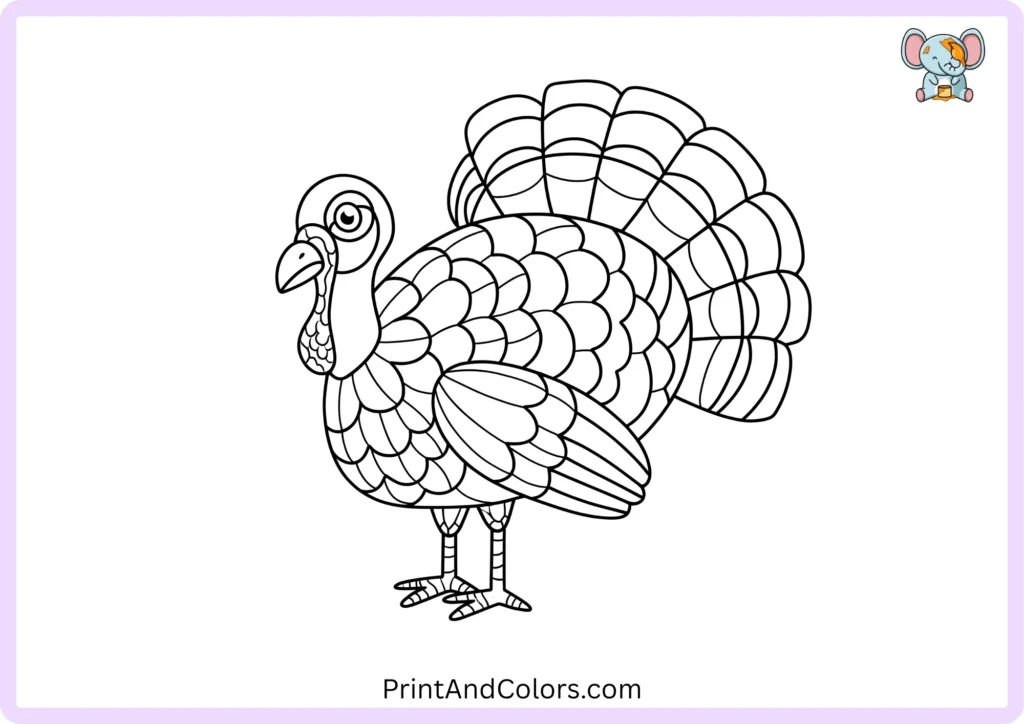
Continue building the tail fan by adding the remaining feathers around the back of the turkey.
Then add simple detail lines to the tail, wing, and body feathers. You can also clean up overlapping construction lines with your eraser.
At this stage, check the overall drawing:
- Does the head connect naturally to the body?
- Are both legs visible?
- Does the tail fan spread behind the body?
- Is the eye in the upper part of the head?
- Are the wing and chest clearly separated?
You don’t need perfect symmetry. Small differences give a hand-drawn turkey its personality.
Step 14: Color the Turkey
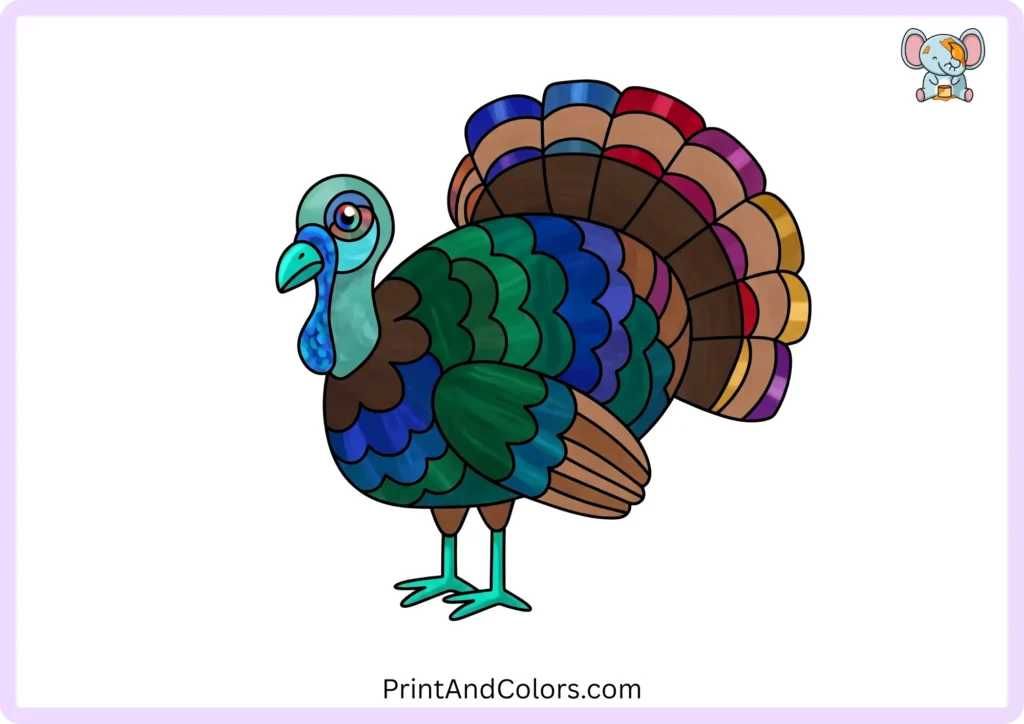
Your turkey drawing is ready to color!
A traditional cartoon turkey can use brown for the body, darker brown for the wing, orange or yellow for the beak and feet, red for the wattle, and several shades of brown or orange for the tail feathers.
You can also experiment with autumn colors such as:
- Golden yellow
- Rust orange
- Warm brown
- Tan
- Dark red
- Burgundy
There’s no single correct color combination. Real turkeys can show surprisingly varied feather colors, while a children’s turkey drawing can be much more colorful and playful.
Printable Turkey Drawing PDF & Book
We have prepared a printable PDF of a turkey drawing that consolidates the entire drawing process into a single, easy-to-follow guide. You can print these pages, practice each step with a pencil, and color in your finished turkey once the drawing is complete.
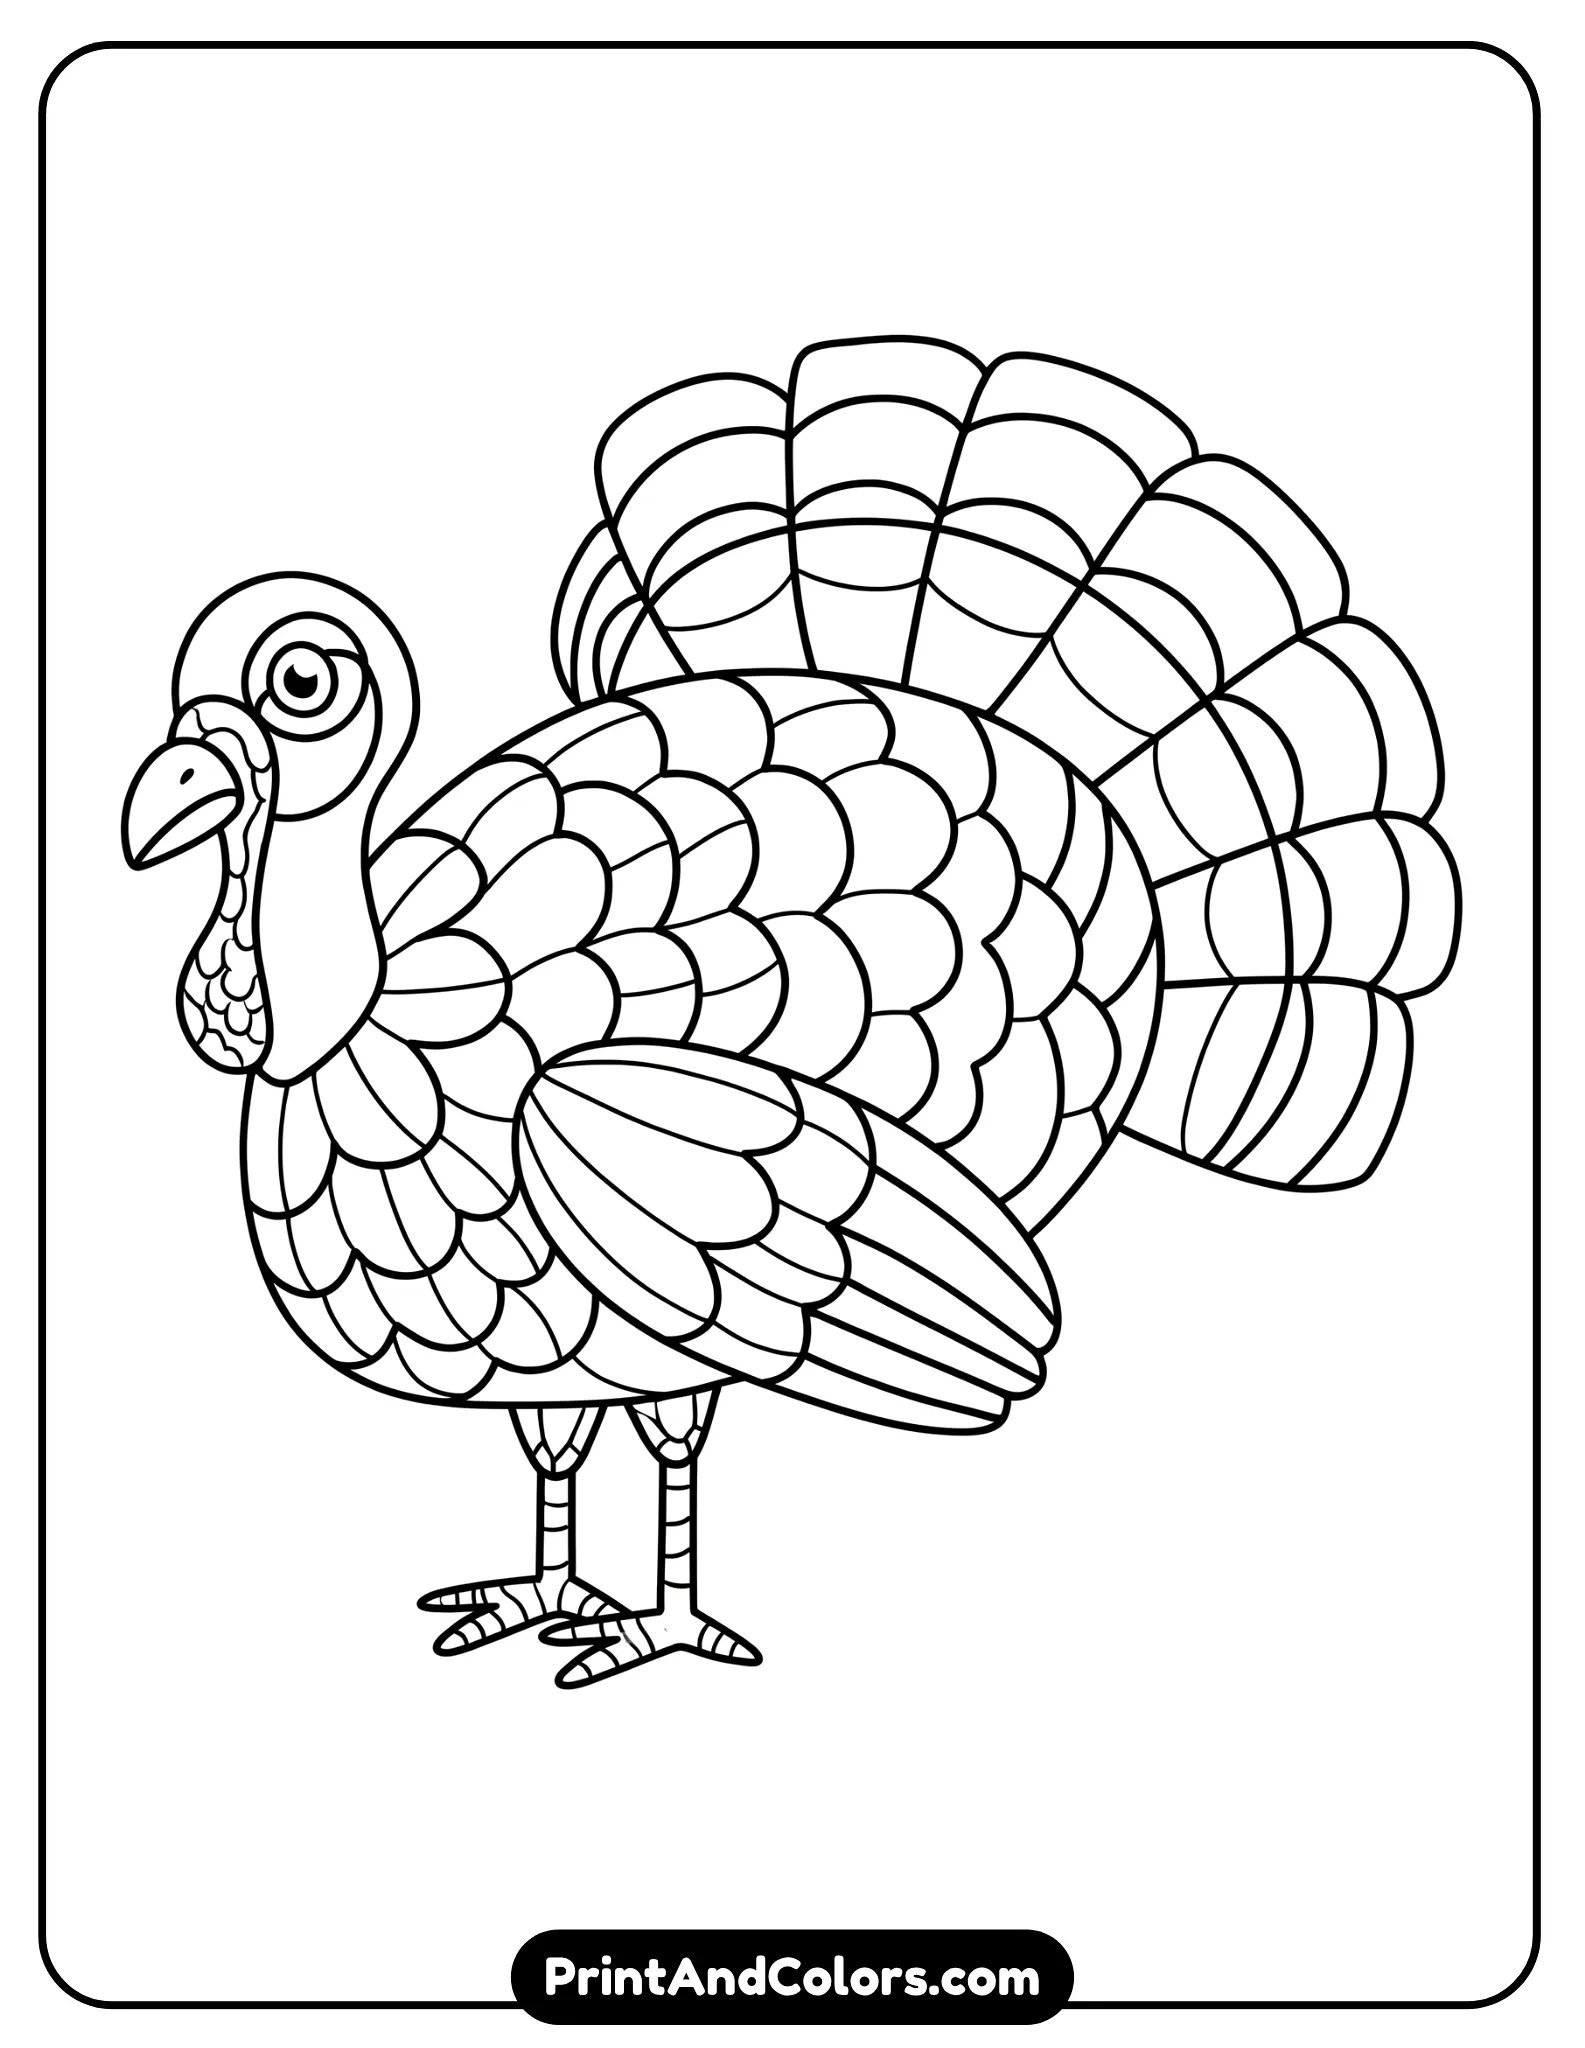
Printable Turkey Drawing PDF & Book
Printable turkey drawing PDF book showing step-by-step turkey drawing and coloring pages for kids
How to Make Your Turkey Drawing Look Better
A few small changes can make a big difference.
- Start lightly. Construction lines should be easy to erase.
- Build the tail gradually. Instead of trying to draw the entire fan in one complicated outline, add individual feathers around the body.
- Use different feather sizes. Perfectly identical feathers can make the tail look mechanical.
- Add a little texture. Short curved lines inside the wing and tail suggest feathers without requiring complicated detail.
- Outline at the end. Once you’re happy with the pencil sketch, trace the important lines with a black pen or marker. Then erase the remaining pencil marks after the ink has dried.
- Add a ground line or autumn background. A few leaves, pumpkins, grass, or a simple shadow can turn the turkey into a complete fall illustration. Other turkey tutorials use environmental elements such as pumpkins, leaves, and ground shadows to give the drawing more context.
Frequently Asked Questions
How do you draw a turkey step by step?
Start with the turkey’s round body, then form its head and curved neck. Next, draw the wings, the upper and lower parts of the legs, and the feet; then, add details for the chest feathers, eye, beak, and wattle. Finally, complete the large, fan-shaped tail, wing details, the outline, and the coloring.
What is the easiest way to draw a turkey?
The easiest method is to break the turkey down into basic shapes. Start with the round body, then add the small head and curved neck, followed by the wings, legs, face, and tail one by one. Drawing light initial lines (construction lines) with a pencil makes it much easier to make corrections.
How do you draw a turkey for kids?
Use large, simple shapes and avoid complicated feather details at first. Children can begin with the body and head, then add the wing, legs, face, and tail. A step-by-step printable worksheet is useful because each stage shows exactly what needs to be added next.
What colors should you use for a turkey drawing?
Try brown or dark brown for the body, orange or yellow for the beak and feet, and red for the wattle. The tail can use several shades of brown, orange, yellow, red, and tan. Kids can also choose their own autumn-inspired color combinations.
How do you draw a turkey tail?
Start behind the turkey’s body and create several large rounded feathers spreading outward from a central point. Add more feathers around the first ones to create a fan shape. Then draw curved lines inside the feathers to add texture and detail.
Can I print the turkey drawing steps?
Yes, a printable PDF file featuring the turkey drawing can make it easy to carry out this activity at home or in the classroom. You can print out the full drawing steps, practice each stage on paper, and color the finished turkey, all without needing to keep the tutorial open on your screen.
Finish Your Turkey Drawing
You have now created a complete turkey using simple shapes, from the body, head, neck, and wings to the legs, feet, eye, beak, wattle, and the large fan of tail feathers.
The key isn’t to make every line perfect; it’s about learning how the shapes fit together and then adding your own personality through feathers, expressions, background details, and colors.
Bring Every Imagination to Life
Premium Coloring Books & Instant Digital Printables
Transform your creative vision into high-quality, personalized coloring products perfect for gifts, education, or special events. Our team of illustrators crafts unique designs tailored to your exact needs.
One Comment