
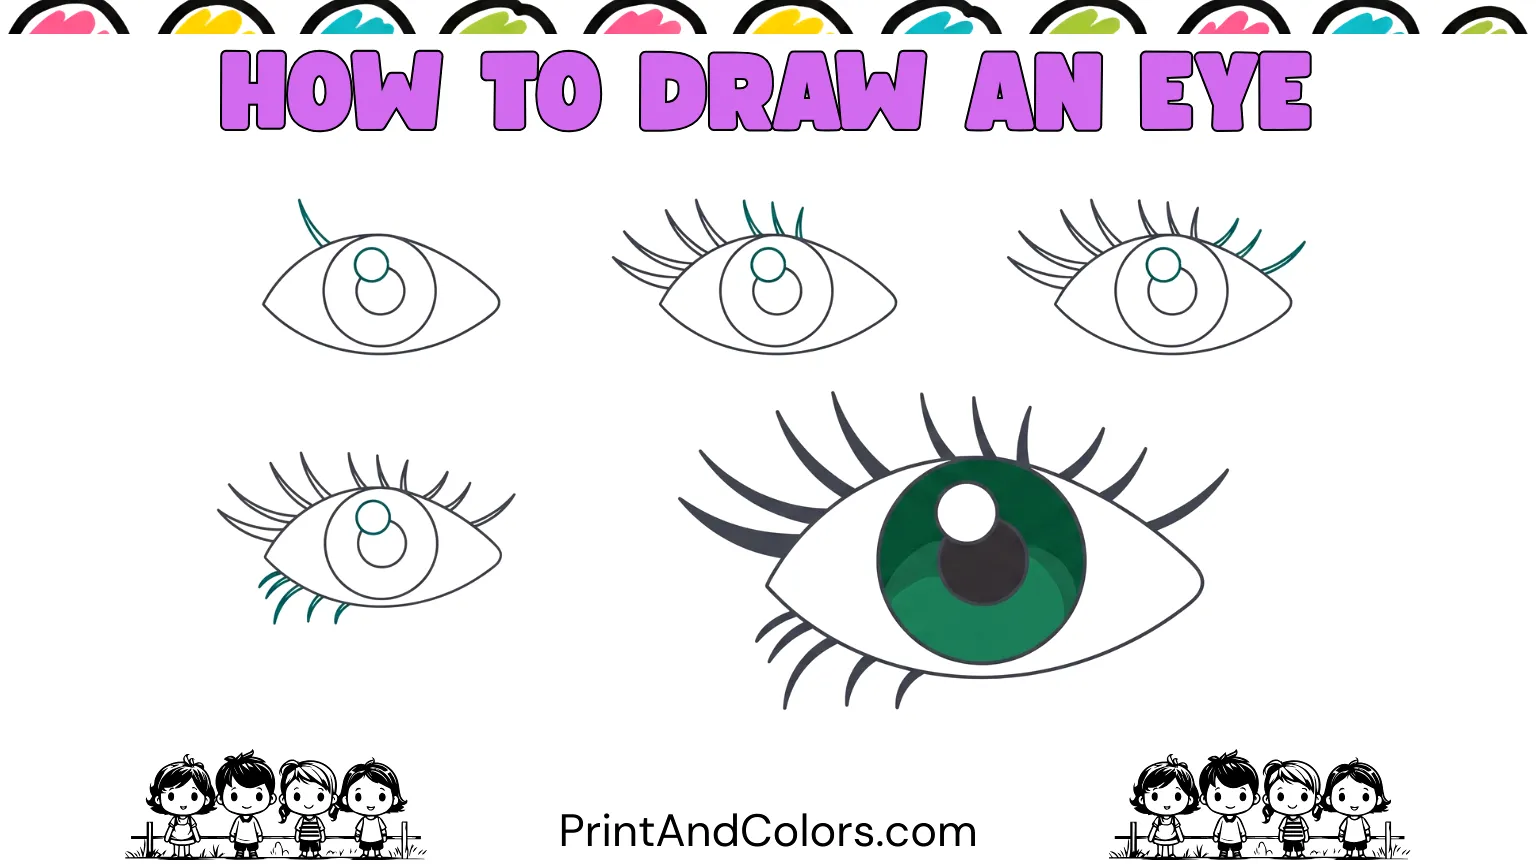
How to Draw an Eye
Eyes are among the most fascinating elements to draw because just a few simple lines can convey a range of expressions, such as happiness, surprise, or drowsiness, on a face. The best part is that you don’t need advanced drawing skills to get started.
In this easy tutorial, we will create a drawing using a few simple shapes. You will begin with the outer outline of the eye and then add the iris, pupil, highlight (light reflection), eyelashes, and color. By the end, you will have a complete eye drawing that you can color, use for further practice, or print out as a worksheet.
This guide has been specially prepared for children, beginners, parents, teachers, and anyone practicing basic drawing skills.
Your next masterpiece awaits—try these stunning pages!
Step 1: Shape the Outer Eye
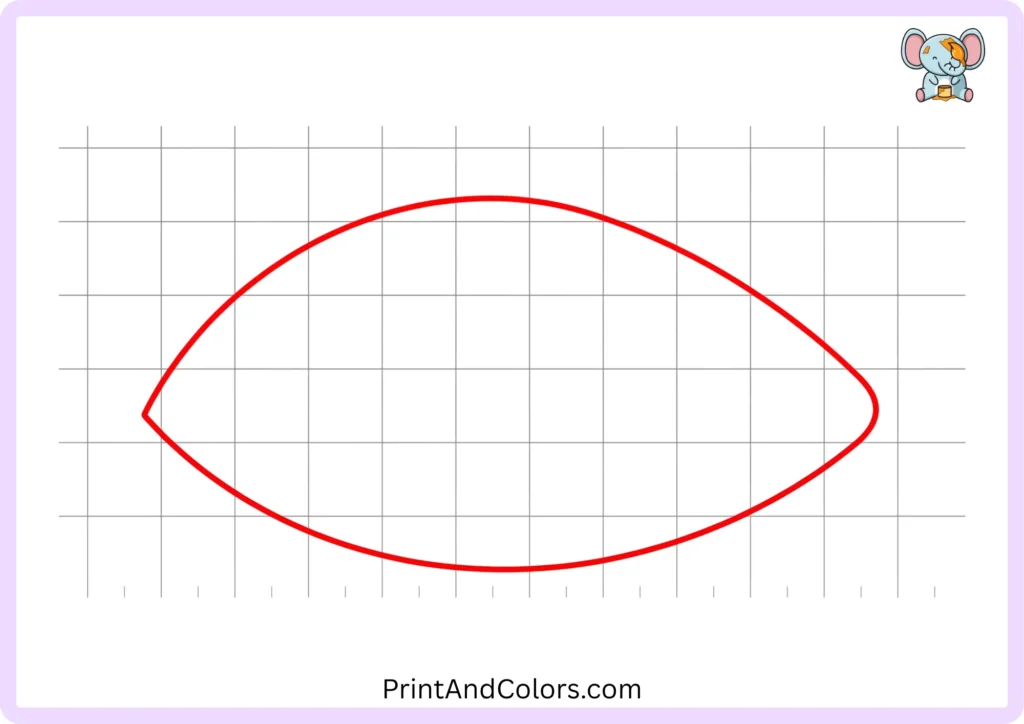
Start with the basic shape of the eye.
Draw two long, curved lines: one for the upper edge and the other for the lower edge. Connect their ends so that the eye takes on a pointed shape at both sides.
Don’t worry if your first attempt isn’t perfectly symmetrical; a slightly irregular line can give your drawing a natural look.
Step 2: Place the Iris
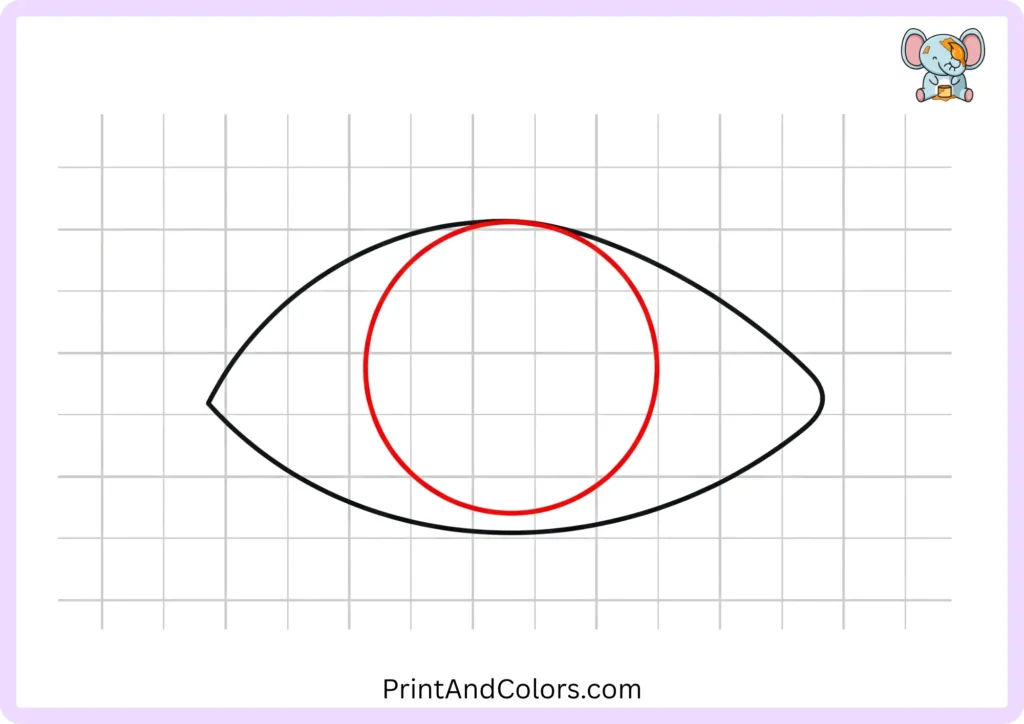
Now, create the key circular detail of the eye.
Draw a large circle inside the eye’s outer outline to form the shape of the iris. Position it towards the center, allowing the top and bottom parts of the circle to touch the outer shape of the eye.
For a simple, beginner-level drawing, a standard circle works perfectly.
Step 3: Create the Pupil
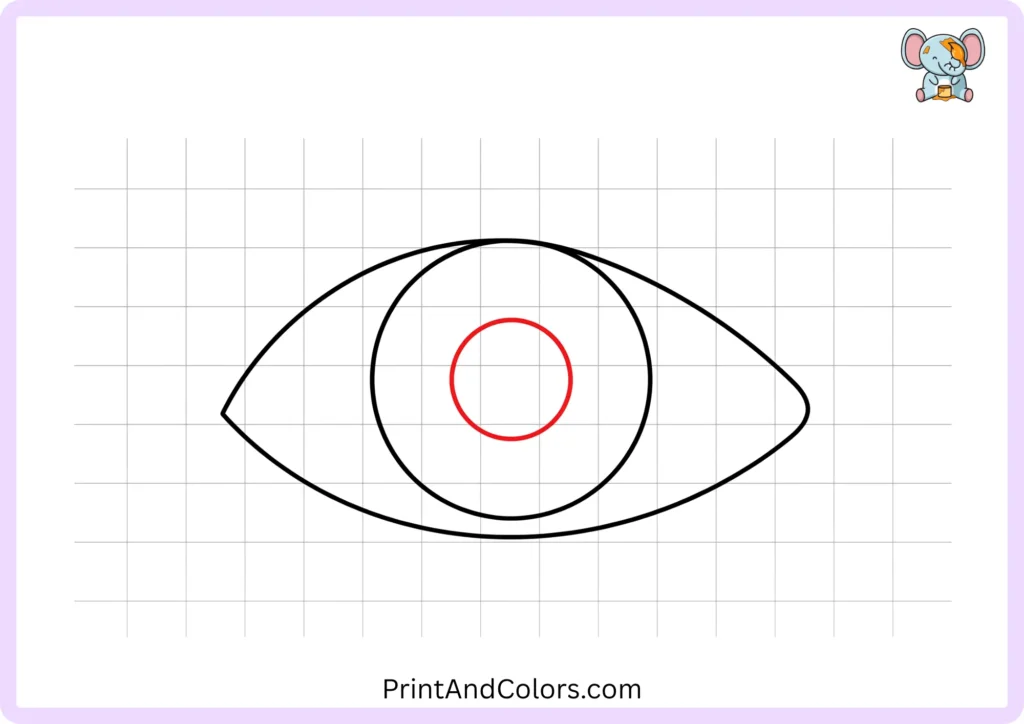
Draw a small circle for the pupil inside the iris.
The pupil is the black central part of the eye. Leave enough space between the pupil and the iris so that the colored ring around it is clearly visible.
Position this circle relatively in the center to make creating a balanced and symmetrical drawing easier.
Step 4: Add a Bright Eye Spark
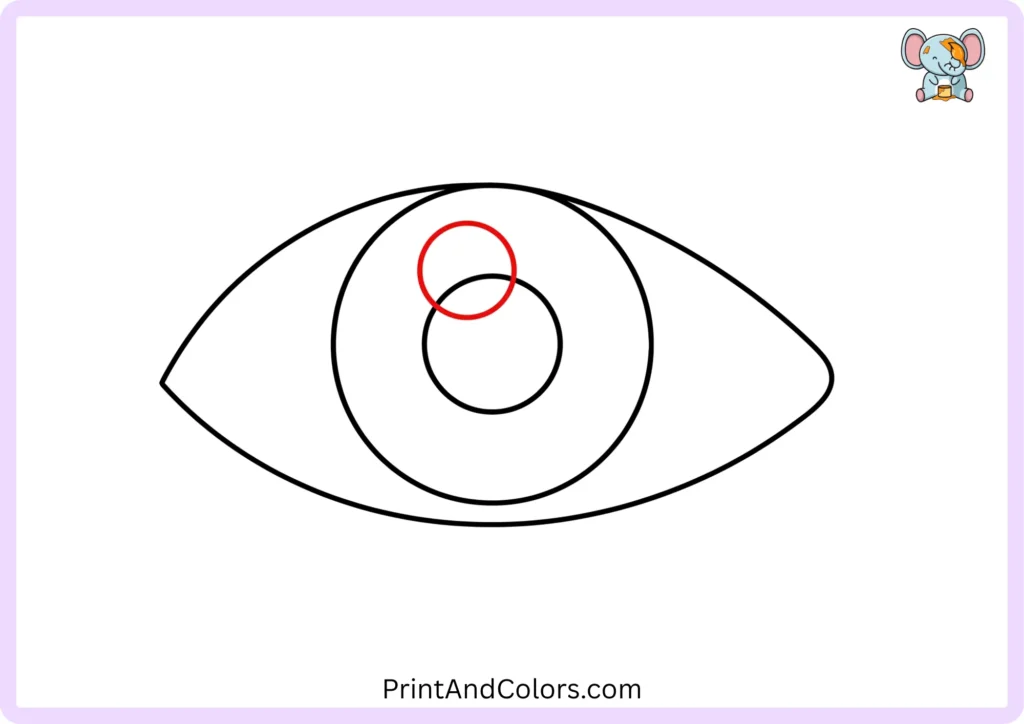
Here is a small detail that makes a huge difference.
Draw a small circle within the upper part of the pupil. This will become the eye’s ‘highlight’ (a point of gleam).
Leave this small area white when coloring the drawing. This contrast between the dark pupil and the white highlight helps make the eye appear more luminous and expressive.
Step 5: Sweep Up the Left Lashes
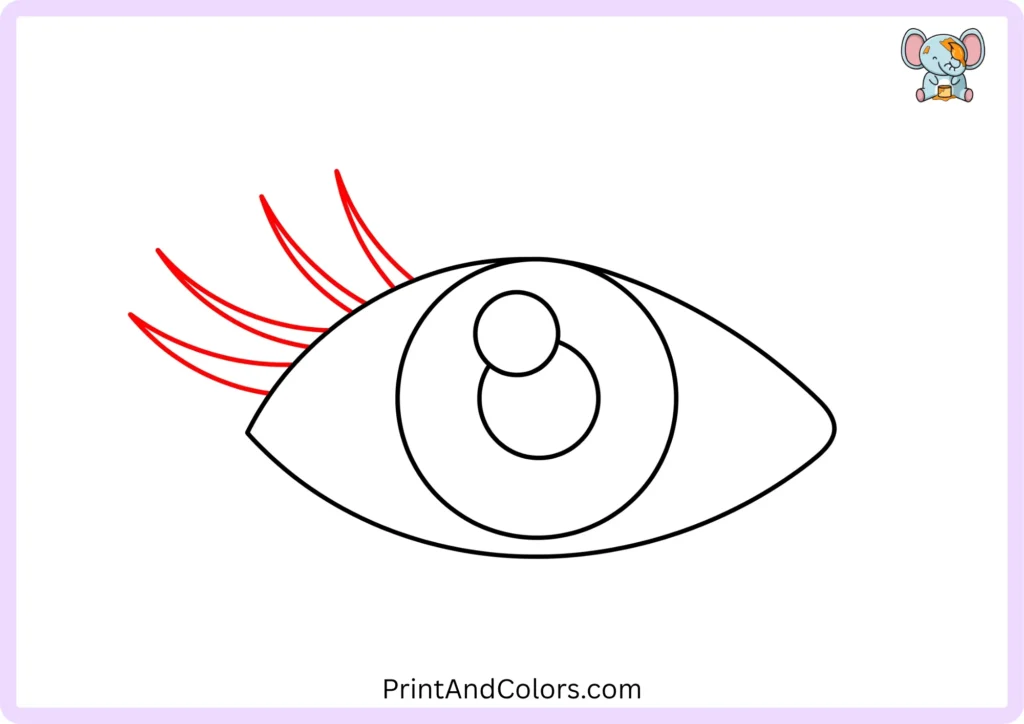
Now, it is time to draw the eyelashes.
Starting near the middle of the upper eyelid, towards the left side, draw several curved lashes that angle upwards and slightly outwards.
Instead of making every lash identical, vary their lengths. This gives the eye a more natural look while keeping the drawing simple enough for learners to easily replicate.
Step 6: Build the Center Lashes
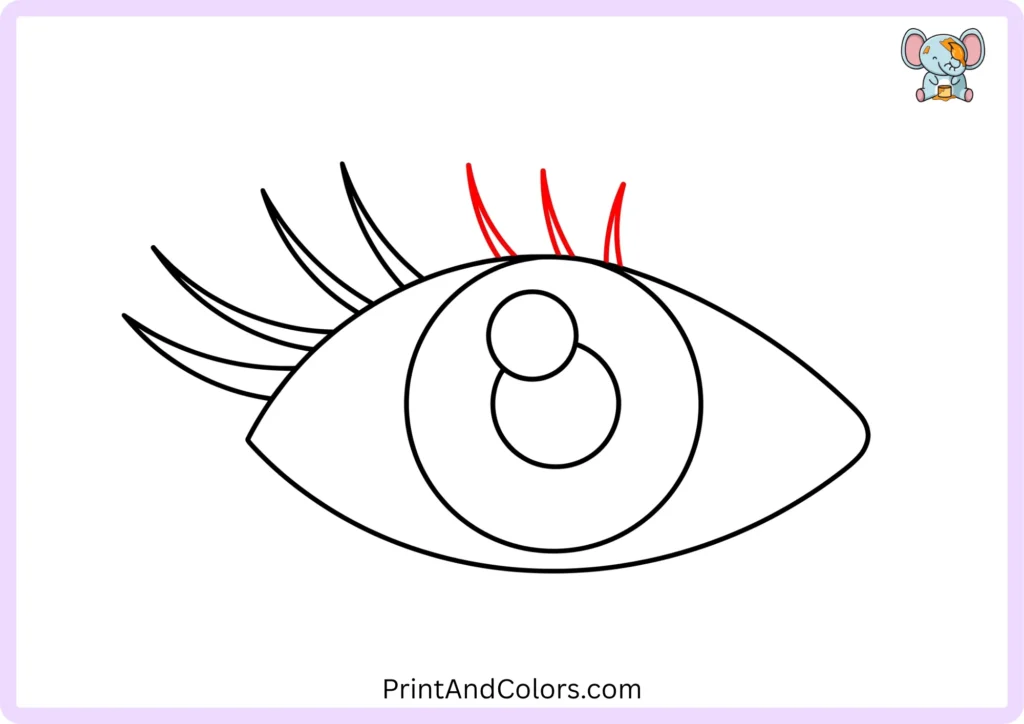
Move along the upper edge of the eye.
Draw a few more eyelashes around the middle section. Each lash can be created using two curved lines that meet at a point, forming a simple, tapered shape.
Instead of arranging them in perfectly parallel rows, try to vary their direction slightly.
Step 7: Finish the Outer Upper Lashes
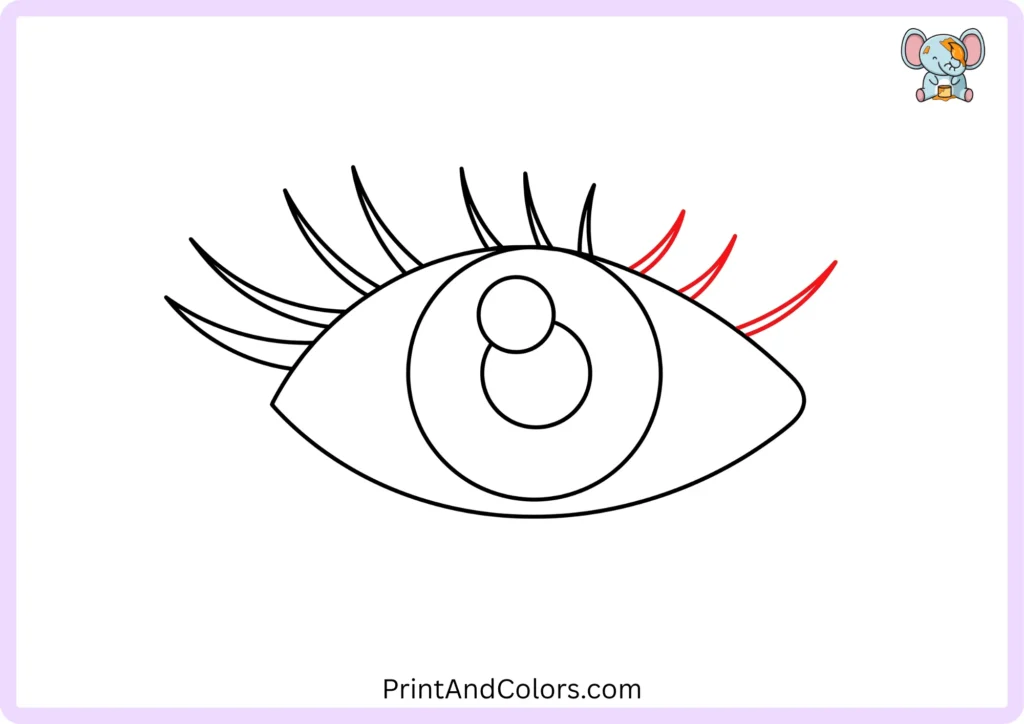
To complete the upper eyelashes, draw a few curved lashes on the right side.
As the lashes extend toward the outer corner of the eye, let them fan outwards, following the curve of the eye.
Vary their length and angle slightly; this small detail prevents the finished drawing from looking stiff.
Step 8: Add the Lower Lashes
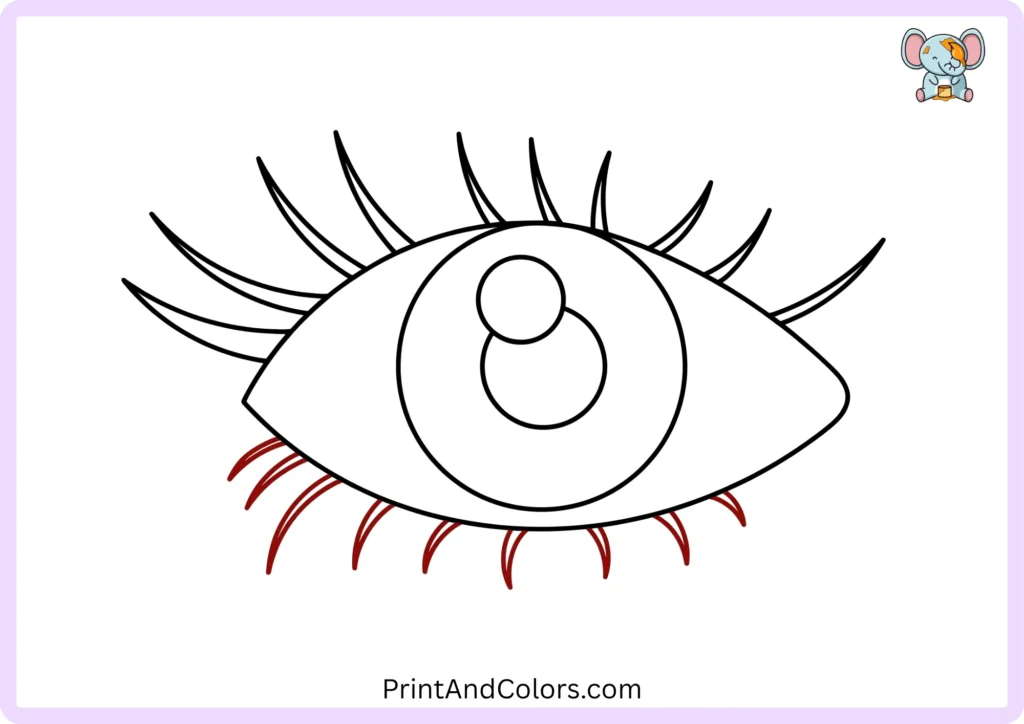
Your eye is nearly complete.
Draw a few short eyelashes below the lower-left section of the eye. Curve each lash downwards and away from the eye.
Make the lower lashes shorter than the upper ones and space them further apart. This creates a simple visual distinction between the two sections.
Step 9: Bring Your Eye to Life With Color
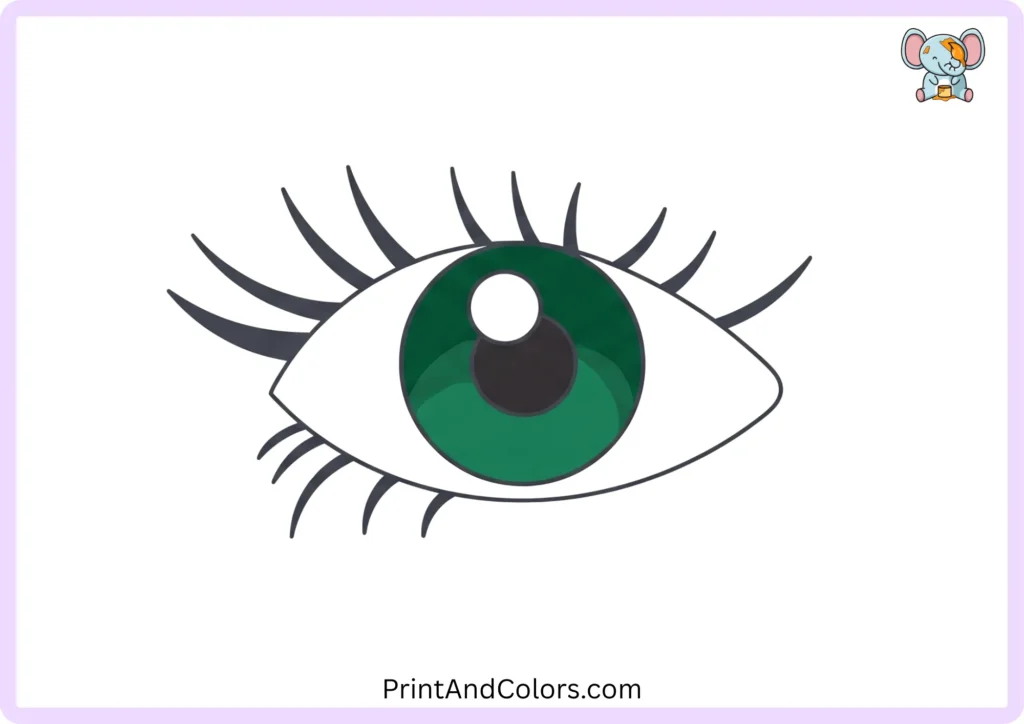
Now it’s time for the most creative part: coloring.
You can follow a traditional eye-color scheme or invent your own.
Try:
- Blue iris
- Brown iris
- Green iris
- Hazel iris
- Purple iris
- Gray iris
- Fantasy colors
Keep the pupil dark and leave the highlight white. You can also use a darker shade around parts of the iris to create more depth.
And that’s it—your easy eye drawing is complete!
Printable Eye Drawing PDF & Drawing Book
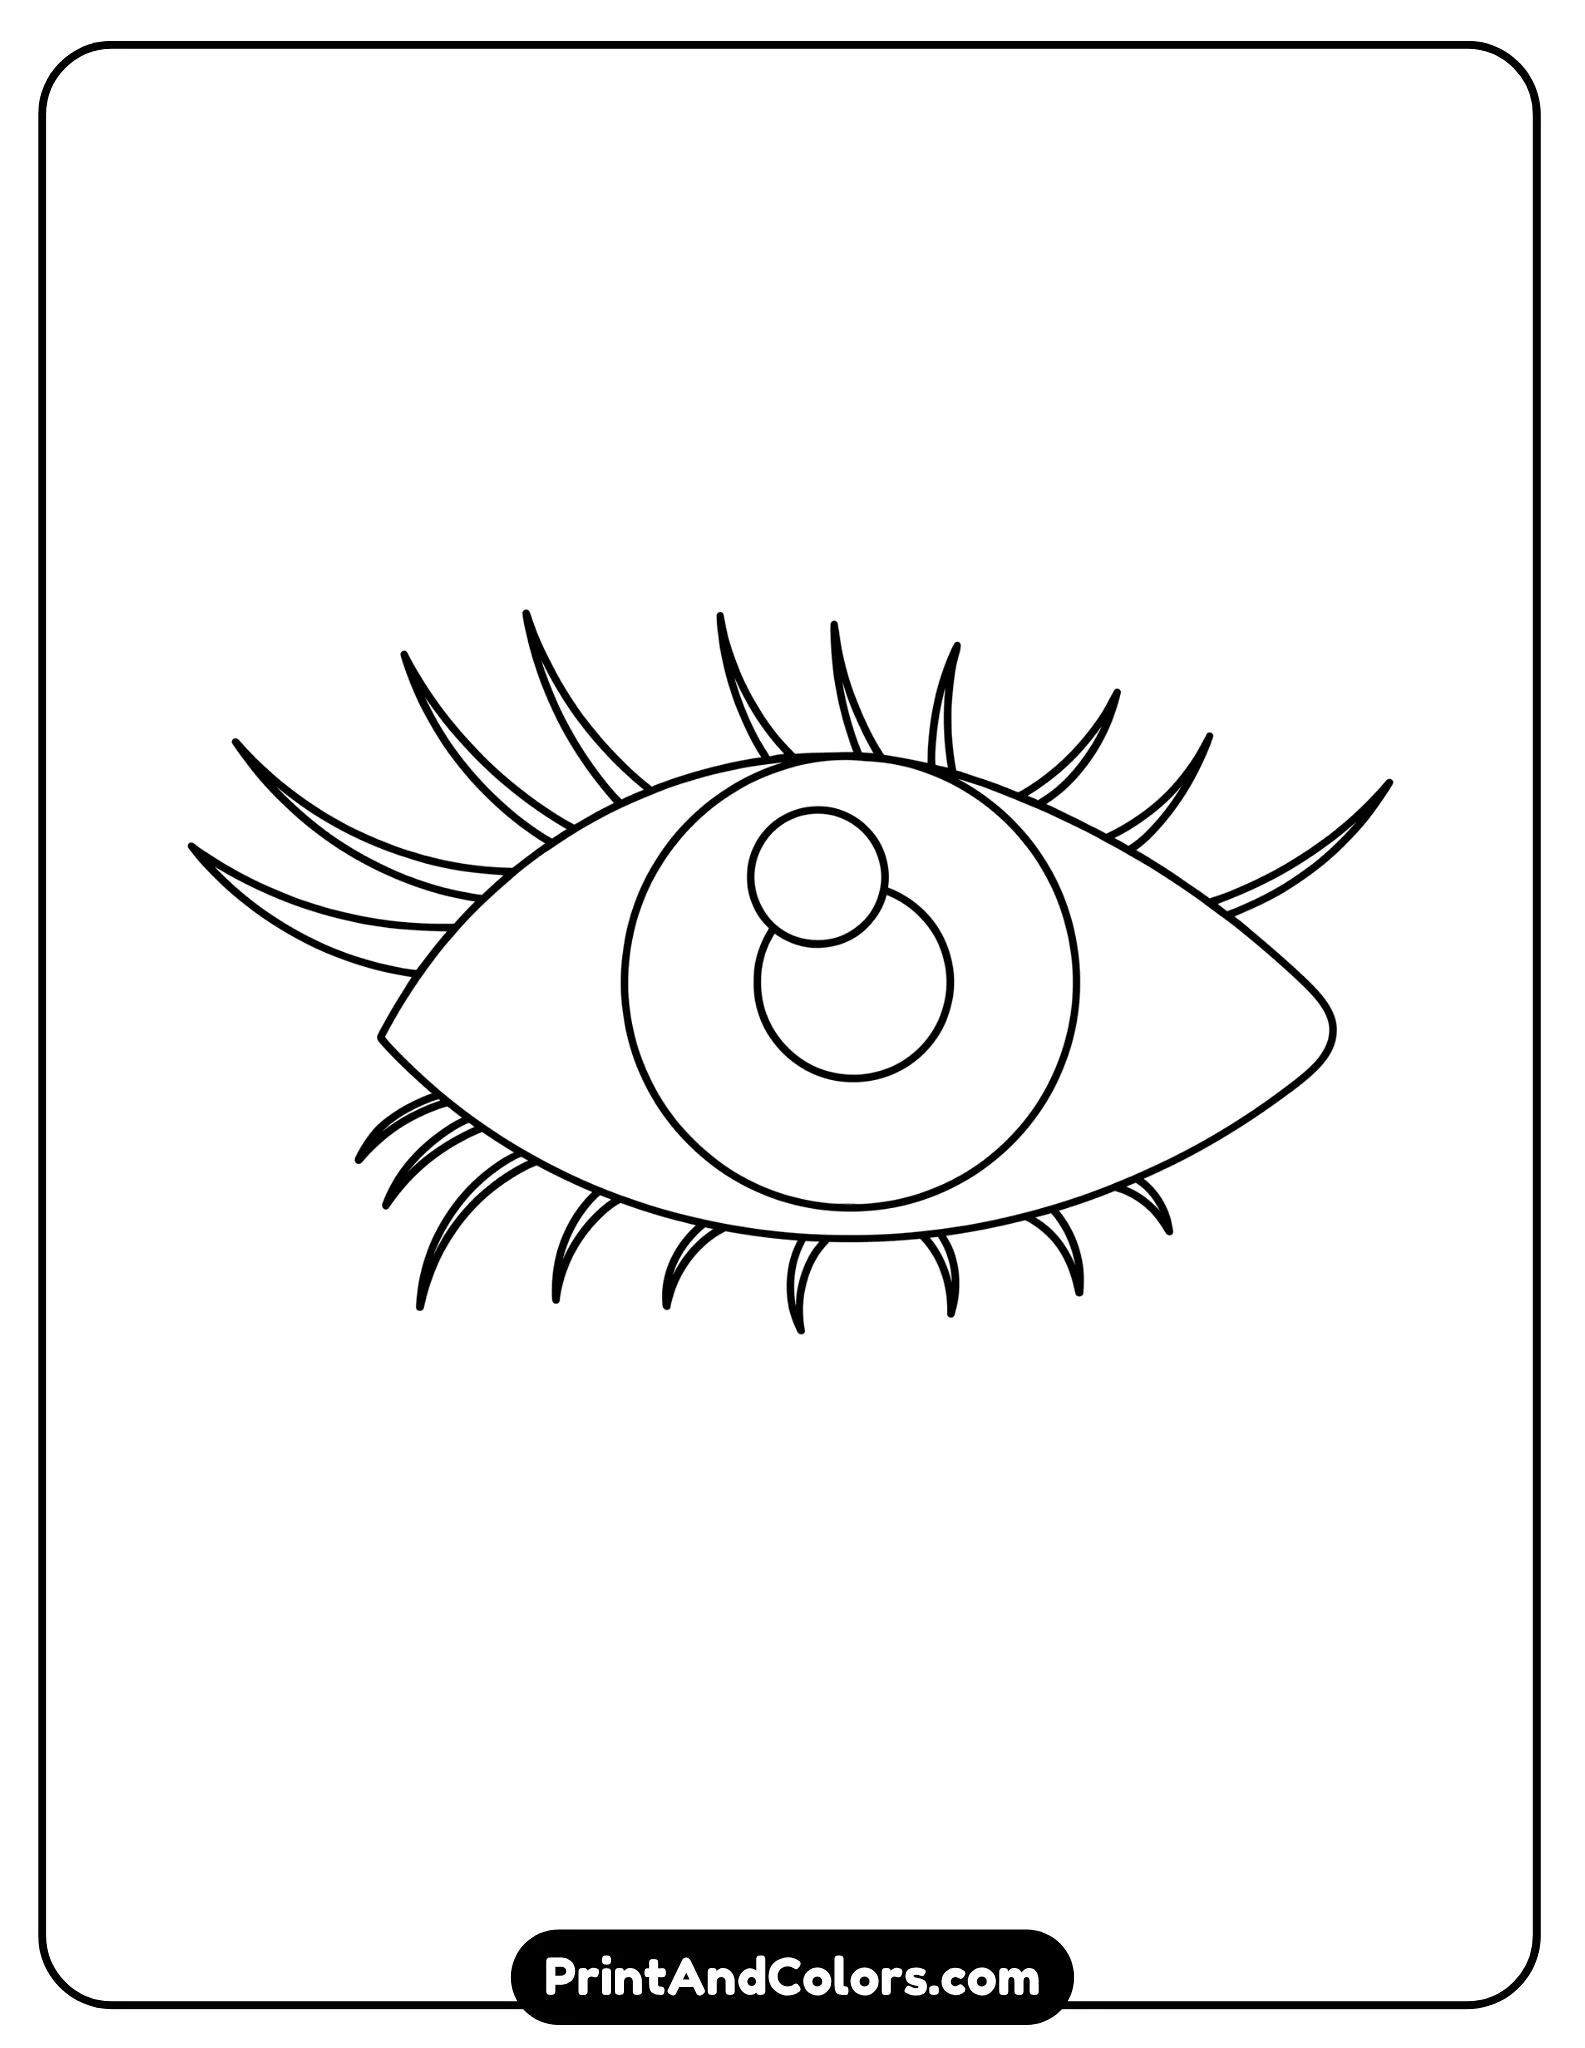
Printable Eye Drawing PDF & Book
Printable Eye Drawing PDF Book containing all nine step-by-step eye drawing stages for kids, beginners, and art practice
If you want to practice away from the screen, use our Printable Eye Drawing PDF. The printable version gives you a convenient way to follow the drawing sequence on paper.
For a complete practice resource, we can also provide the entire sequence as an Eye Drawing PDF Book. It puts the drawing stages together in one printable format so kids and beginners can work through the activity from the first outline to the finished colored eye.
This is especially useful for:
- Home art practice
- Classroom activities
- Art worksheets
- Kids’ drawing practice
- Beginner sketchbooks
- Parent-child activities
- Repeated drawing practice
How to Make Your Eye Drawing Look Better
Once you’ve completed the basic version, try a few simple improvements.
Keep the first lines light
Sketch the outline gently before darkening the lines you want to keep. This makes corrections much easier.
Make the eyelashes different lengths
Perfectly identical eyelashes can make the eye look mechanical. Slight differences in length and direction make it more interesting.
Keep the highlight white
Don’t color over the highlight. That small white space creates contrast against the pupil.
Experiment with iris colors
You don’t have to copy a real human eye. A drawing can have blue, green, brown, gray, purple, or even imaginary colors.
Practice the basic shapes
If the eye isn’t perfect on your first attempt, draw another one. Repeating the same shapes is one of the easiest ways to become more comfortable with pencil control.
Frequently Asked Questions
How do you draw an eye step by step?
Start by drawing two curved lines to form the outer shape of the eye. Next, draw the large round part of the eye (the iris), a small black circle inside it (the pupil), and a tiny, bright dot representing the light reflection (highlight). Finally, draw the upper and lower eyelids and add color. Breaking the eye down into these simple shapes makes the process much easier for learners.
What is the easiest way to draw an eye?
The easiest method is to construct the eye using basic shapes. Start with two curved lines for the outline, followed by circles for the iris and pupil. Then, add the highlights and eyelashes. This allows beginners to focus on one small part of the drawing at a time.
How do you draw realistic-looking eyelashes?
Avoid making every eyelash the same length and angle. Start each lash from the eyelid’s edge and curve it outwards. Generally, upper lashes are longer than lower ones; spacing them unevenly can create a more natural look, even without advanced drawing skills.
What colors can I use for an eye drawing?
You can use almost any color. Common choices include blue, green, brown, gray, and hazel (a light greenish-brown), though purple and other creative colors can also make children’s drawings appealing. Keep the pupil dark, and leave a small section (the highlight) white to maintain the impression of a bright reflection.
Can I print this eye drawing tutorial?
Yes. A printable version is useful when you want to practice without constantly looking at a screen. The Printable Eye Drawing PDF can be presented as a worksheet, while the complete Eye Drawing PDF Book can place the full step sequence together for convenient practice.
Final Eye Drawing Practice
You have transformed a simple pair of curved lines into a complete eye by incorporating the iris, pupil, highlights, eyelashes, and color.
It is not essential for every line to be perfect on the very first attempt; what truly matters is understanding the structure and practicing the shapes. Try drawing it again with a different iris color, altering the direction of the eyelashes, or sketching an entire face around the eye you have created.
Bring Every Imagination to Life
Premium Coloring Books & Instant Digital Printables
Transform your creative vision into high-quality, personalized coloring products perfect for gifts, education, or special events. Our team of illustrators crafts unique designs tailored to your exact needs.
2 Comments