
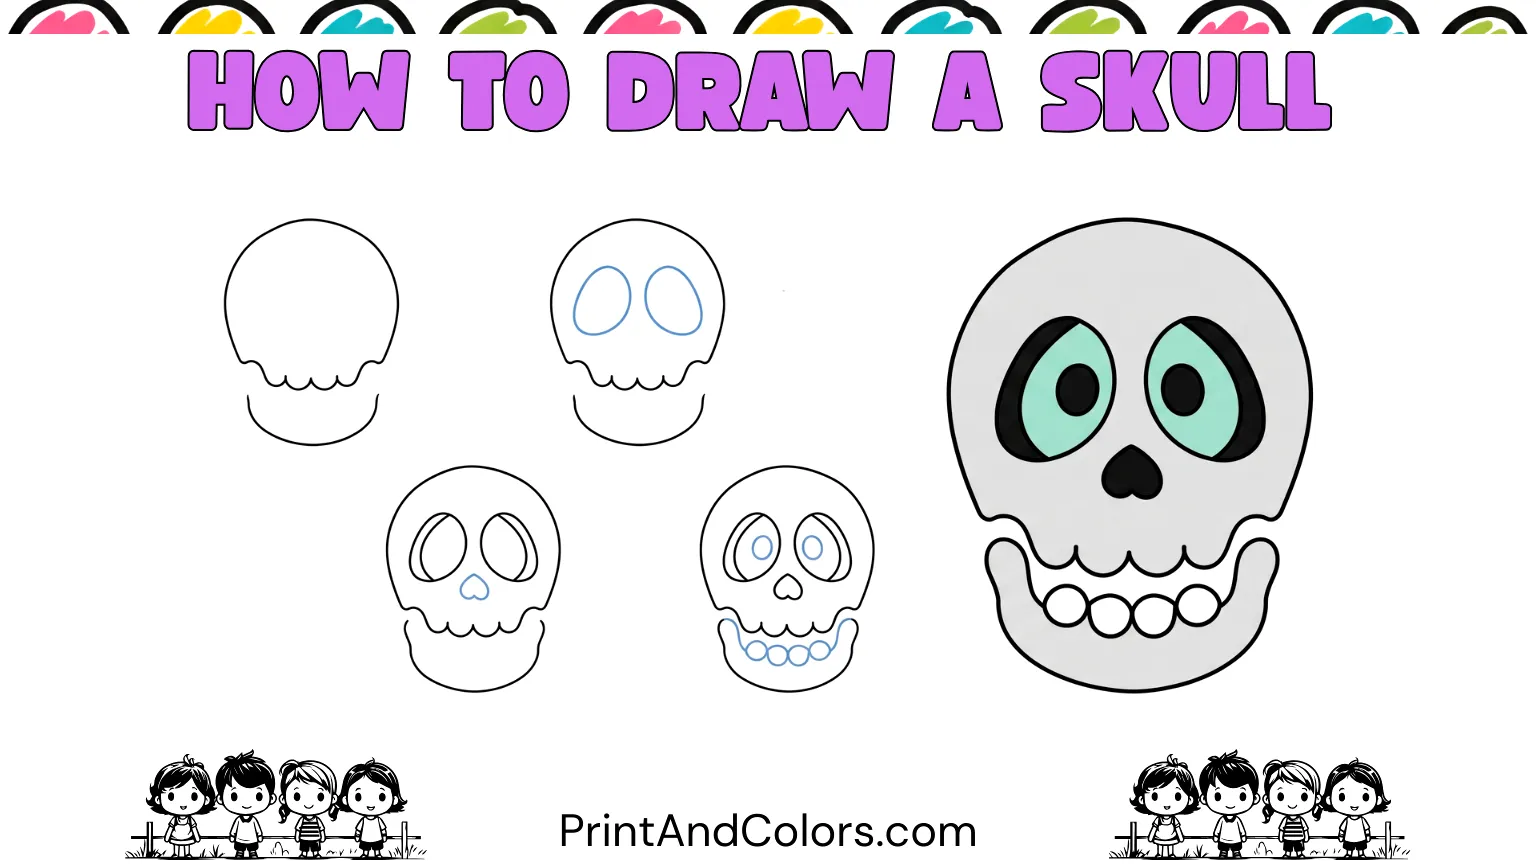
How to Draw a Skull
Do you want to learn how to draw a skull without getting bogged down by complex teeth, eye sockets, or intricate bone structures? This beginner-friendly tutorial breaks the image down into simple shapes, allowing you to construct the skull one part at a time.
A skull might seem complex, but its basic structure can be simplified into a rounded cranium, a lower jaw, eye sockets, a nasal cavity, and a few internal details. Understanding these simple shapes also makes it easier to create cartoon skulls, Halloween skulls, spooky characters, or printable coloring pages later on.
In this guide, you will learn how to create a simple skull drawing in six key steps and then add details and color. Additionally, you will receive useful tips on maintaining balance on both sides of the drawing, selecting colors, and using the finished artwork as a printable activity.
Drawing Tip: Start with light pencil lines. Once the proportions look right, you can darken the main outlines.
Your next masterpiece awaits—try these stunning pages!
Step 1: Build the Main Skull Shape
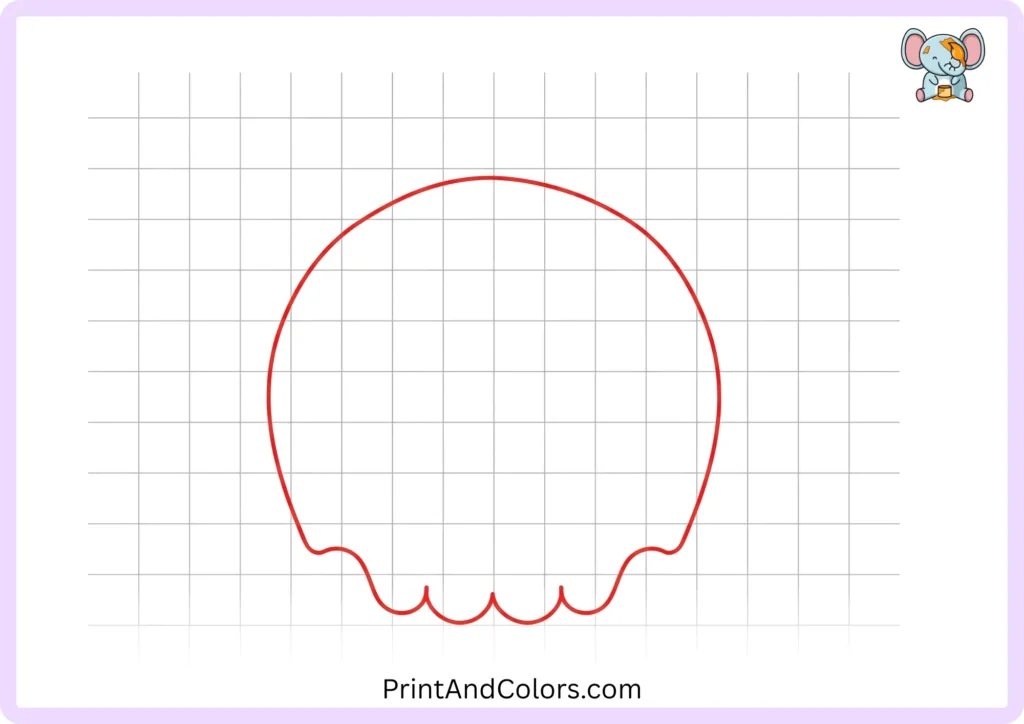
Start with the large, rounded part of the skull, sometimes referred to as the ‘cranium’ or ‘braincase’.
Draw a broad, slightly curved outline near the center of your paper. Make the shape slightly wider than it is tall, and leave enough space at the bottom for the jaw.
Don’t worry about creating a perfect circle; a slightly irregular, organic shape can actually make your skull look more realistic.
Remember: leave space below the rounded upper section, as the lower jaw will extend from that area.
Step 2: Shape the Lower Jaw
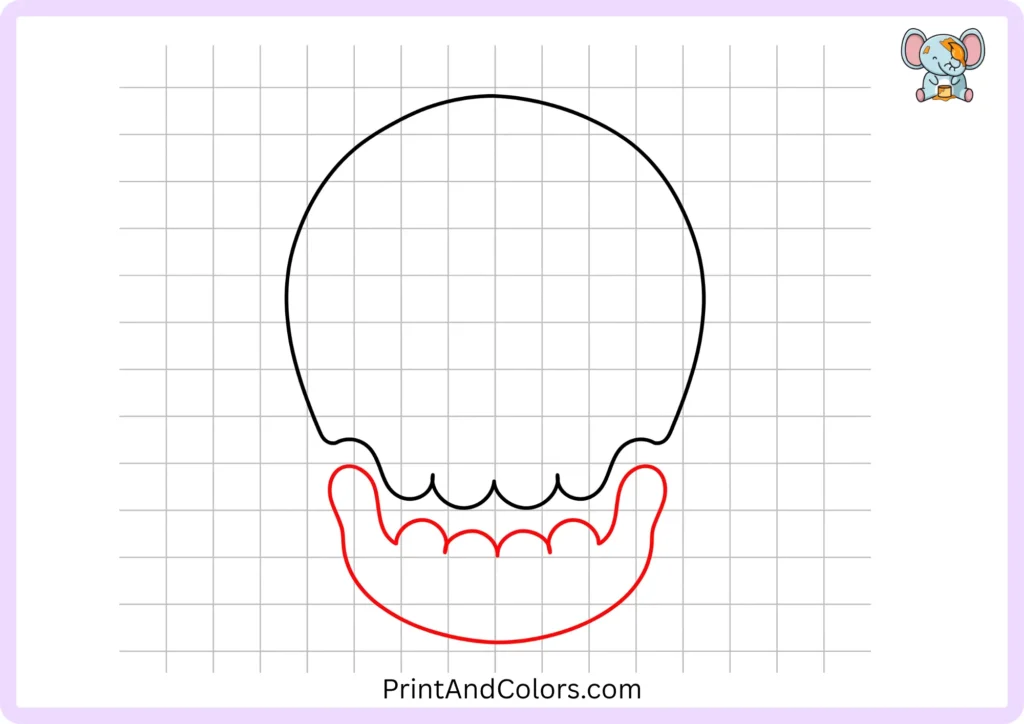
Now, give the skull a distinctive shape by adding the ‘mandible,’ or lower jaw, to its base.
Starting from the lower sides of the upper skull, draw two curved lines extending downwards. Connect these lines with a broad curve to form the bottom of the jaw.
Make the jaw narrower than the widest part of the skull. This difference in width helps the shape be recognized clearly as a ‘skull’ rather than just a simple round head.
Do not worry about the teeth at this stage; focus entirely on getting the overall silhouette right first.
Step 3: Place Both Eye Sockets
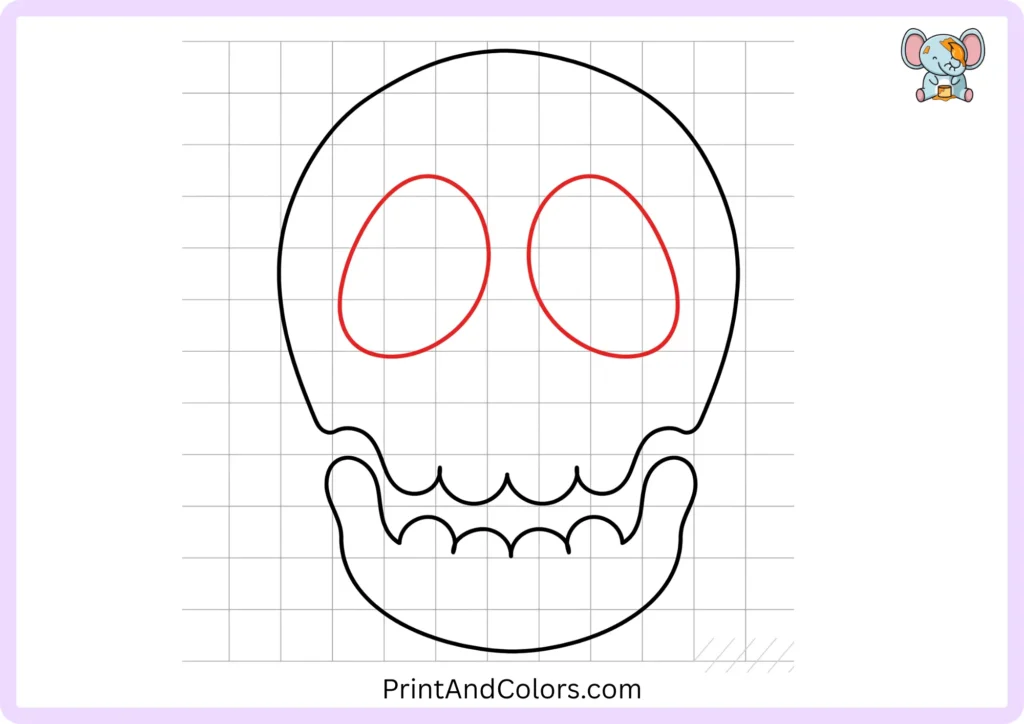
The large openings where the eyes will be located are called orbits, or eye sockets.
Draw one large, round socket on the left side and another on the right. Try to keep them at roughly the same height and size.
A useful starting technique is to visualize an invisible vertical center line running through the middle of the skull. Use this line to position both sockets symmetrically.
The sockets do not have to be perfect circles; slightly oval or irregular shapes add more character to the drawing.
Step 4: Add Depth Around the Sockets
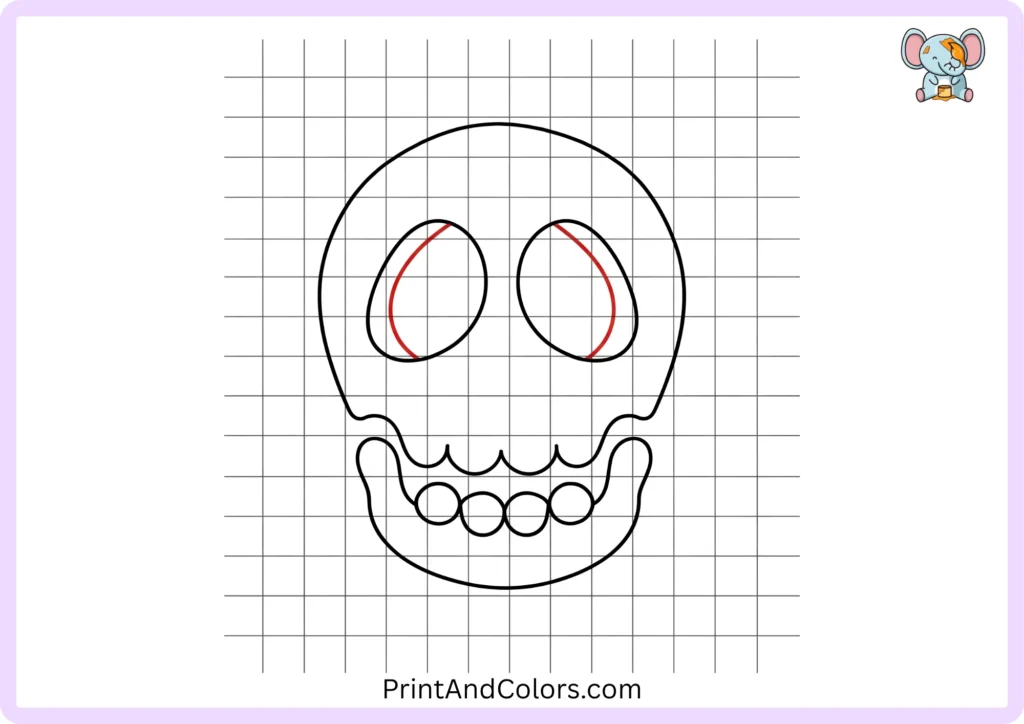
Now, make the eye sockets look like more than just simple holes.
After outlining their shape, add a curved line inside or around each socket. These lines suggest the raised bone surrounding the eye socket and add structure to the drawing.
You can also define the cheek areas beneath the sockets using small, curved lines.
This is the stage where a simple skull begins to feel more three-dimensional. You don’t need a lot of anatomical detail; just a few well-placed curves are enough.
Step 5: Add the Center Details
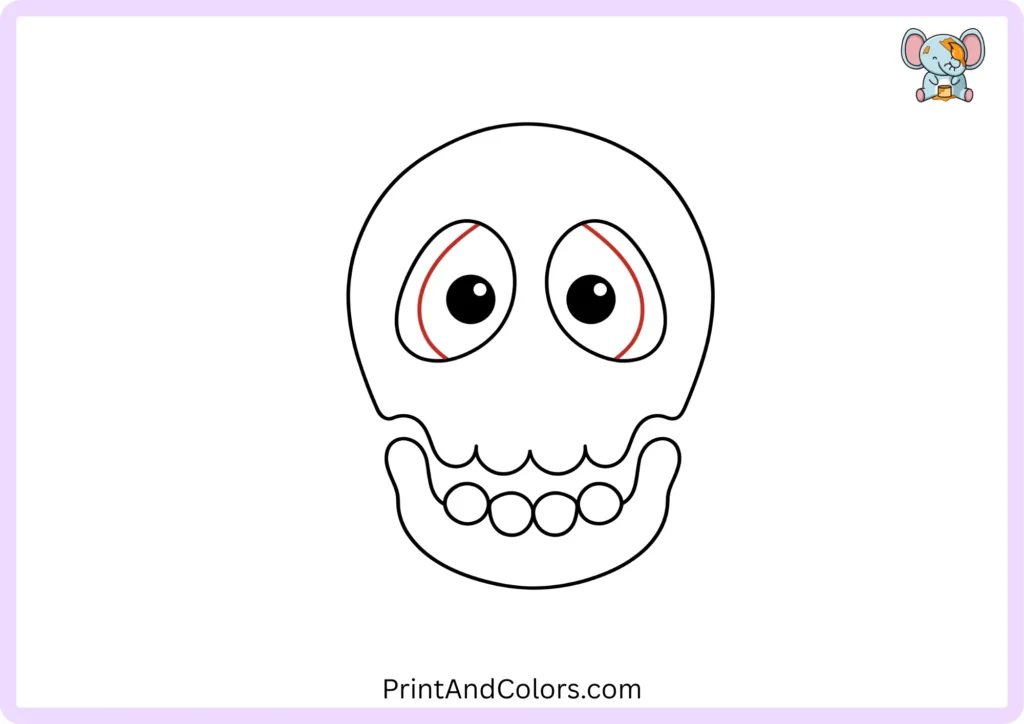
Shape the nasal cavity in the area between the eye sockets. For beginner artists, an inverted heart or a soft triangular shape works well.
Keep this shape smaller than the eye sockets and position it slightly below their center.
If your reference illustration includes small, round, or curved details resembling pupils, render them as symbolic or artistic elements rather than actual pupils—since real skulls have empty eye sockets and lack pupils.
If you wish to add more detail to the skull, you can also include small markings around the cheek or jaw areas.
Step 6: Finish, Outline, and Color
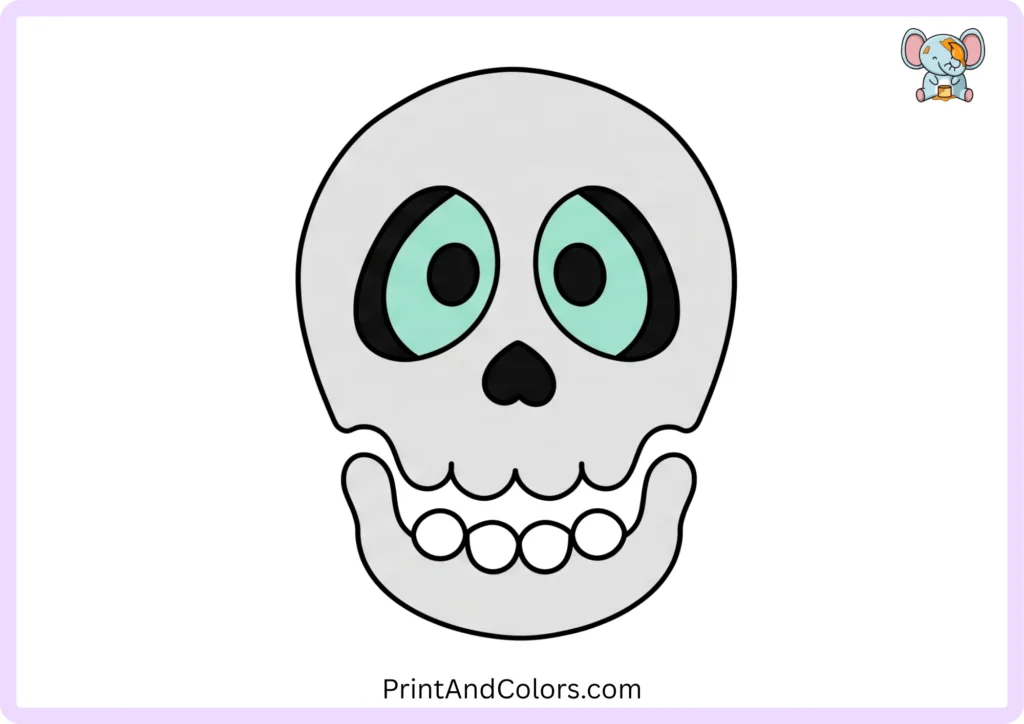
our skull is now ready for the finishing touches.
First, erase unnecessary construction lines. Then trace the important outlines with a black marker or darker pencil.
For a classic skull, try:
- Ivory or cream for the bones
- Light gray for gentle shadows
- Black inside the eye sockets and nose
- Dark gray or brown for deeper shading
- Pale peach or tan for optional warm highlights
You don’t have to use realistic colors. A purple, blue, green, rainbow, or neon skull can turn the drawing into a fun character or Halloween coloring project.
Printable Skull Drawing PDF & Book
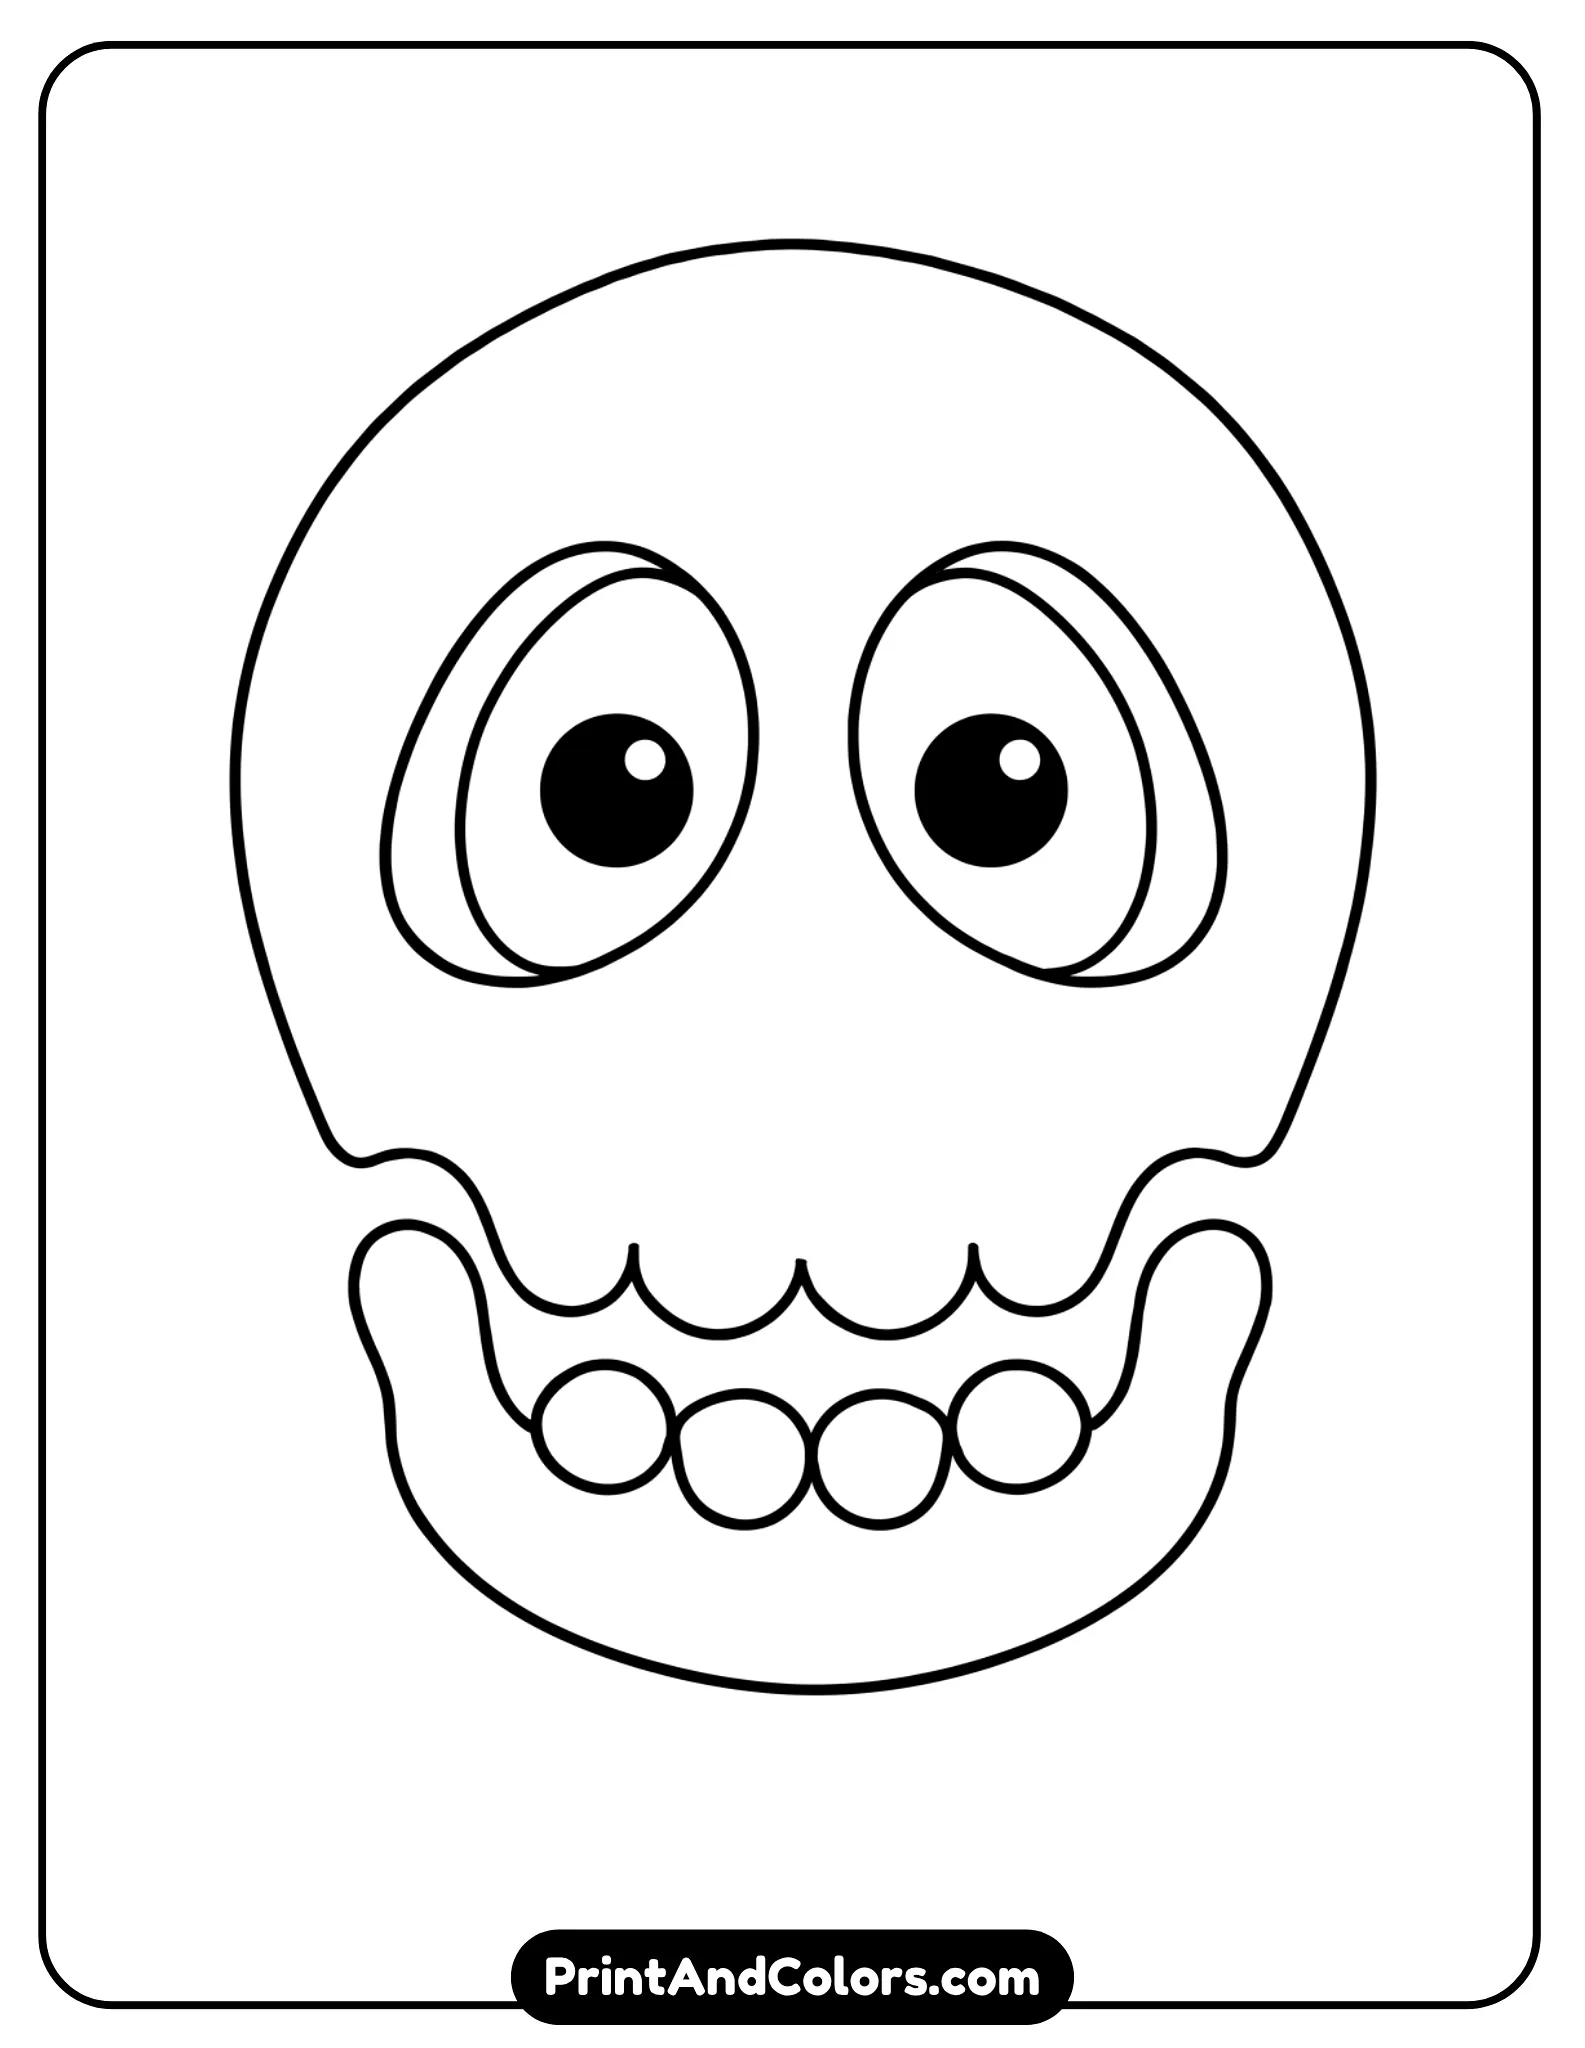
Printable Skull Drawing PDF & Book
Printable Skull Drawing PDF Book featuring the complete skull drawing sequence from the initial outline and jaw to the eye sockets, facial details
Finished your skull drawing and want to practice it again?
Use our Printable Skull Drawing PDF to take the activity away from the screen. The printable version is useful for classrooms, homeschool art activities, kids’ drawing practice, Halloween projects, or simply keeping a copy in an art folder.e.
How to Make Your Skull Drawing Look Better
Once you’ve completed the six main stages, a few small adjustments can make a big difference.
Check the Symmetry
Look at both eye sockets together. If one is noticeably higher or larger, lightly correct it before outlining.
You can also draw a very light vertical guideline through the center of the skull before starting the facial details. This helps keep the main features balanced.
Create Dark and Light Areas
The eye sockets and nasal cavity are naturally useful areas for dark shading in a stylized skull illustration. Keeping these areas darker makes the surrounding bone shapes stand out.
Don’t shade everything equally. Leaving some areas light creates contrast and makes the skull easier to read.
Don’t Overwork the Teeth
Teeth can quickly make a beginner skull drawing complicated. If you want to add them, use simple repeated vertical or slightly curved lines rather than trying to draw every anatomical detail.
For a children’s coloring page, simple tooth shapes are usually easier to color and recognize.
Frequently Asked Questions About Drawing a Skull
What should I draw first when drawing a skull?
Start with the shape of the large upper part of the skull. Determining the overall size and placement provides a basic framework for the jaw, eye sockets, nose, and other details. Once the final sketch is complete, the light construction lines can be erased.
How do you draw realistic skull eyes?
The skull does not contain eyeballs or pupils. When drawing, focus on the eye sockets (also known as ‘orbits’). Use irregular, rounded shapes and draw curved lines around them to convey the surrounding bone structure and a sense of depth.
What colors should I use for a skull drawing?
Traditional depictions of a skull can feature white, ivory, cream, gray, or light brown. Dark gray or black works well for the deep hollows. For a creative coloring page, you can use almost any color, including bright Halloween hues or decorative sugar skull patterns.
How can I make my skull drawing look three-dimensional?
Use darker shading in the eye sockets, the hollows of the nose, and the areas around the cheekbones and lower jaw. Keep the outer parts of the forehead and other prominent bony areas lighter in color. This contrast between light and dark areas creates an impression of depth.
Can I turn this skull drawing into a coloring page?
Exactly. Trace over the sketch with a dark pen or marker, erase the pencil construction lines, and leave the inner areas blank. You can then print out the clean outline and use crayons, markers, or colored pencils to create your own skull coloring page.
Your Skull Drawing Is Complete!
You started with a simple, round cranium, constructed the mandible, added eye sockets and central facial details, and finished the illustration with outlines and color.
The key lesson isn’t getting every curve perfect on the first try; it’s learning how the major shapes relate to one another. Once you are familiar with that structure, you can experiment with realistic skulls, cartoon skulls, three-quarter views, side profiles, sugar skulls, skull-and-crossbones designs, and even your own original characters.
Ready for another drawing challenge? Print out the complete skull-drawing PDF, practice each step, and then try altering the expression, color, ornamentation, or viewing angle to create a skull that is uniquely yours.
Bring Every Imagination to Life
Premium Coloring Books & Instant Digital Printables
Transform your creative vision into high-quality, personalized coloring products perfect for gifts, education, or special events. Our team of illustrators crafts unique designs tailored to your exact needs.
One Comment