
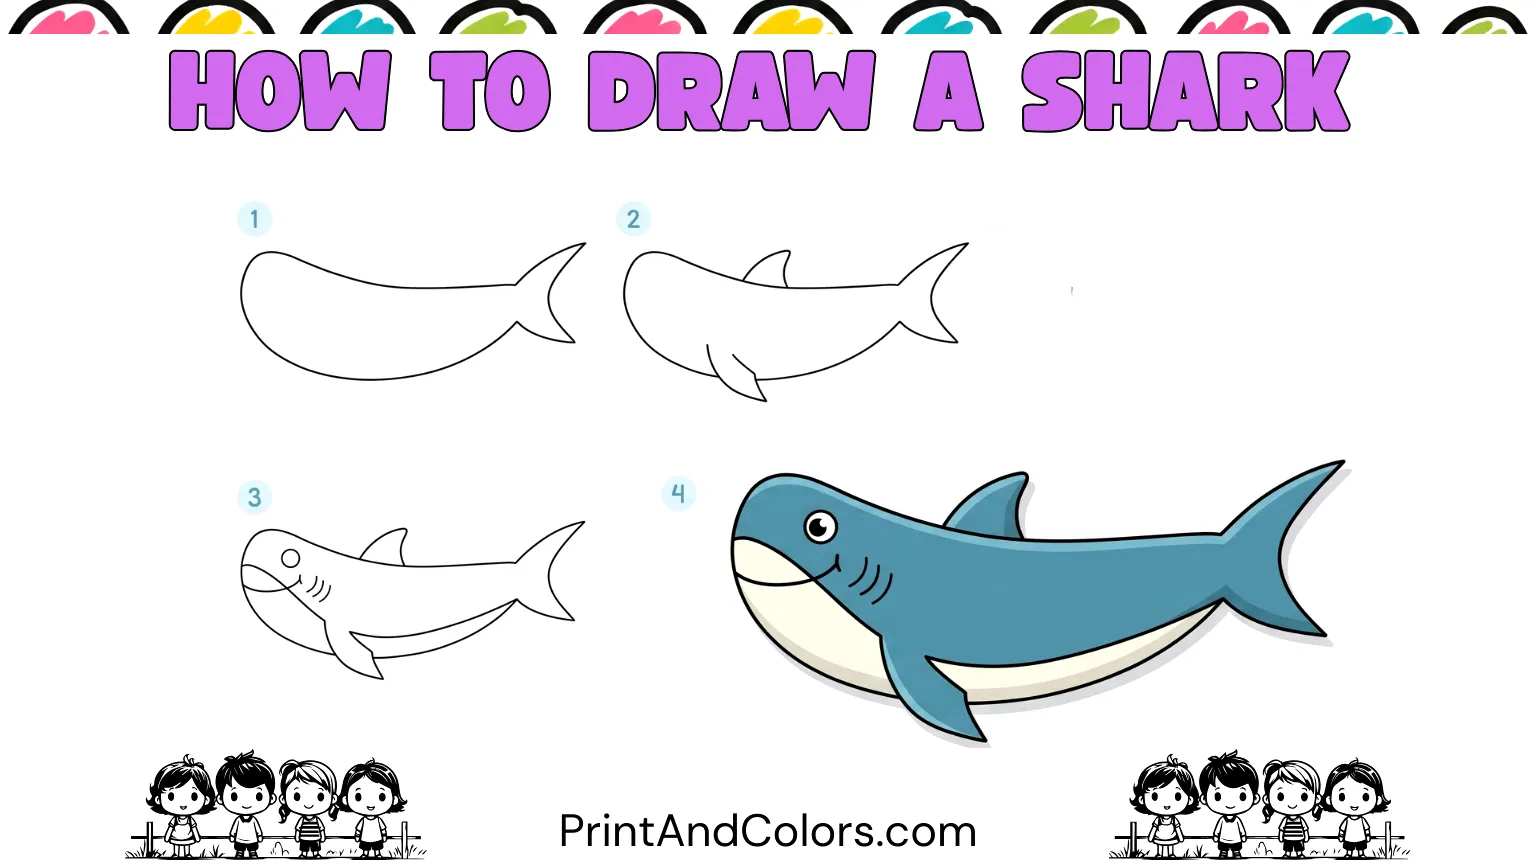
How to Draw a Shark
Do you want to learn how to draw a shark without getting bogged down by complex shapes or anatomical intricacies? This easy, step-by-step guide breaks the process down into simple stages, ranging from the initial curved body outline to the fins, face, gills, and other details, all the way to the final coloring.
The shark is one of the ocean’s most recognizable creatures, making it a fascinating subject for children, beginners, classroom art projects, and anyone interested in drawing marine life. You don’t need to be an expert artist to do this; with just a pencil, paper, and a little patience, you can create a shark drawing by completing one section at a time.
Your next masterpiece awaits—try these stunning pages!
Step 1: Sketch the Shark’s Main Shape
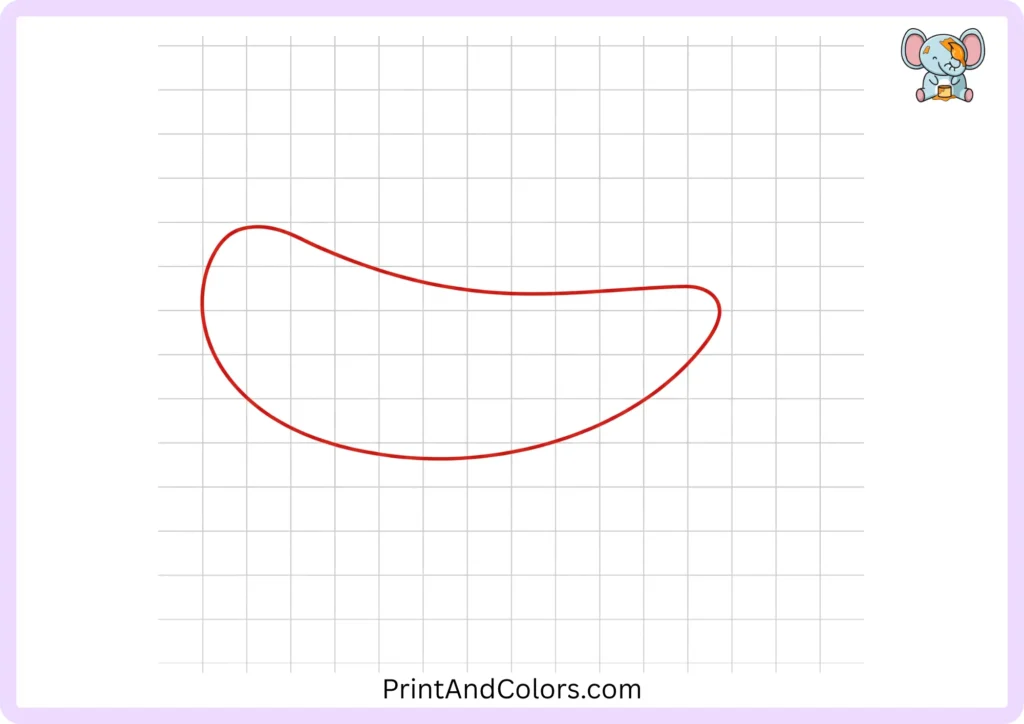
Start by drawing a long, smooth, and curved shape for the shark’s body.
Keep the front section wide and rounded, as this will form the shark’s head. Gradually taper the body towards the rear, where the tail will attach.
Try to draw the shark near the center of the paper, leaving enough space at the back for the tail.
Drawing tip: Use a light touch with your pencil at this stage. The initial outline serves merely as a guide rather than the final line.
Step 2: Shape the Body Contour
Now, refine and smooth out the upper and lower edges of the body.
Since a shark has a streamlined body, use long, flowing curves rather than a series of short, straight lines. The upper part of the body should remain relatively smooth, while the lower section can feature a gentle curve around the head and belly.
This step establishes the shark’s basic silhouette, allowing you to subsequently add details such as the fins and facial features.
Step 3: Build the Powerful Tail
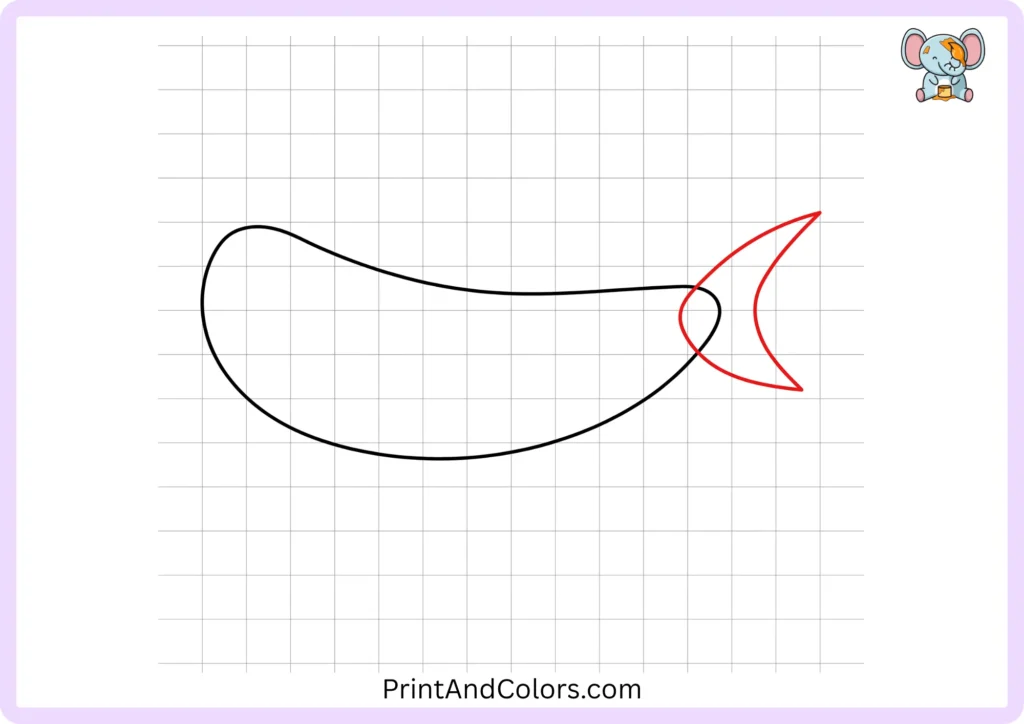
Add the shark’s large tail to the rear of its body.
Mark two points, one at the top and one at the bottom, and connect them with curved lines that taper toward the center of the tail. The tail should appear to blend naturally with the body, rather than looking like a separate triangle.
The tail, also known as the ‘caudal fin,’ is one of the shark’s most prominent and easily recognizable features.
Step 4: Add the Top Fin
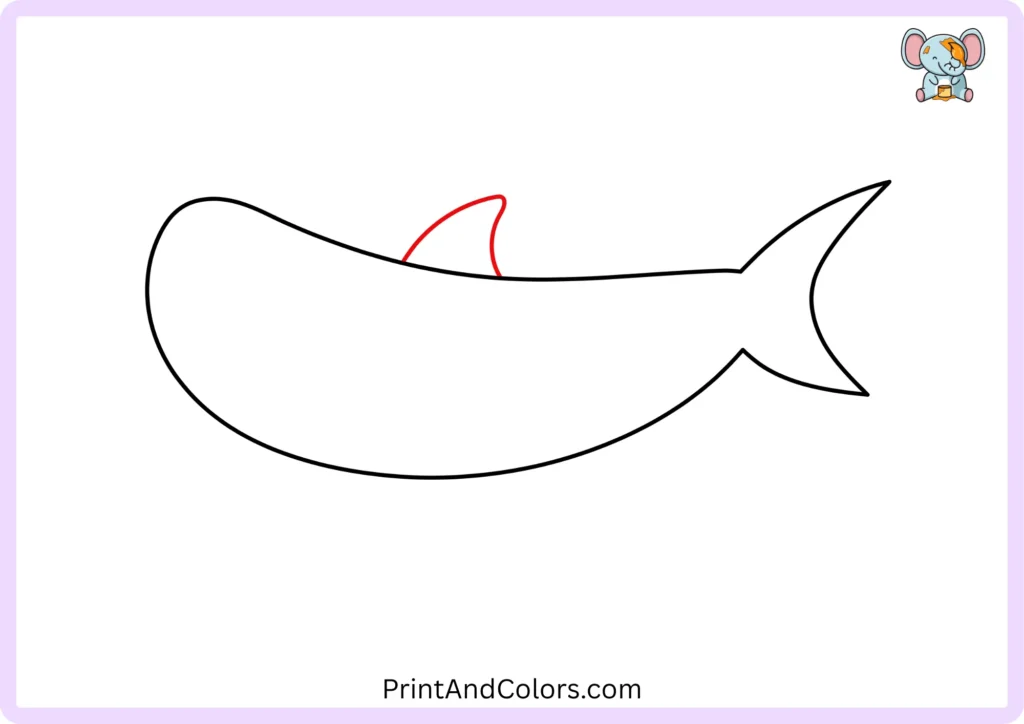
Draw the shark’s dorsal fin on the upper part of its body.
Start the fin with a curved line rising from the back, extend it to a rounded or pointed tip, and then curve it back down toward the body.
Do not draw the fin perfectly straight; a slight curve gives the drawing a more natural look.
Step 5: Shape the Side Fin
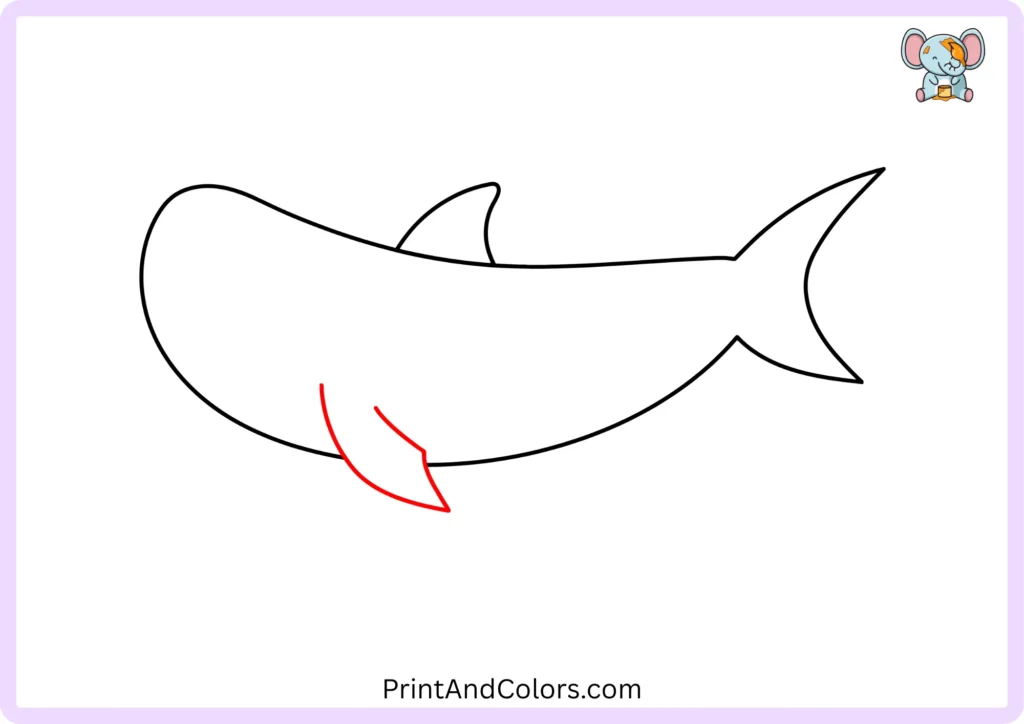
Next, add the large fin located on the side, known as the ‘pectoral fin‘.
Position it beneath the front section of the shark’s body. Draw its shape using two curved lines so that it extends outward and downward, tapering to a smooth point.
This fin makes the shark instantly recognizable and allows for greater fluidity and flexibility in its movement.
Step 6: Give Your Shark an Eye
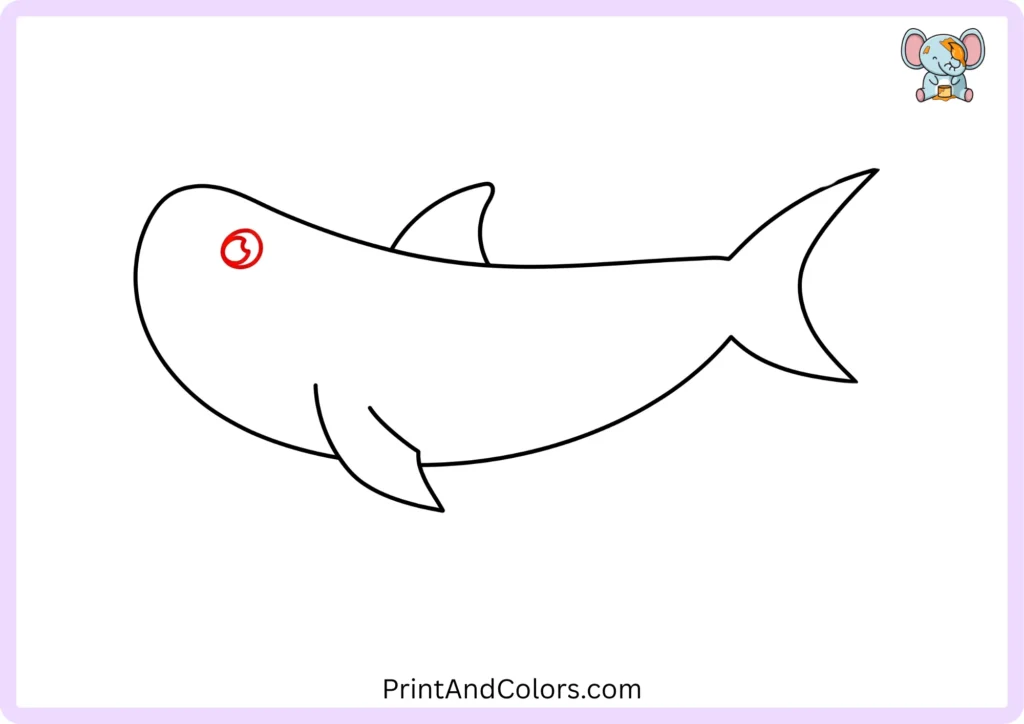
Now move to the shark’s face.
Draw a small rounded eye near the front of the head. Add a tiny highlight or leave a small area uncolored inside the eye to make it look lively.
Keep the eye relatively small compared with the head. An oversized eye will make the shark look more cartoon-like, while a smaller eye gives it a more natural appearance.
Step 7: Curve in the Mouth
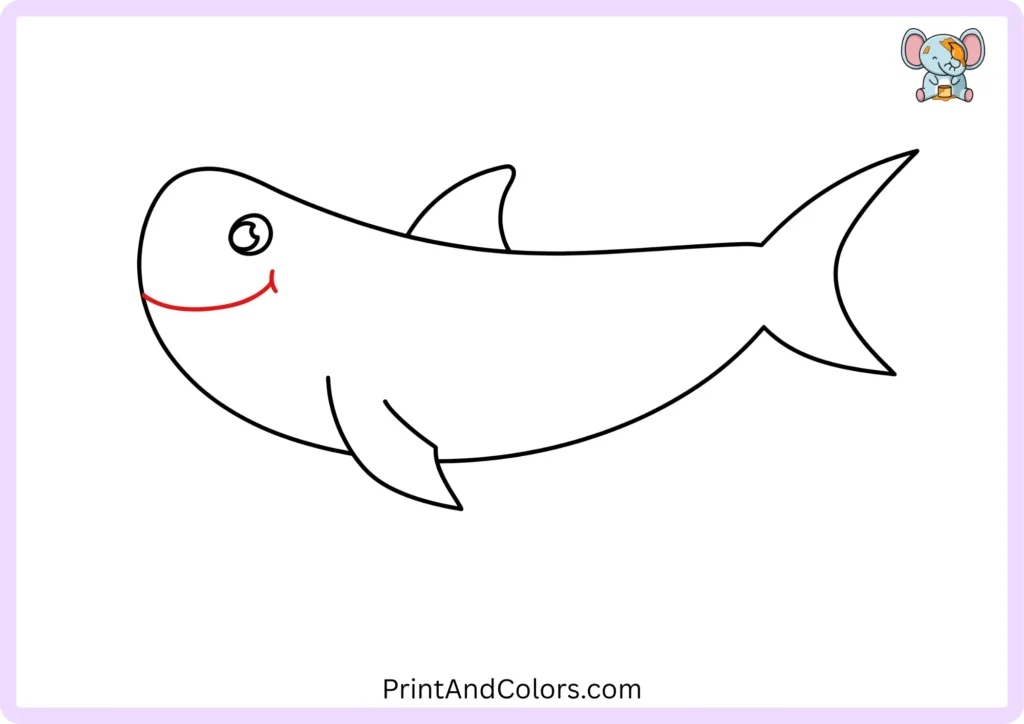
Draw the shark’s mouth using a long, curved line near the front of its head.
For a friendly look, a slight upward curve can give the shark’s face a playful and cheerful expression. If you later decide to give the shark a more dramatic or fierce appearance, you can widen the mouth and add teeth.
The key is to shape the mouth to follow the curve of the head, rather than drawing it as a perfectly straight line.
Step 8: Mark the Gill Slits
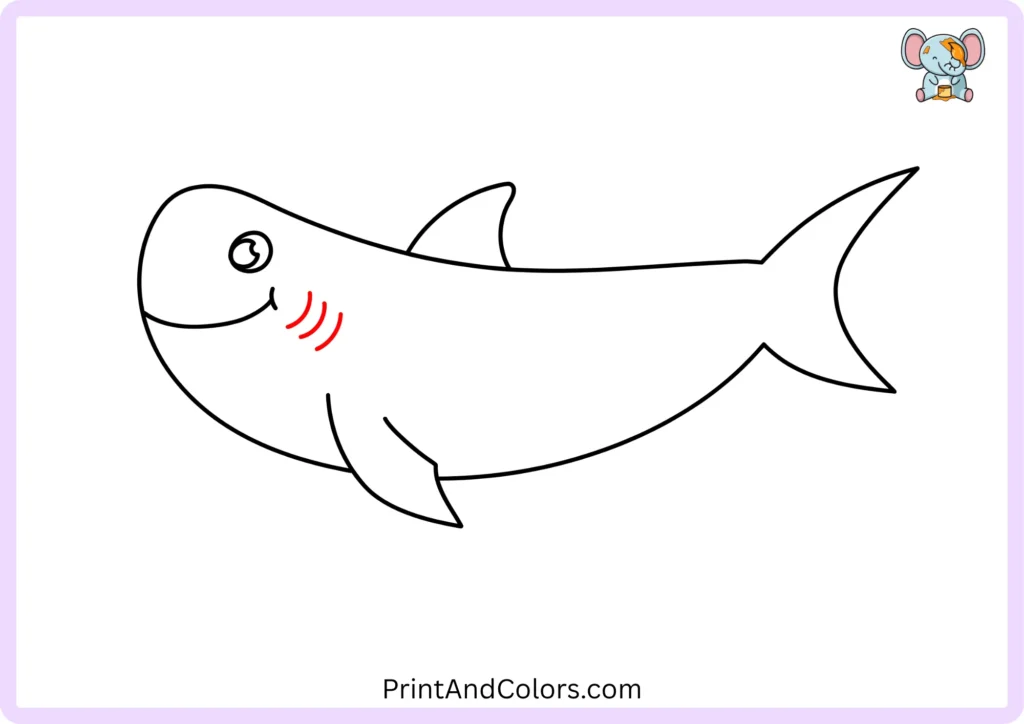
Behind the mouth, draw a few short, curved lines to represent the shark’s gill slits.
Keep them close together and follow the natural curve of the body. You don’t need to create complex anatomical details; the goal is simply to use a few clean lines that clearly indicate what they are.
These small details can make the shark’s simple outline look much more complete and refined.
Step 9: Add the Nostril and Belly Line
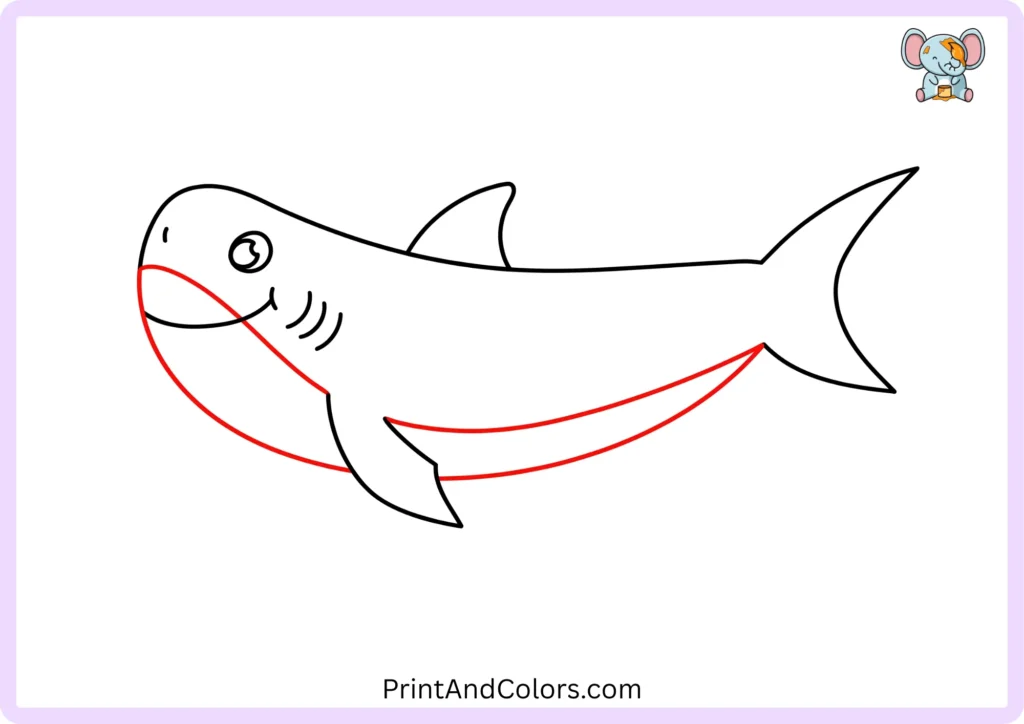
Draw a small, curved mark for the nostril near the front of the snout.
Next, draw one or two smooth, curved lines along the lower body to indicate the shark’s lighter-colored belly. These lines separate the upper body from the belly and also make the coloring process easier.
Keep these lines soft and fluid so they harmonize with the shark’s overall form.
Step 10: Add Small Body Details
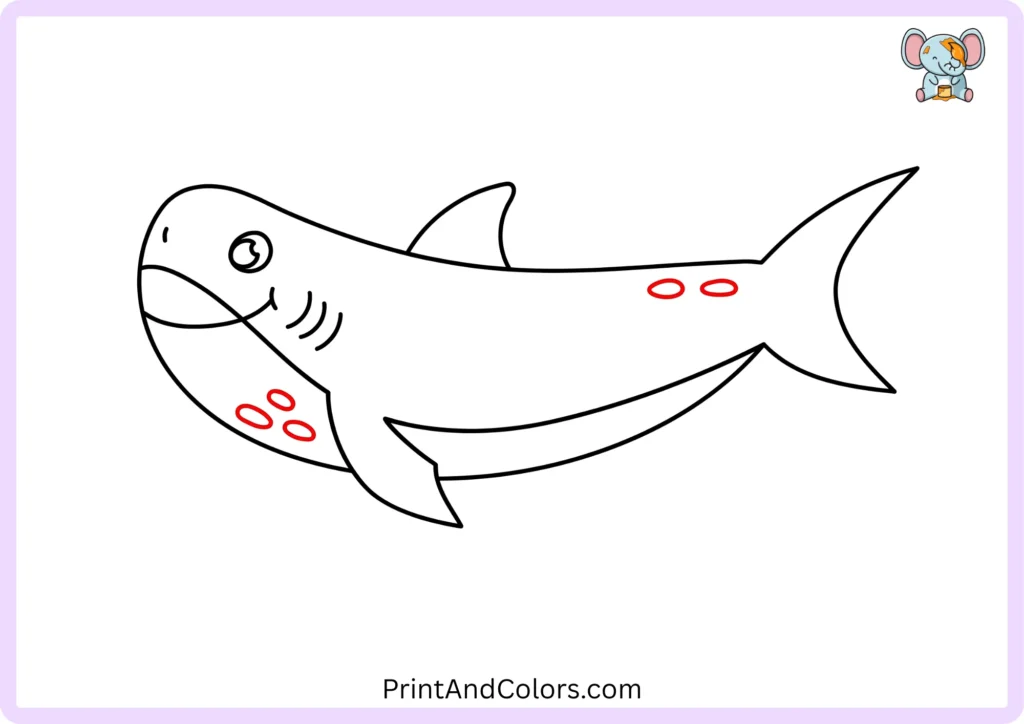
The basic structure of your shark is already complete, so now add some simple markings to its body.
You can draw small oval or irregularly shaped markings on the shark’s body and underbelly. Since these markings are not essential for every type of shark, simply include them as decorative details in this beginner-level drawing.
If you wish to make your drawing more interesting, you can also add faint lines around the fins or the body.
Step 11: Bring the Shark to Life With Color
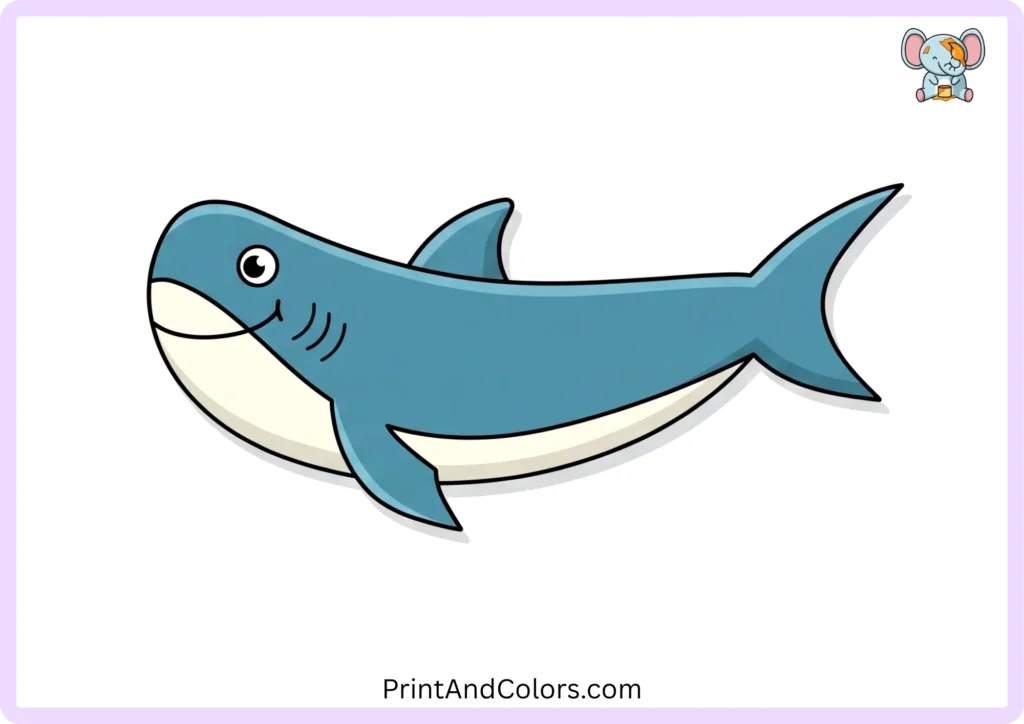
Your drawing is ready to be colored!
A classic shark color scheme uses dark gray for the upper body and light gray for the underside. This reflects the basic concept of countershading, where the upper and lower parts of many marine animals differ in tone.
For a simple shark coloring activity, try:
- Medium gray for the main body
- Darker gray for selected fins or details
- Light gray for the underbelly
- Black for the eye
- White for the eye highlight
You don’t have to use realistic colors, though. Try shades of blue, teal, purple, green, or even rainbow colors if you’re creating a fun cartoon shark.
Printable Shark Drawing PDF & Drawing Book
Do you want to practice without constantly scrolling up and down between the steps?
We have prepared the complete shark-drawing process in a printable format. All the drawing steps have been compiled into this PDF so that you can print out the lesson and practice using a pencil, crayons, colored pencils, or markers.
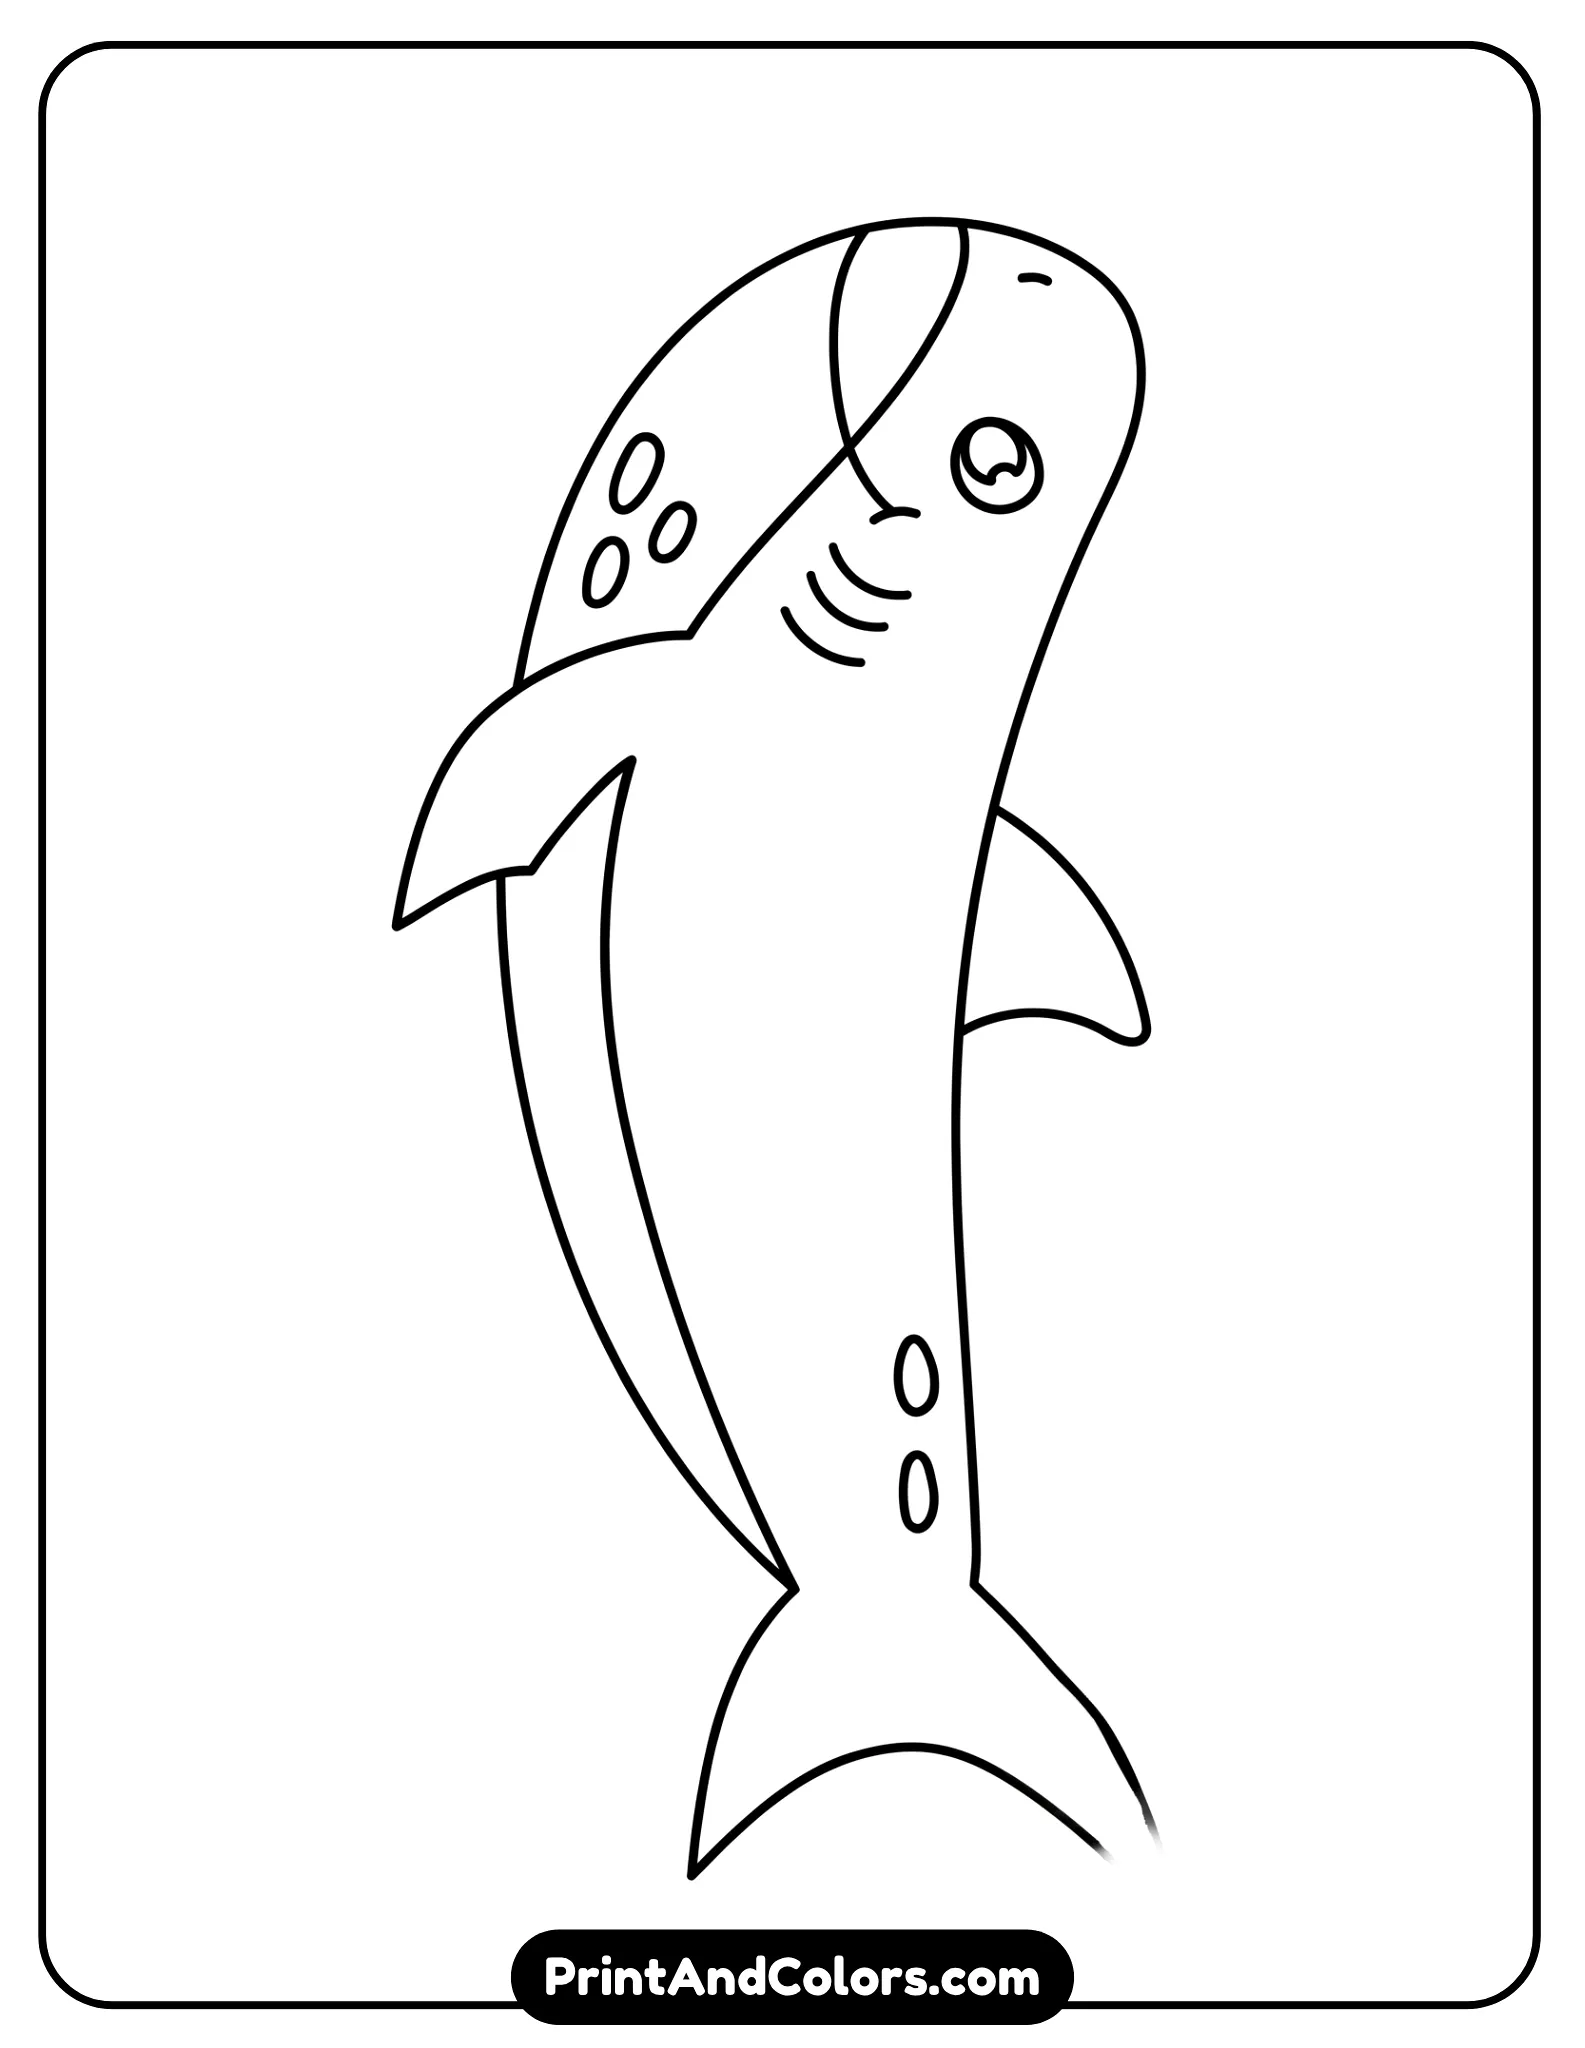
Printable Shark Drawing PDF & Book
Finished easy shark drawing in side view with gray body, fins, tail, eye, mouth, and gills
What the Printable Shark Drawing Book Includes:
- The complete shark drawing sequence
- All 11 stages in order
- Beginner-friendly drawing progression
- Space to follow each stage
- Final shark illustration to color
- A convenient print-friendly format
- One complete PDF instead of separate pages
This makes the printable version useful for home drawing practice, classroom art activities, homeschool lessons, rainy-day activities, and shark-themed projects.
How to Make Your Shark Drawing Look Better
The easiest way to improve a beginner shark drawing isn’t to add dozens of details. Focus on shape, proportion, and clean lines.
Try these simple techniques:
- Keep the body longer than it is tall.
- Make the head wider than the narrow rear section.
- Use curved lines instead of stiff straight lines.
- Keep the dorsal fin attached naturally to the back.
- Make the tail large enough to balance the body.
- Keep the eye small.
- Use light pencil lines before creating the final outline.
- Erase unnecessary construction marks before coloring.
- Add darker shading above and lighter coloring underneath.
If you want to turn this into a more realistic Great White Shark drawing, you can study additional fins, body proportions, teeth, gill structure, and shading. Detailed Great White tutorials commonly begin with simple construction shapes before refining the anatomy.
Frequently Asked Questions About Drawing a Shark
How do you draw a shark easily?
Start by sketching the shark’s elongated body shape, then draw its tail, dorsal fin, pectoral fin, eye, mouth, and gills. Finally, add details such as the nostrils, the underside of the belly, body markings, and coloring. Following this sequence makes drawing a shark much easier for beginners.
What is the easiest shark to draw?
A simple side-view cartoon shark is generally easier to draw than a highly realistic one, as its body can be constructed using a few long curves and basic fin shapes. Once you grasp the proportions, you can add more realistic anatomical details, teeth, shading, and texture.
What colors should you use for a shark drawing?
Grey is a natural choice for depicting a shark in a traditional style, featuring a darker upper body and a lighter-colored underbelly. For a cartoon or stylized shark, you can also use blue, turquoise (teal), green, purple, or other colors. The best color choice depends on whether your goal is realism or a fun, playful look.
How do you draw a realistic Great White Shark?
Start with the elongated body structure, and establish the head, tail, dorsal fin, and pectoral fins before adding facial and bodily details. Tutorials on drawing realistic Great White sharks typically begin by using structural guidelines, followed by refining the outline, gills, fins, shading, and overall body shape.
Can I print this shark drawing tutorial?
Yes. Use the printable Shark Drawing PDF / Printable Shark Drawing PDF Book provided on this page to keep the complete drawing sequence together. It is especially useful when you want to practice away from the screen or use the lesson as a classroom or home art activity.
Your Shark Drawing Is Complete!
You started with a simple curved body and gradually added the tail, dorsal fin, pectoral fin, eye, mouth, gills, nostrils, underbelly, and other details to create a shape easily recognizable as a shark. The final coloring stage gives you complete freedom to color the shark however you like.
Now, try recreating the shark without looking at the finished image. Then, experiment with different poses, a wider mouth, ocean waves, bubbles, other fish, or entirely different color combinations.
When you are ready for more practice, print out the complete PDF book on drawing sharks and keep all the steps handy for your next drawing session.
Bring Every Imagination to Life
Premium Coloring Books & Instant Digital Printables
Transform your creative vision into high-quality, personalized coloring products perfect for gifts, education, or special events. Our team of illustrators crafts unique designs tailored to your exact needs.
2 Comments