How to Draw a Mountain
Learning how to draw a mountain is easier than you might think. You don’t need any special drawing skills or expensive art supplies. With just a pencil, a sheet of paper, and a few simple strokes, you can transform an ordinary triangle into a beautiful mountain, complete with a snow-capped peak, rocky slopes, and a vibrant sunrise.
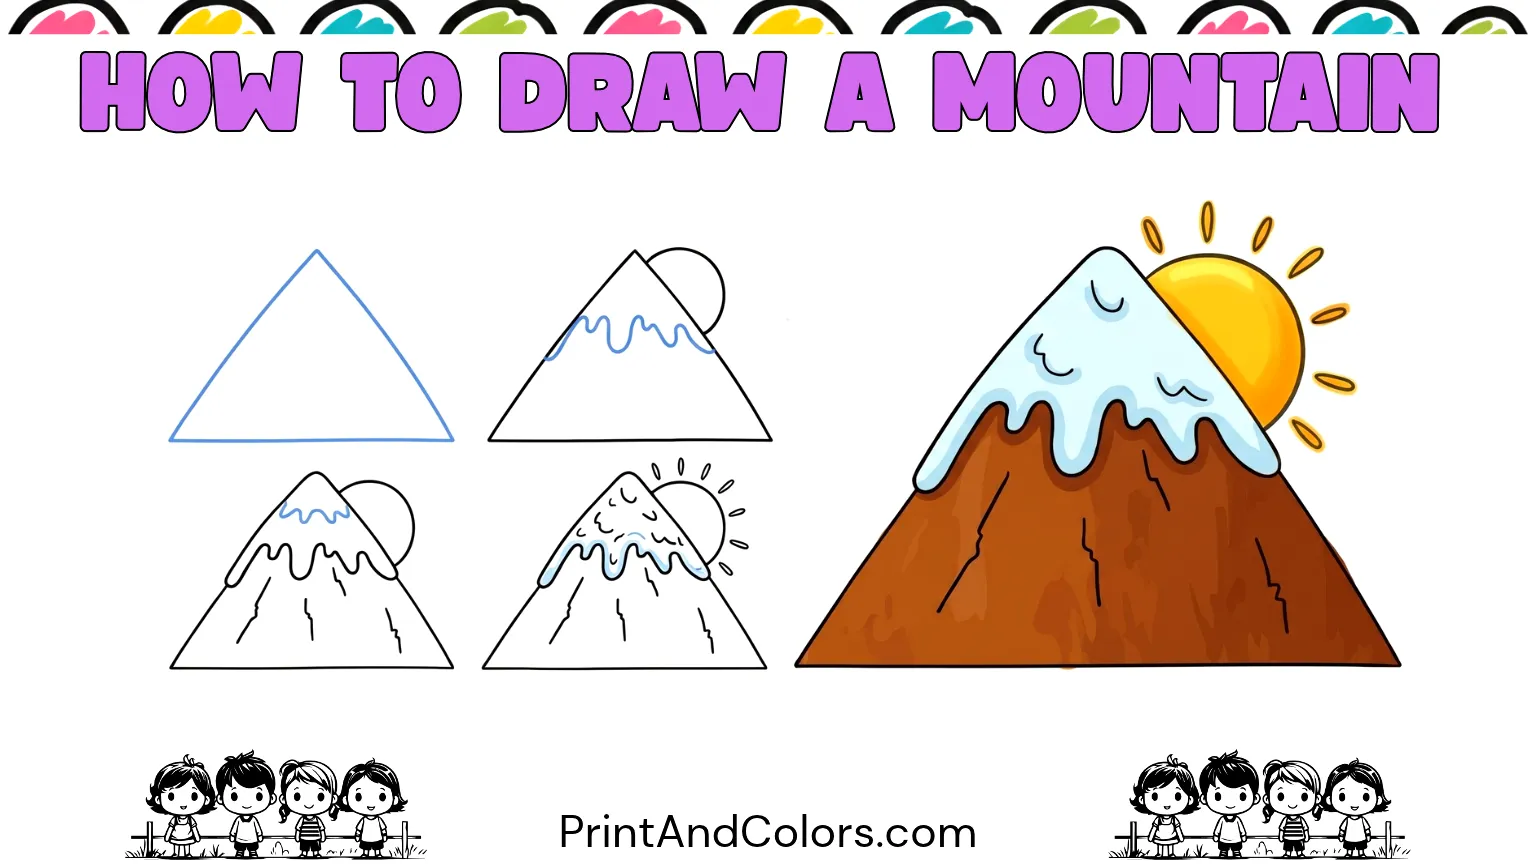
This simple guide to drawing mountains is perfect for children, beginners, parents, and teachers looking for a fun artistic activity. We’ll walk you through the process in six straightforward steps: from sketching the mountain’s shape to adding snow, clouds, and color.
You’ll also find helpful drawing tips, creative ideas for coloring, and a printable PDF booklet that you can use to keep practicing whenever you like.
Your next masterpiece awaits—try these stunning pages!
What You’ll Need to Draw a Mountain
Before you begin, gather a few basic drawing supplies. You probably already have everything at home.
- Pencil: An HB pencil works well for sketching and outlining.
- Eraser: Helps remove unwanted lines and correct small mistakes.
- Drawing paper: Plain white paper or a sketchbook is perfect.
- Colored pencils or crayons: Use brown, gray, blue, yellow, and orange to bring your mountain to life.
- Black marker (optional): Makes the finished outline stand out.
Drawing tip: Start with light pencil strokes. They’re easier to erase, especially when you’re learning to shape the mountain and its snowy top.
Step 1: Sketch a Tall Mountain with a Wide Base
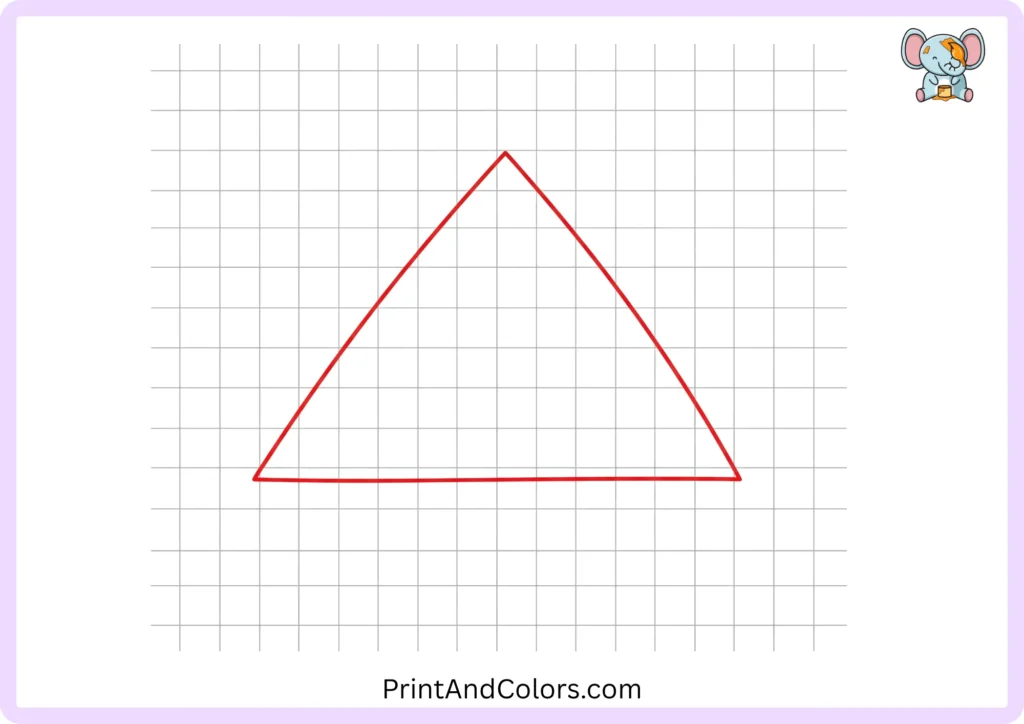
Start by drawing two long, slightly slanted lines that meet near the top of your paper. Together, they form a large triangle with a wide base.
Instead of making the peak perfectly pointed, you can give it a slightly rounded or irregular shape. Since real mountains often have craggy summits, a bit of imperfection will make your drawing look more natural.
Leave enough space above and to the sides of the mountain for the sun and clouds, which you can add later.
Step 2: Create a Snow-Covered Mountain Summit

Now, let’s give your mountain a beautiful, snow-covered peak!
Start on one side, somewhere near the top of the mountain, and draw an irregular, curving line across to the other side. As you do, incorporate a few gentle dips and pointed sections.
This line separates the white snowcap from the rocky slopes below. Make sure it isn’t perfectly straight, as snow in nature tends to accumulate in irregular patterns.
Your simple triangle is already starting to look like a real mountain.
Step 3: Add Rocky Ridges and Natural Slopes
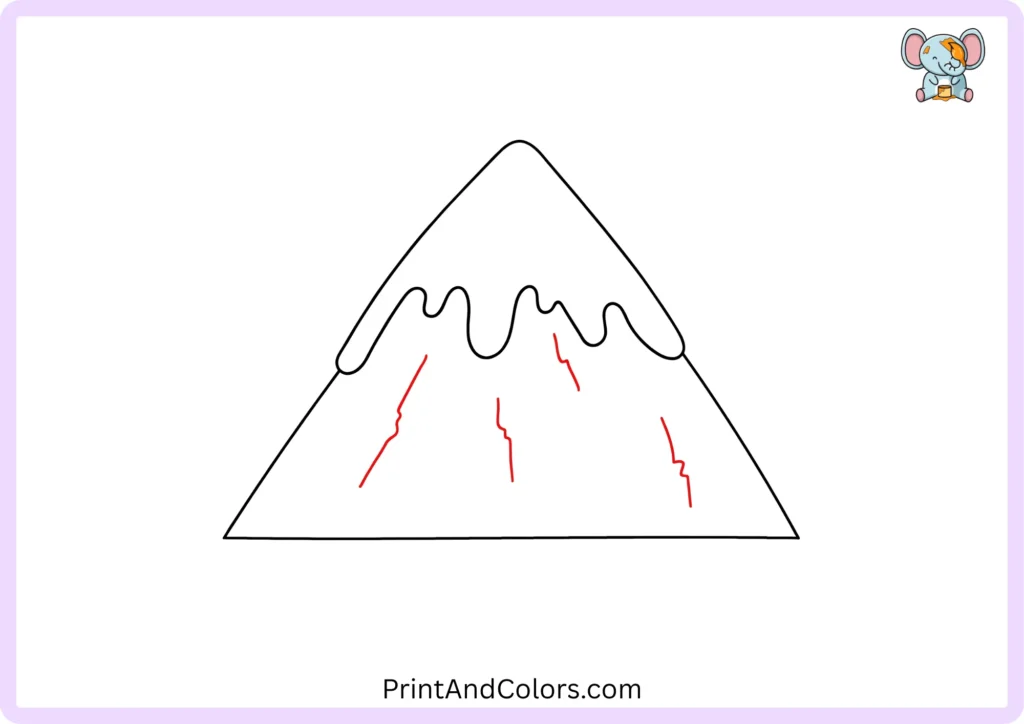
Mountains are not perfectly smooth. Their surfaces feature ridges, cracks, and rocky sections.
Draw several thin, slightly curved lines extending downward from the snow-covered area. Make some lines longer than others, and ensure that some of them bend gently.
These lines represent rocky ridges running down the mountain.
Do not fill the entire mountain with lines. Leaving some open space will make it easier to add color and shading later on.
Step 4: Give the Snowcap More Texture and Detail
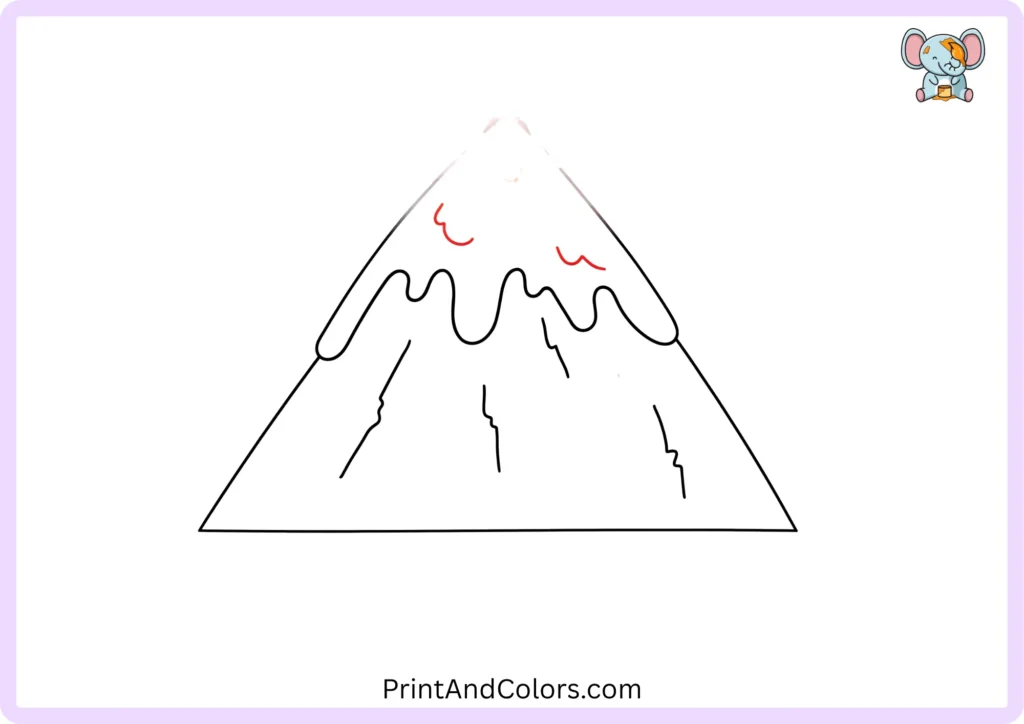
Let’s make the snowy peak a bit more interesting.
Within the snow-covered area, draw a few short, curved lines—some further up, others closer to the undulating edge of the snowfield.
These small strokes suggest variations in the snow’s surface and keep the mountain from looking too flat.
Apply only light pressure with your pencil as you do this. Snow generally looks best when most of the area remains white, with only a few carefully placed details added.
Step 5: Draw a Rising Sun and Fluffy Clouds
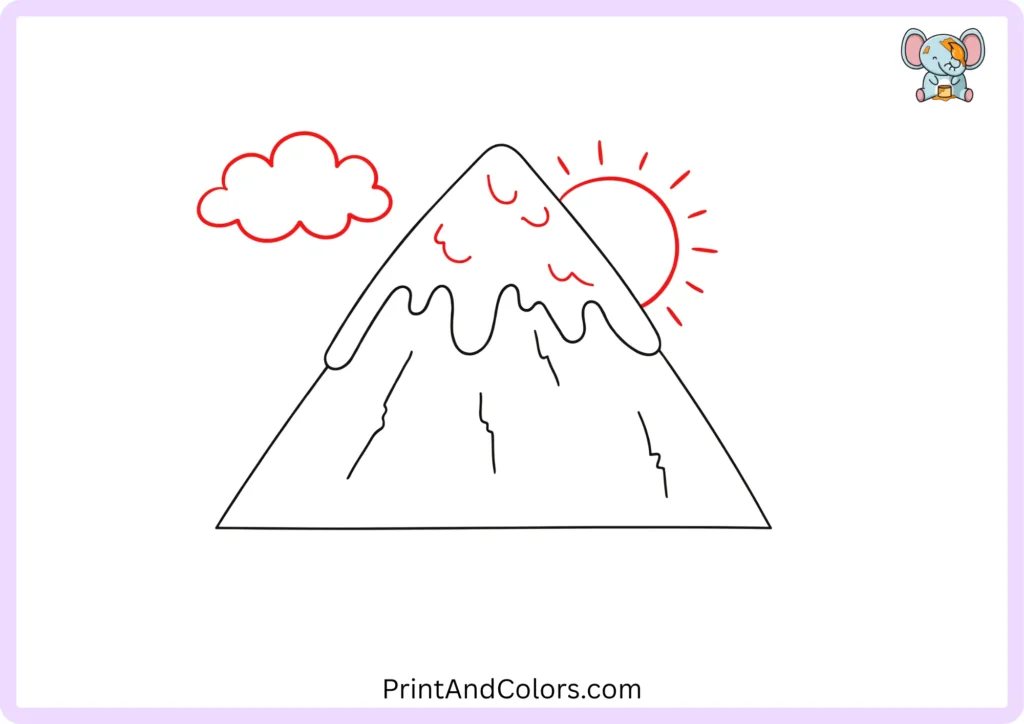
Your mountain needs a beautiful sky!
Draw a circle or semicircle above or next to the mountain to represent the rising sun. You can add short rays around it to create a cheerful, sunny effect.
Next, draw one or two fluffy clouds using connected, curved lines. Place them around the mountain, taking care not to obscure the snow-capped peak too much.
For an even more interesting landscape, you could position the sun partially behind the mountain—this creates the impression of a sunrise.
Step 6: Bring Your Mountain Landscape to Life with Color
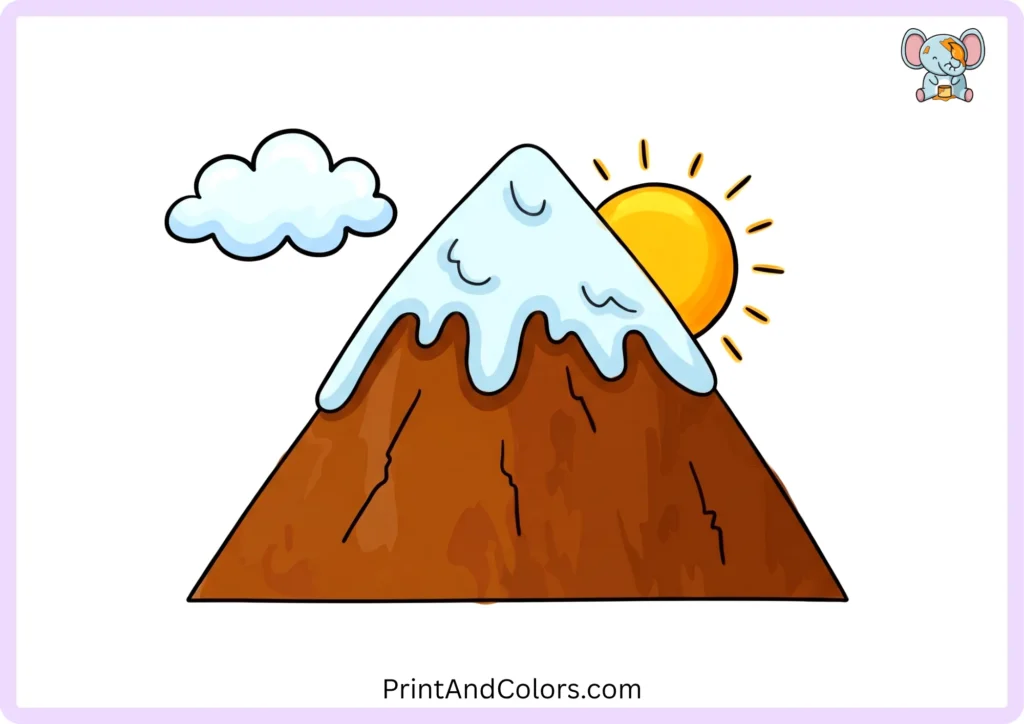
You’ve finished the outlines. Now for the fun part: coloring it in!
Use brown or gray for the rocky mountain slopes. Leave most of the snowcap white, and add a touch of light blue to suggest cool shadows.
Color the sun yellow or orange, and use a pale blue for the sky. You can leave the clouds white or shade their undersides with a soft gray.
Try coloring one side of the mountain a bit darker than the other. This simple technique creates depth and makes the mountain appear more three-dimensional.
And there you have it, your very own mountain drawing!
Printable Mountain Drawing PDF & Drawing Book
Want to practice without looking at a screen? Our Printable Mountain Drawing PDF Book is designed to make drawing practice simple and enjoyable.
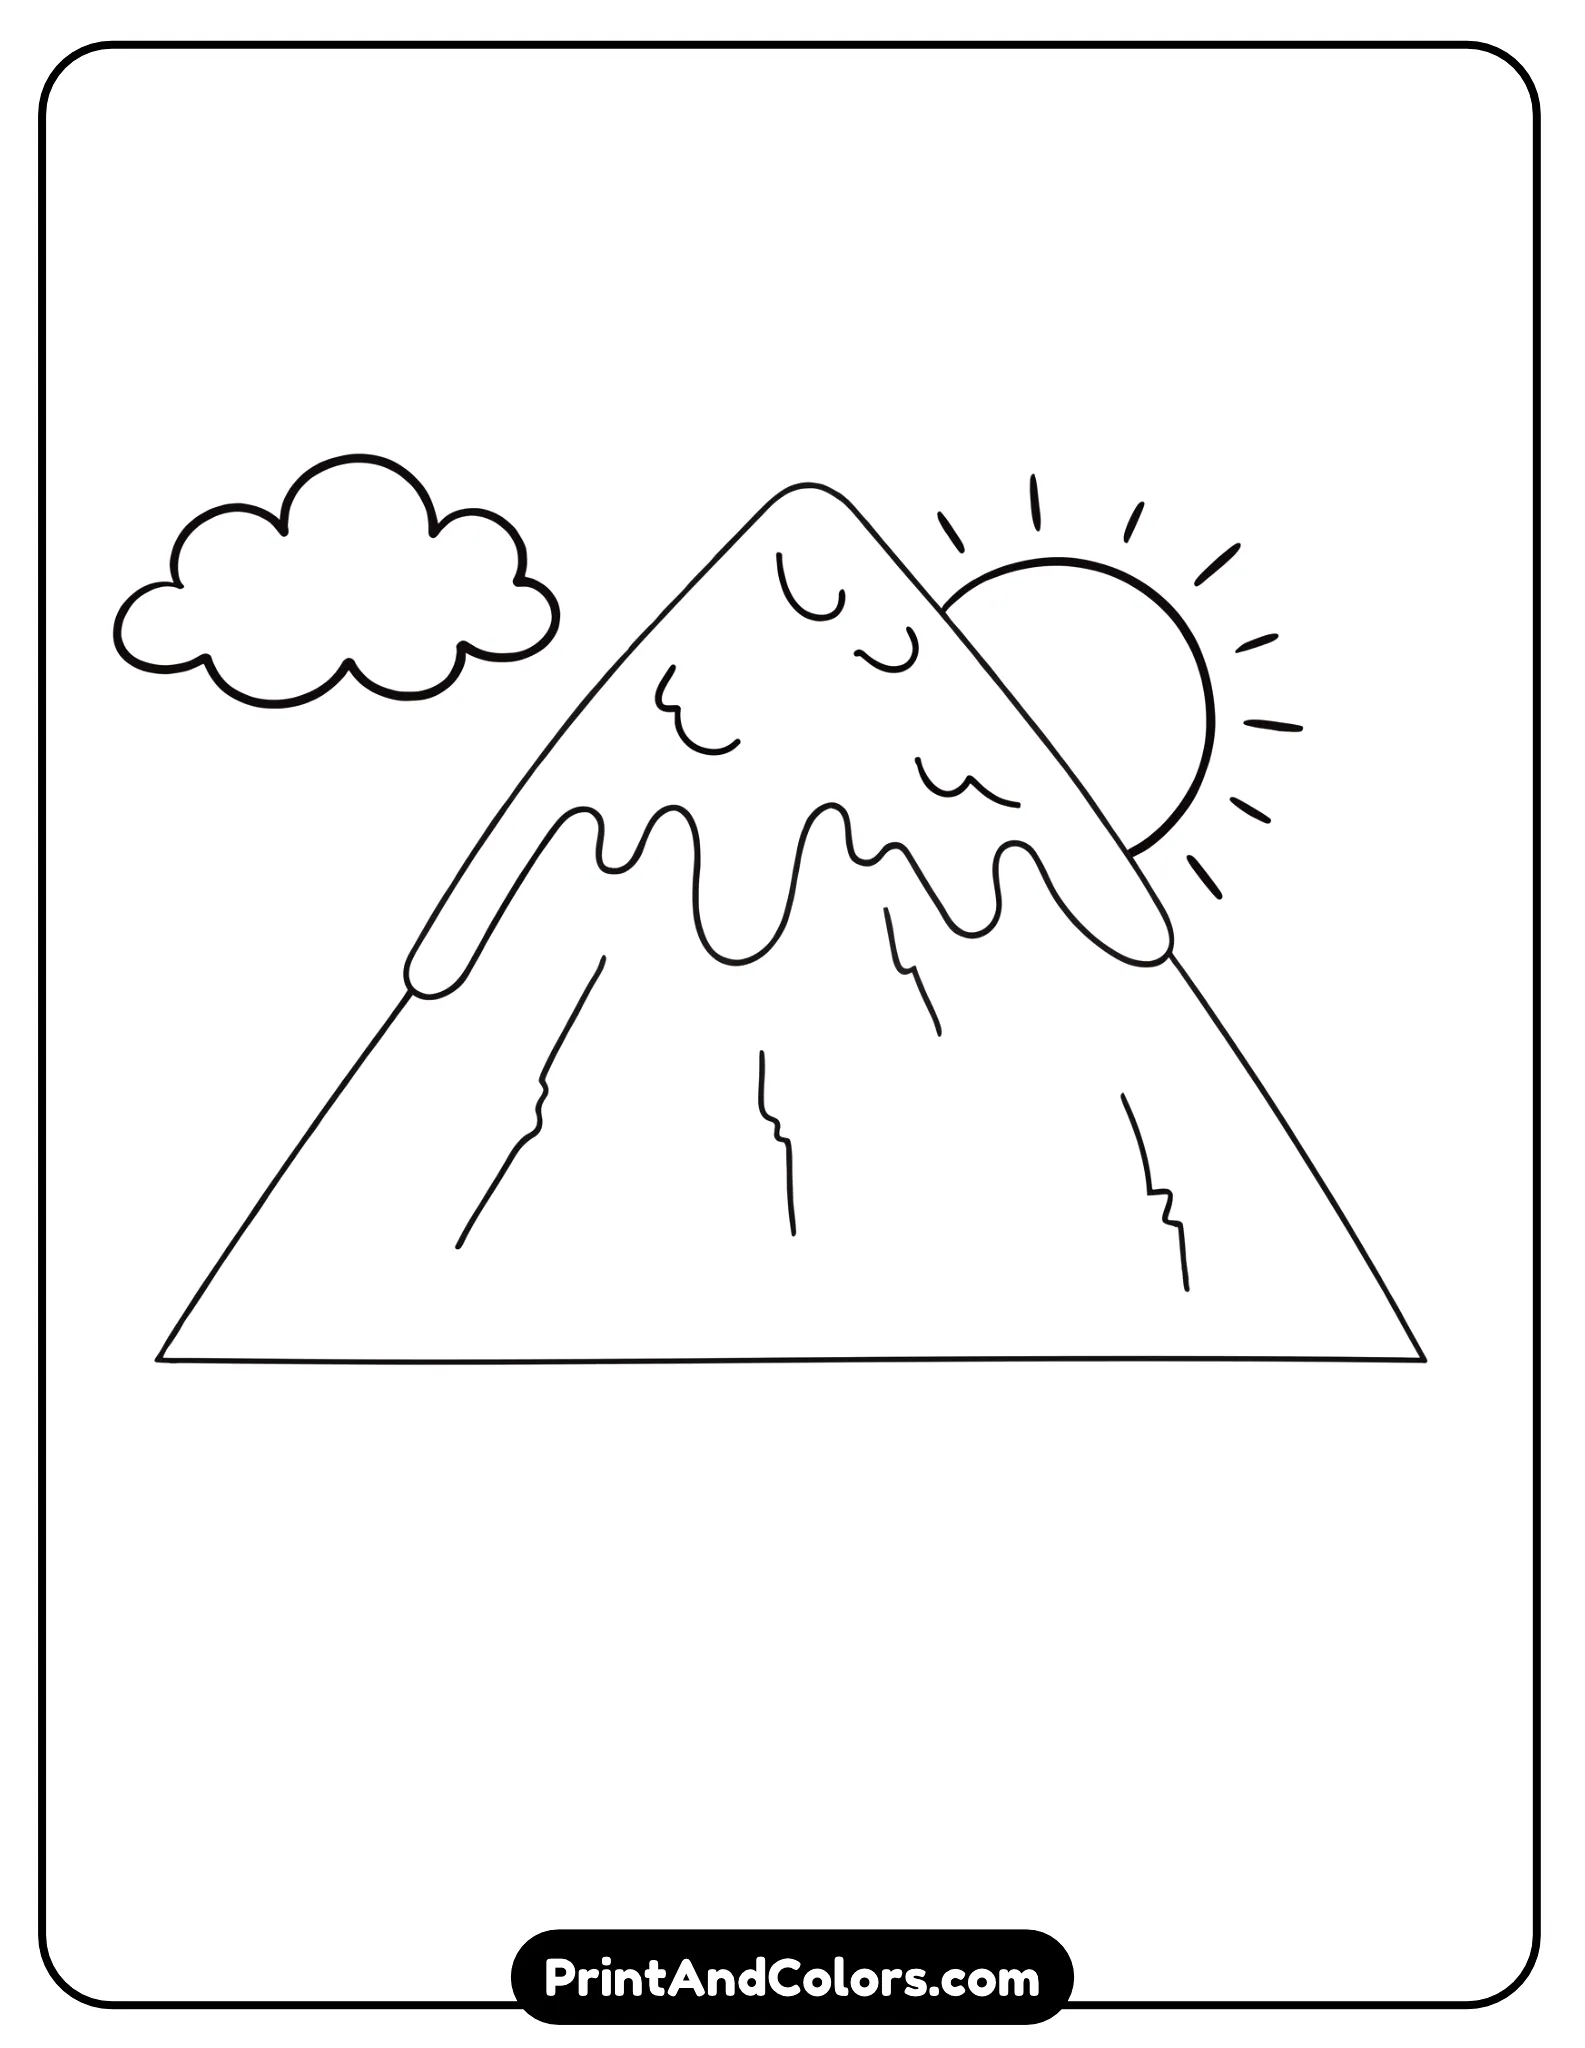
Printable Mountain Drawing PDF & Book
Printable mountain drawing PDF book showing all Easy steps, from a simple triangular outline to a fully colored snowy mountain landscape.
Easy Mountain Drawing Tips for Beginners
Want your mountain to look even better? Try these simple techniques.
Make Your Mountain Look More Realistic
Real mountains have uneven edges, varying slopes, and natural shadows. Instead of drawing every line perfectly straight, experiment with gentle zigzag lines and irregular shapes.
Imagine sunlight falling from a specific direction. Make the side facing the sun lighter, and shade the opposite side to be darker. This gives your drawing a three-dimensional appearance.
Try Drawing a Mountain Range
Once you have mastered a single mountain, try adding two or three smaller mountains behind it.
Draw the mountains in the background slightly higher up on the paper, so that their lower sections remain hidden behind the main mountain. Use lighter colors and fewer details for the more distant peaks.
This technique, known as overlapping, creates a sense of spatial depth in landscape drawings.
Frequently Asked Questions About Drawing Mountains
How can I make my mountain drawing look realistic?
Use irregular outlines instead of perfectly straight edges. Add rocky ridges that follow the mountain slopes, and shade one side more darkly to create the impression that sunlight is coming from the opposite direction. Including smaller, lighter-colored mountains in the background can also help your landscape appear more natural and three-dimensional.
What colors should I use for a mountain drawing?
Brown and gray work well for rocky slopes, while white and light blue are ideal for snow-capped peaks. For a sunrise scene, shades of yellow, orange, and pink in the sky are a good choice. You can also use greens for grassy mountains or violets for a dramatic sunset landscape.
How do you draw snow on top of a mountain?
Draw an irregular, wavy line across the upper part of your mountain. Leave most of the area above it white, then add a few light blue or gray strokes to serve as shadows. Small, curved marks can suggest the texture of snow without making the summit look too cluttered.
Can kids learn to draw mountains using basic shapes?
Absolutely! A triangle is an excellent starting point, as it is a shape that children can easily recognize and draw. You can gradually add a snow-capped peak, rock formations, and a colorful setting. Furthermore, this activity helps young artists develop their powers of observation, pen control, and creative thinking.
Keep Exploring and Drawing!
You’ve learned how to transform a simple triangle into a stunning mountain landscape, complete with snow-capped peaks, rocky ridges, sunlight, clouds, and color.
The best part? No two mountain drawings have to look the same. Next time, try sketching a taller peak, a vibrant sunset, or even an entire mountain range!
Download the PDF booklet featuring mountain drawing templates, practice all six steps, and discover more easy drawing tutorials at “Print and Colors.” Your next nature-inspired masterpiece is just a pencil stroke away!
Bring Every Imagination to Life
Premium Coloring Books & Instant Digital Printables
Transform your creative vision into high-quality, personalized coloring products perfect for gifts, education, or special events. Our team of illustrators crafts unique designs tailored to your exact needs.