How to Draw a Brain
Have you ever tried to draw a brain, only for it to end up looking like a wrinkled potato? You’re not alone! The human brain has a very unique structure, filled with winding lines, curves, and folds. Interestingly, it is precisely these winding lines that make drawing a brain both easy and engaging.
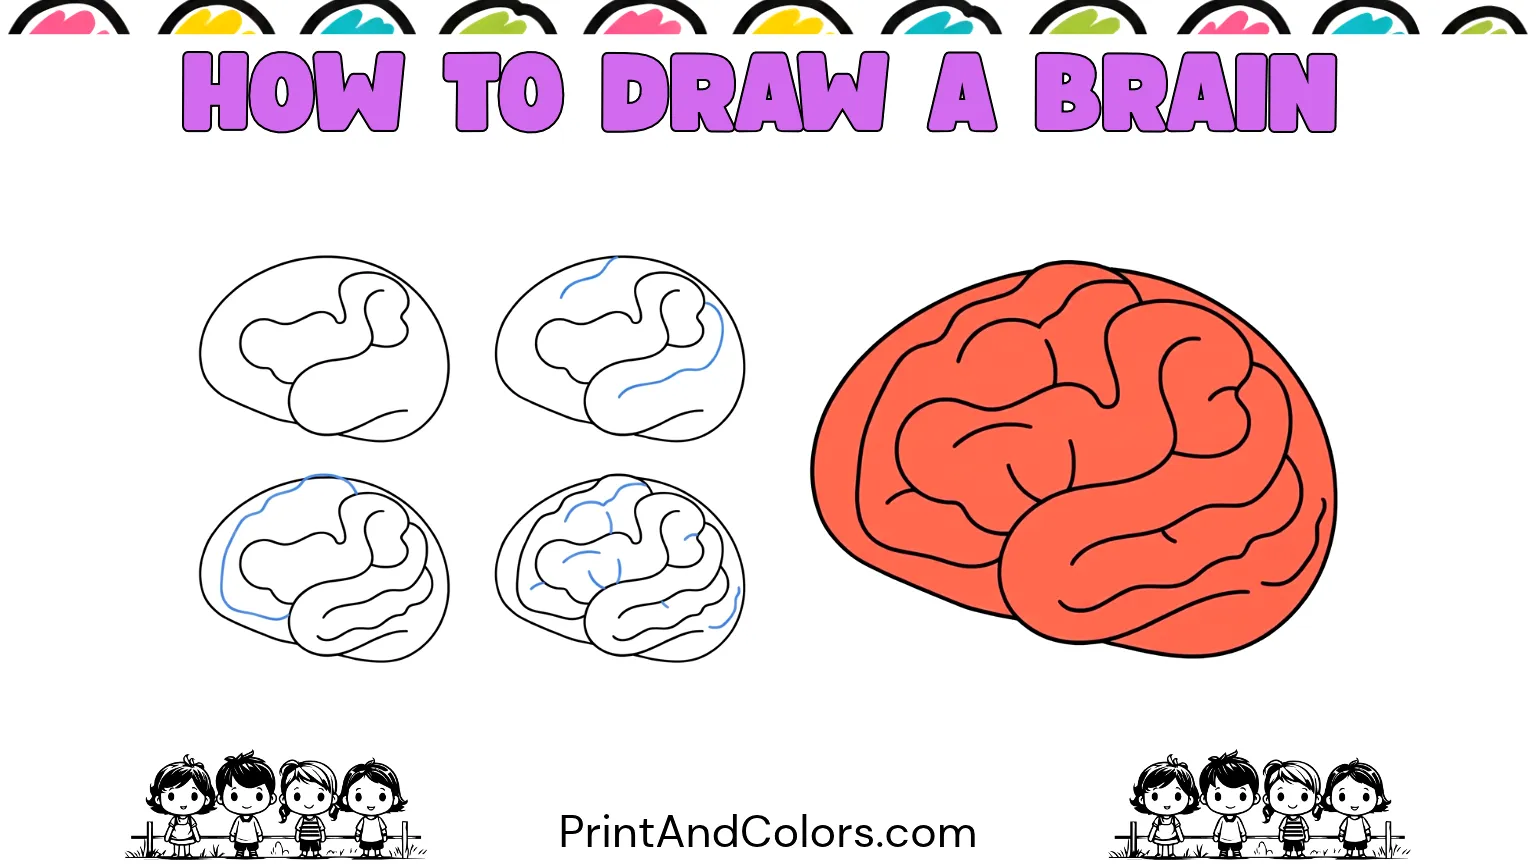
In this tutorial, we will take a simple, rounded outline and, in just seven steps designed for beginners, transform it into a drawing that is instantly recognizable as a brain. You don’t need any knowledge of human anatomy or advanced drawing skills; all you need is a pencil, some paper, and a little bit of patience.
Whether you are working on a science project, a classroom activity, or simply trying to create something new, this guide will help you make a colorful illustration of the brain. Along the way, you will also discover some fascinating facts about this vital organ, the very part of you that enables you to think, remember, and learn.
Your next masterpiece awaits—try these stunning pages!
What You’ll Need for Your Brain Drawing
Before starting, gather a few basic art supplies:
- Pencil: For sketching the outline and curved lines.
- Eraser: To remove unwanted marks and adjust the shape.
- Drawing paper: Any plain white sheet or sketchbook works.
- Black marker: Optional, for outlining your finished artwork.
- Colored pencils or crayons: Pink, peach, purple, and red are fun choices.
- Printable brain drawing guide: Useful for following each step at your own pace.
Beginner tip: Draw your first lines lightly. Brain folds don’t need to be perfectly symmetrical, so small mistakes can actually make your picture look more natural.
Step 1: Sketch a Large, Rounded Brain Shape
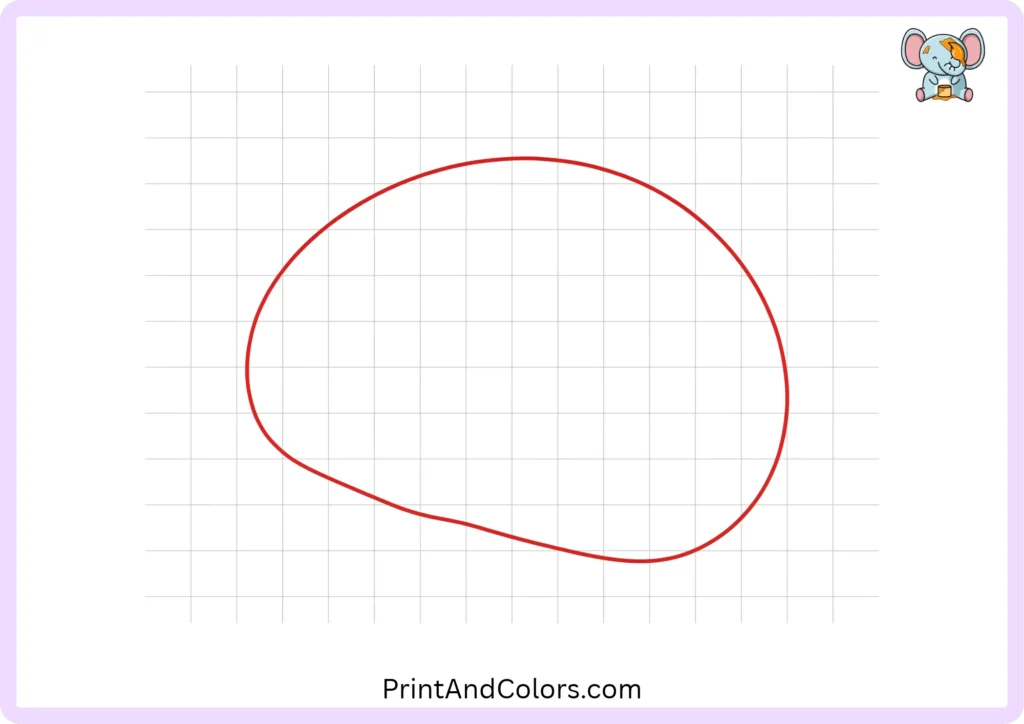
Start by drawing a large, rounded outline near the center of the paper. Keep the top section wide and slightly raised, then curve both sides inward as you bring them down toward the bottom, where the shape should be relatively smooth.
Imagine you are drawing a cloud with subtle protrusions, or an oval-like shape that isn’t perfectly smooth. The shape you create does not need to be perfectly symmetrical, as the actual human brain possesses natural curves and irregularities.
Leave enough space inside this outline so that you can add winding, convoluted lines later on.
Step 2: Create the First Long Curved Detail
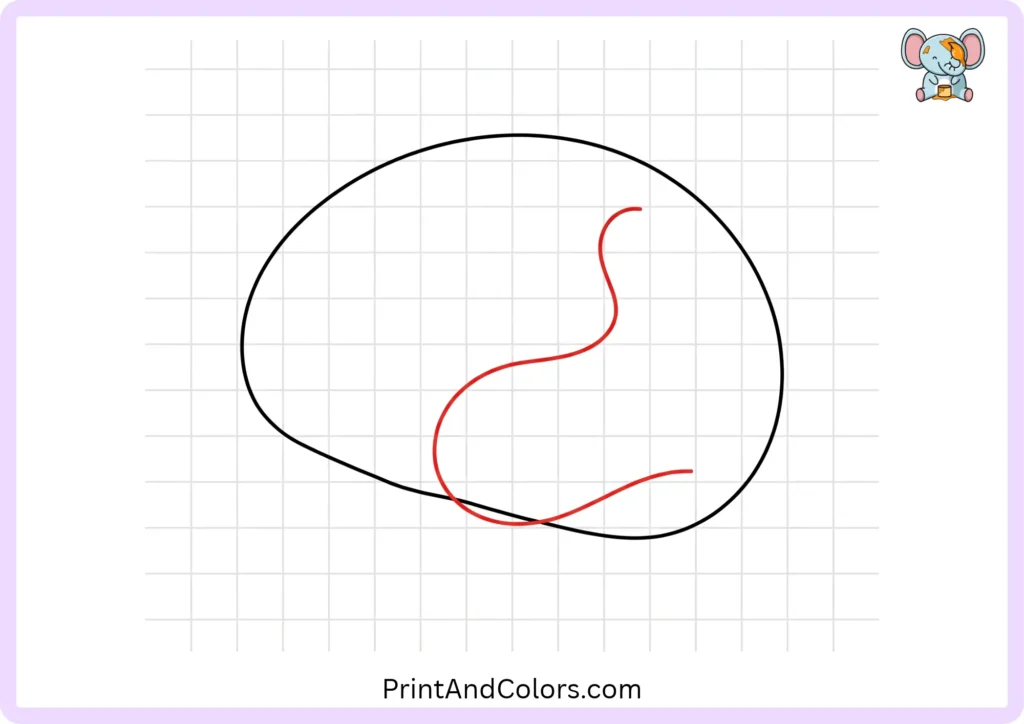
Now, draw a long, fluid line starting near the top-right section of the brain outline you have created.
Move your pencil downward, gently curving the line toward the left, and then sweep it across toward the right, passing through the lower-middle section.
This line forms the basic pattern of the brain’s internal folds. Keep your hand relaxed and avoid creating sharp, pointed corners.
Drawing tip: Think of this line as a winding stream rather than a straight road.
Step 3: Build a Wavy Fold Across the Middle
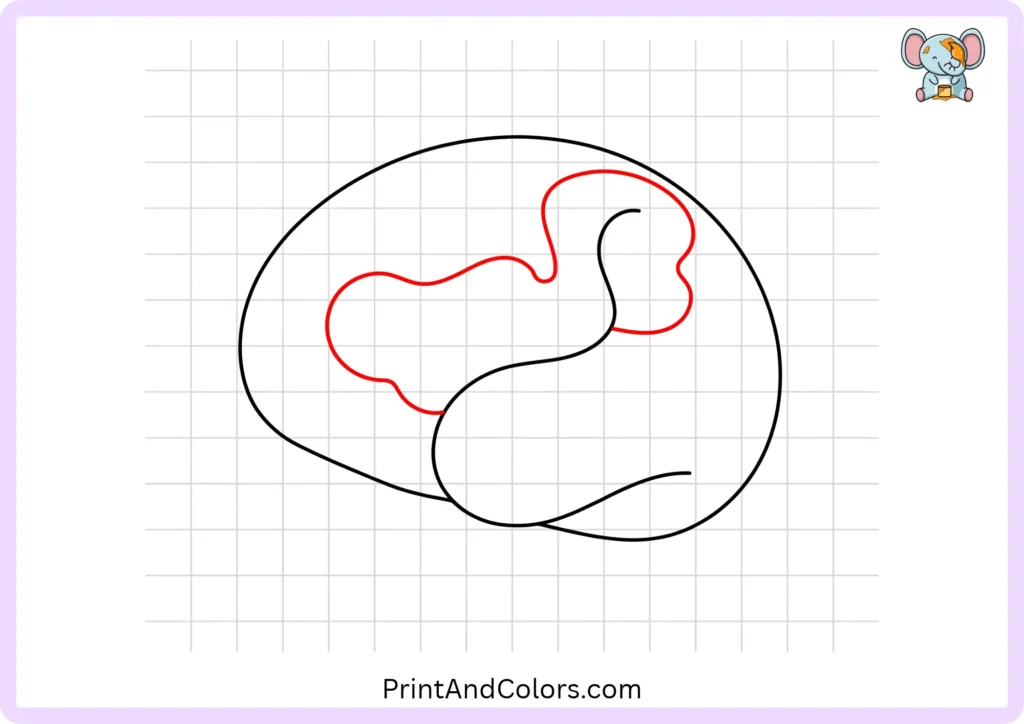
It’s time to make your brain look more realistic!
Starting from the middle-left area, draw a broad, wavy line that travels toward the right. Add a few rounded turns as you go, then extend the line into a long curve near the right side.
Following the example, connect this to the curved detail from Step 2.
These winding shapes represent the folded surface of the brain. The raised ridges are called gyri, while the grooves between them are known as sulci.
Step 4: Shape the Right and Lower Brain Folds
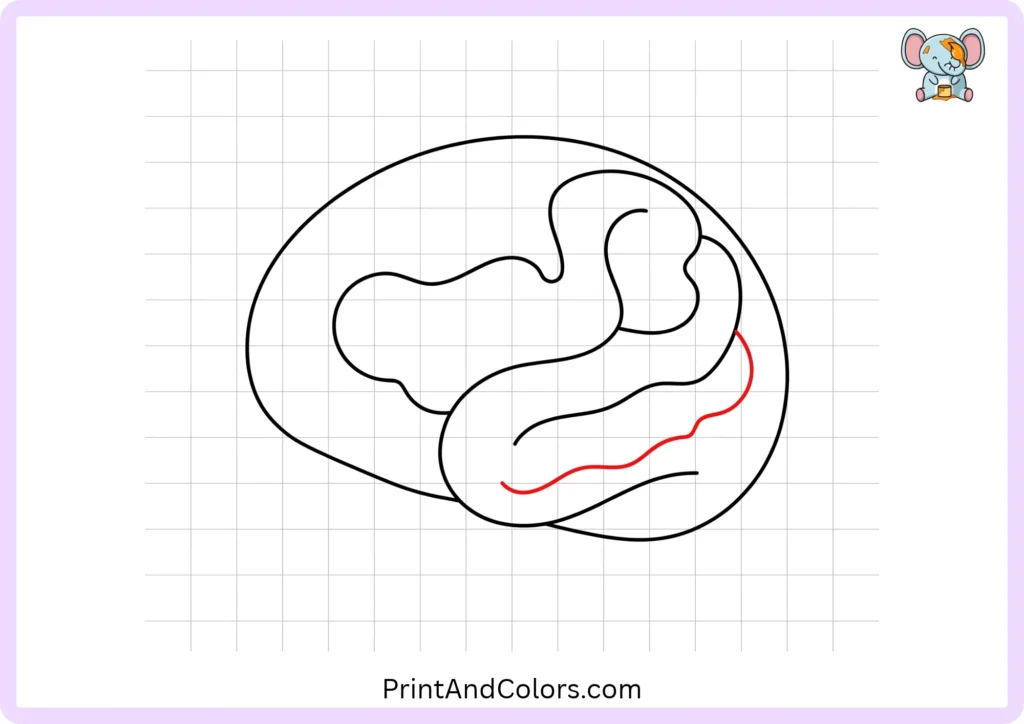
Next, draw another long, curving line alongside the prominent fold on the right.
Extend this line downward, then curve it inward toward the bottom of the drawing. Below this, add another, subtly wavy line to provide further definition to the lower section.
Try to leave some space between the adjacent lines so that each fold remains clearly distinguishable.
There is no need to rush. Smooth, rounded, curving lines will give your sketch of the brain a softer and more natural appearance.
Step 5: Add a Flowing Fold Along the Left Side

Move to the upper-left section of your drawing and create a long, winding fold that runs along the outer edge.
As this line extends downward, toward the lower, central part of the brain, allow it to curve inward.
This large curve helps create balance among the folds you have already drawn on the right side.
If one side looks slightly different from the other, that is perfectly fine. Your depiction of the brain should appear organic, rather than looking mechanically identical on both sides.
Step 6: Fill the Brain With Smaller Wrinkles and Curves
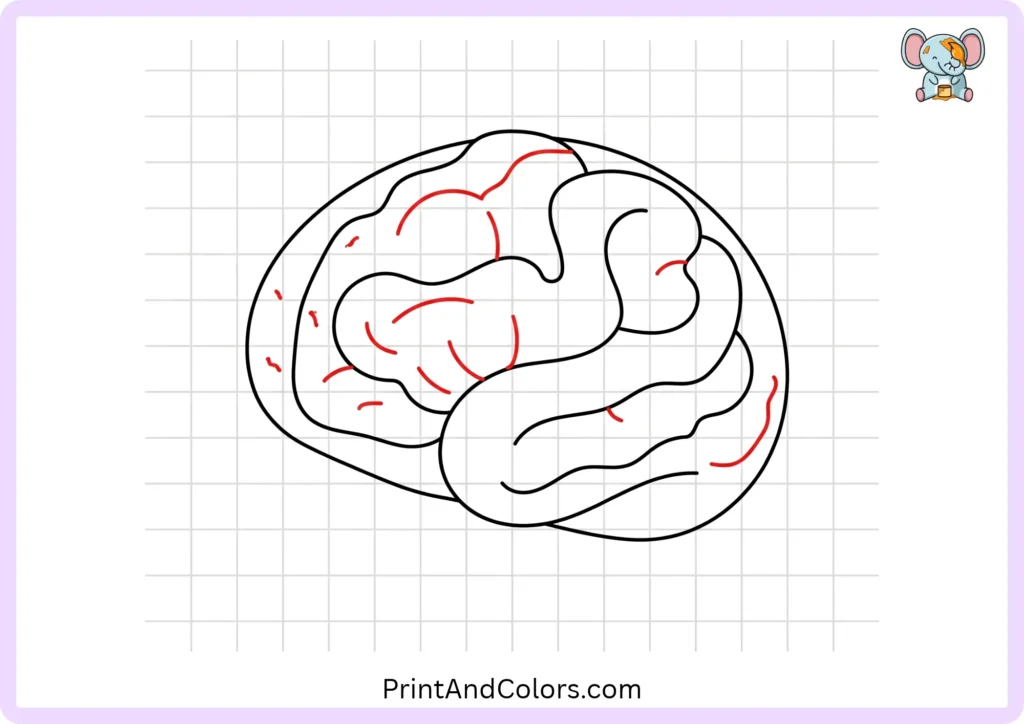
Your drawing should now look like a brain, but a few small details will make it even better.
Add small, curved lines between the larger folds. Some might resemble small hooks, sideways ‘C’ shapes, or gently winding paths.
Distribute these across the upper, middle, and lower sections without overcrowding the drawing.
The human brain has a folded outer layer called the cerebral cortex. This layer increases its surface area, allowing more cortical tissue to fit inside the skull.
Helpful tip: Leave a little empty space between the folds. Too many overlapping lines can make it difficult to color your drawing.
Step 7: Bring Your Brain Drawing to Life With Color
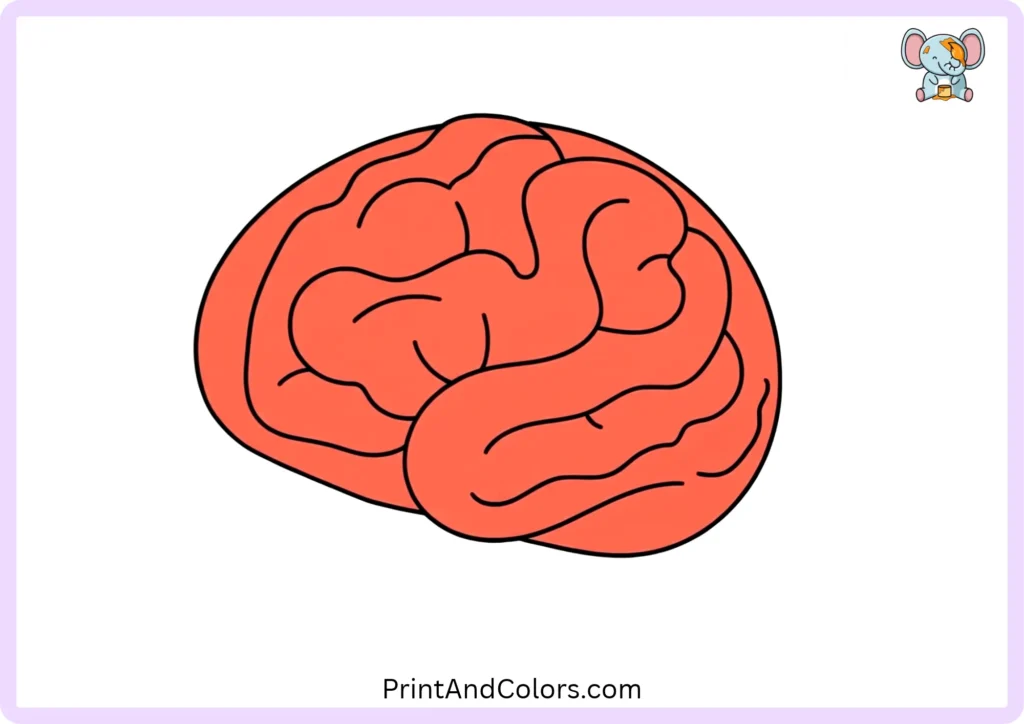
Congratulations! You have completed your brain outline. Now comes the colorful part.
Start by filling in the larger sections with a light pink or peach shade. Add a darker pink or purple in some of the grooves to create depth. Leave some lighter areas blank to suggest highlights.
For a playful, cartoon-style brain, experiment with rainbow colors or give each section a different shade.
Finally, trace the outer edge with a black marker if you want a bold, clean finish.
Your simple brain drawing is ready for display!
Printable Brain Drawing PDF & Drawing Book
Want to practice without switching between pictures on your screen?
Our Printable Brain Drawing PDF Book brings the seven drawing stages together in one convenient resource. Follow the sequence from the basic outline to the finished colored brain, or use the pages as a reference for your next art activity.
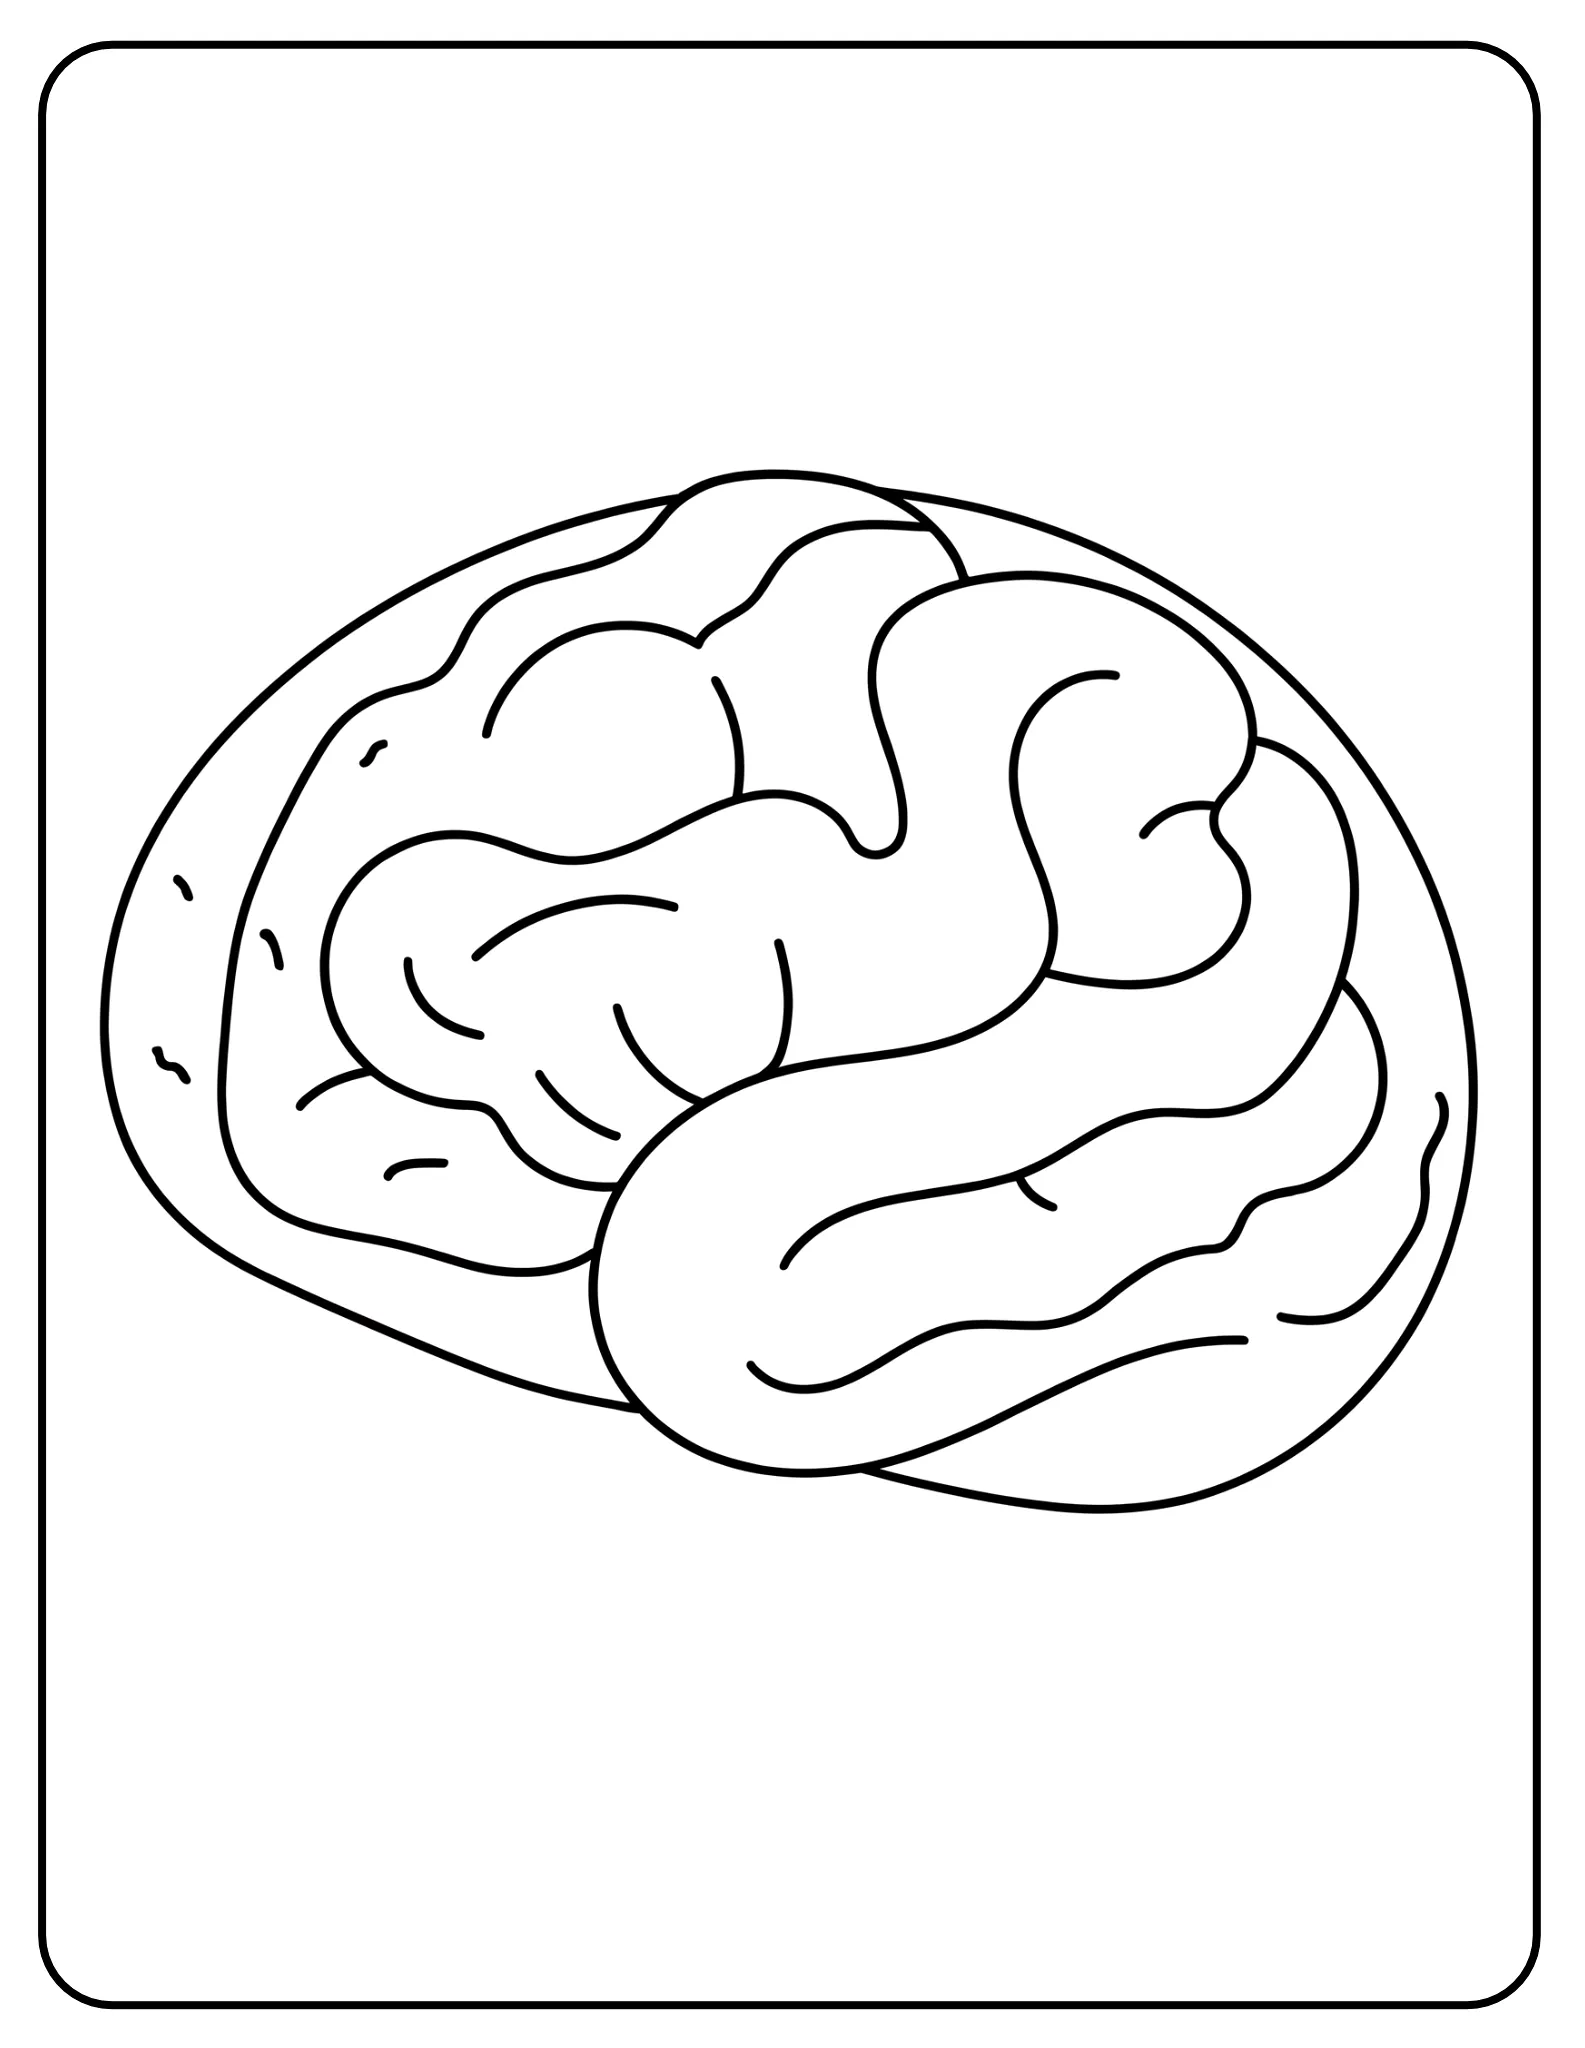
Printable Brain Drawing PDF & Book
Printable brain drawing PDF book showing a collection of seven step-by-step illustrations, beginning with a simple rounded brain outline, progressing through curved brain folds, and ending with a fully colored pink brain drawing.
Understanding the Brain: Fun Anatomy Facts for Kids
Drawing becomes even more interesting when you understand what you are sketching.
The brain is the body’s central control center. It works in conjunction with the spinal cord and nerves to enable us to move, perceive our surroundings, retain information, and make decisions.
Here are three key parts to identify:
- Cerebrum: The largest part of the brain; it is involved in thinking, memory, sensory processing, and voluntary movement.
- Cerebellum: Located toward the lower part of the brain; it helps with balance and the coordination of movement.
- Brainstem: Connects the brain to the spinal cord and helps regulate essential functions, such as breathing.
Our tutorial shows a simplified, stylized view of the cerebrum. It isn’t intended to be a medically precise anatomical diagram, but it’s a great introduction to brain structure.
Frequently Asked Questions About Drawing a Brain
How do you draw a brain easily for kids?
Start with a large, rounded outline that resembles a somewhat irregular oval. Draw some long, wavy lines inside it, and then add small, curved folds to give it the wrinkled appearance characteristic of a brain. Finally, color the shape pink, or any other color you prefer. Beginners can follow our seven-step illustrated guide.
What is the easiest way to draw brain folds?
The simplest approach is to use free, curved lines rather than attempting to replicate every detail of the physical form exactly. Begin with a few large, flowing folds, and fill the empty spaces with smaller curves, resembling the letter ‘C’ or a hook. Maintain spacing between the lines to ensure the finished drawing remains clear.
What colors should I use for a brain drawing?
For a simple illustration of the brain, light pink, peach, and light gray are suitable colors. To create an impression of depth, use darker colors within the grooves of the brain. For children’s cartoons or creative classroom projects, colors such as purple, blue, yellow, or even a rainbow palette can be equally effective.
Can I draw a brain without knowing anatomy?
Absolutely! You can create a recognizable cartoon brain using a rounded outline and several winding lines. Basic anatomy is helpful if you want to create a more realistic drawing or label different regions, but it is not necessary for this beginner-friendly art activity.
How can I make my brain drawing look realistic?
Pay attention to the irregularities in the external structure, the various layers, and the subtle shading. Use darker pencil strokes within the deep lines or crevices, while applying lighter shading to the raised areas. To create a drawing that is more anatomically accurate, study an authentic reference image of the brain rather than relying solely on cartoon-style depictions.
Is a brain drawing useful for school science projects?
Yes! Drawing the brain helps students become familiar with its general shape and folded surface. For a science assignment, you can enhance the activity by having students label the cerebrum, cerebellum, and brainstem. Use a separate anatomical reference when accurate positioning of the brain’s structures is required.
Keep Drawing, Learning, and Creating!
You have learned how to draw a brain in seven simple steps, from its rounded outline to its distinct layers and final coloring. Along the way, you discovered how the brain, the cerebral cortex, and other brain structures play a role in our daily lives.
As you grow more confident, try transforming your simple sketch into a labeled diagram of the brain or a detailed pencil drawing.
Ready for another creative challenge? Explore more easy drawing tutorials and printable coloring pages at Print & Colors, and use our brain-drawing PDF book to practice whenever inspiration strikes!
Bring Every Imagination to Life
Premium Coloring Books & Instant Digital Printables
Transform your creative vision into high-quality, personalized coloring products perfect for gifts, education, or special events. Our team of illustrators crafts unique designs tailored to your exact needs.