How to Draw a Monkey
Drawing a monkey might seem difficult at first, especially when considering its ears, expressive face, long arms, large feet, and curling tail. An easy approach is to first construct the monkey’s framework using simple shapes and then add the details.
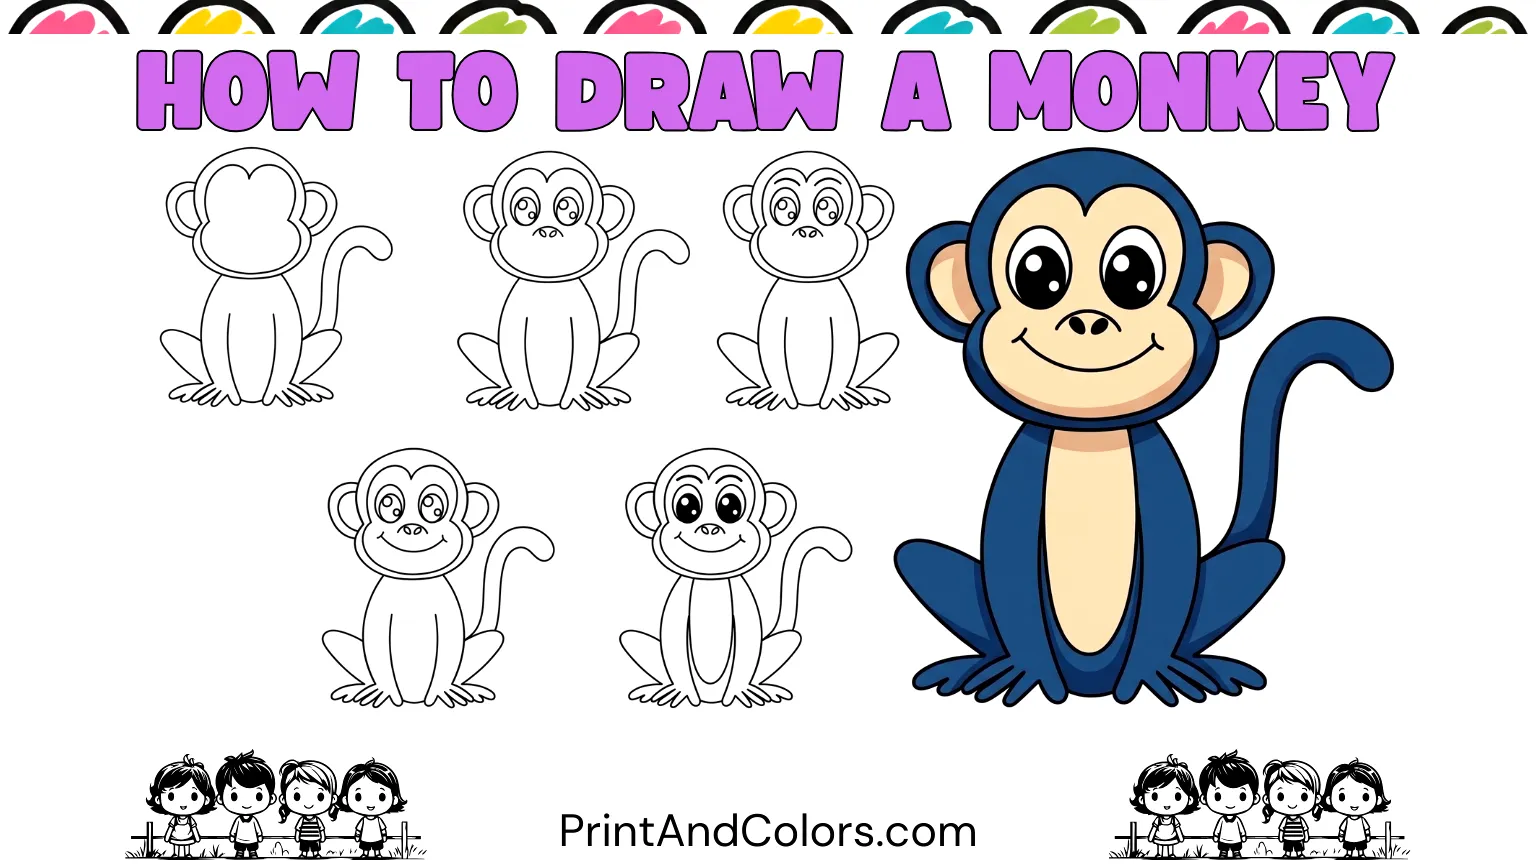
In this simple monkey-drawing tutorial, we will go through 14 easy steps, starting with the initial guidelines for the head and concluding with a complete, colorful image of a monkey. You will learn how to structure the face, draw the body and limbs, create the tail, and add expressive eyes, a nose, a mouth, and a belly.
This tutorial is designed for children, beginners, parents, teachers, and anyone else who wants to learn an easy way to draw a monkey. You can follow along using a pencil and paper, or print out the complete drawing guide to use as a practice worksheet.
Your next masterpiece awaits—try these stunning pages!
What You Need to Draw a Monkey
You don’t need a large collection of art supplies. Start with:
- Pencil
- Drawing paper or printer paper
- Eraser
- Black pen or marker for the final outline
- Crayons, colored pencils, or markers
- Our printable monkey drawing PDF
Tip: Use a light pencil for the initial guidelines. These basic outline lines are very helpful in maintaining the balance between the monkey’s head and body. Once the final sketch is complete, you can erase the unnecessary guidelines.
Step 1: Sketch the Monkey’s Head Guidelines
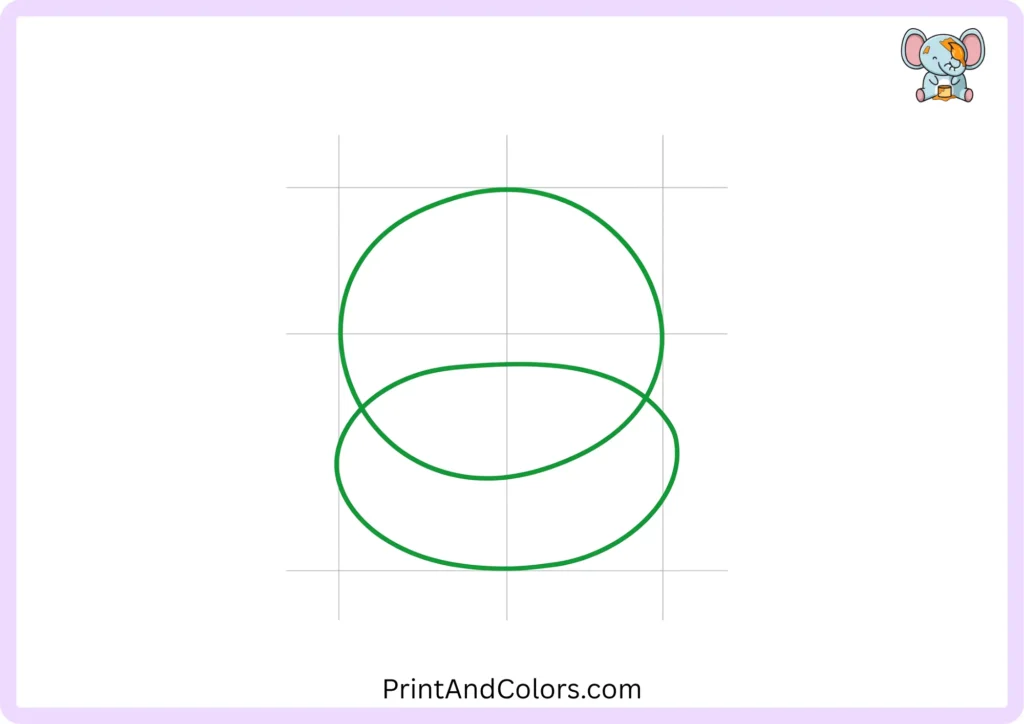
Start with two simple, partially overlapping shapes.
Draw a large, round shape near the top of the page for the main part of the monkey’s head. Then, draw a wide oval shape at the bottom of that circle.
These shapes are merely guides, so keep your pencil lines light. They will help you draw the head and face in a balanced way.
Step 2: Outline the Head and Add the Ears
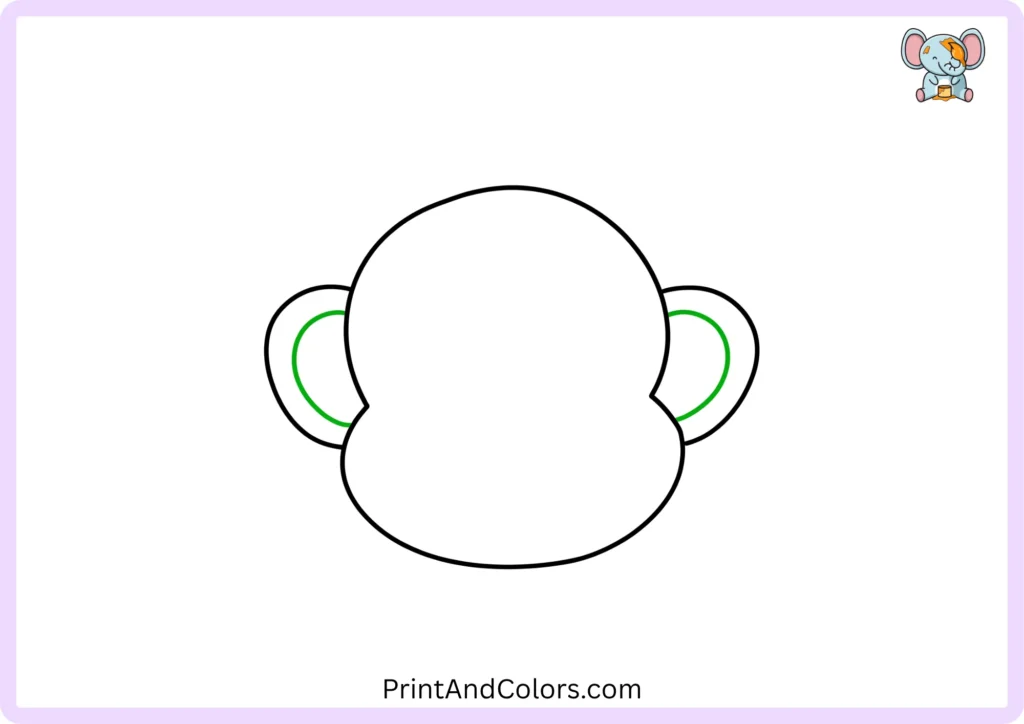
Now, transform those guide lines into the shape of a monkey’s head.
Draw a smooth, rounded outline following the outer edge of the basic construction shape. Add two large, round ears on either side of the head.
To highlight the details of the ears, draw a small curved or oval shape inside each one.
At this stage, your monkey should begin to look recognizable thanks to the shape of its head and its large ears.
Step 3: Add the Face Shape
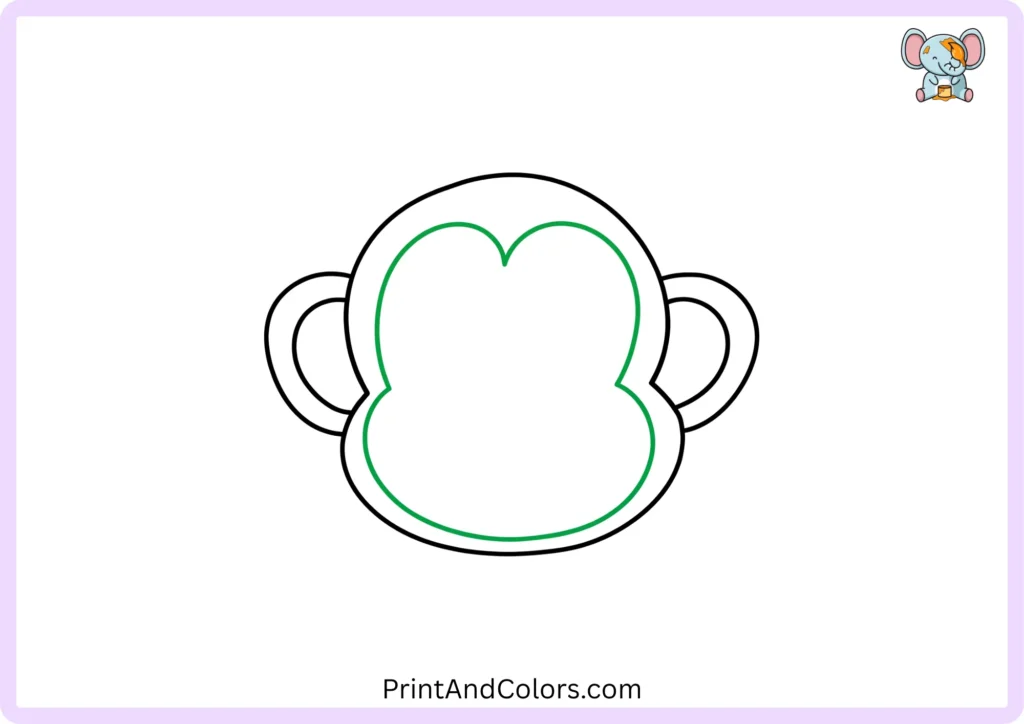
Draw the lighter-colored area of the monkey’s face inside the head shape.
Use two curved lines that meet near the top of the face, then extend them outwards and downwards towards the cheeks. Connect the lower ends with another rounded curve.
Do not make this shape too narrow. The wider the face, the friendlier and more cartoon-like the monkey will look.
Step 4: Draw the Body and Arms
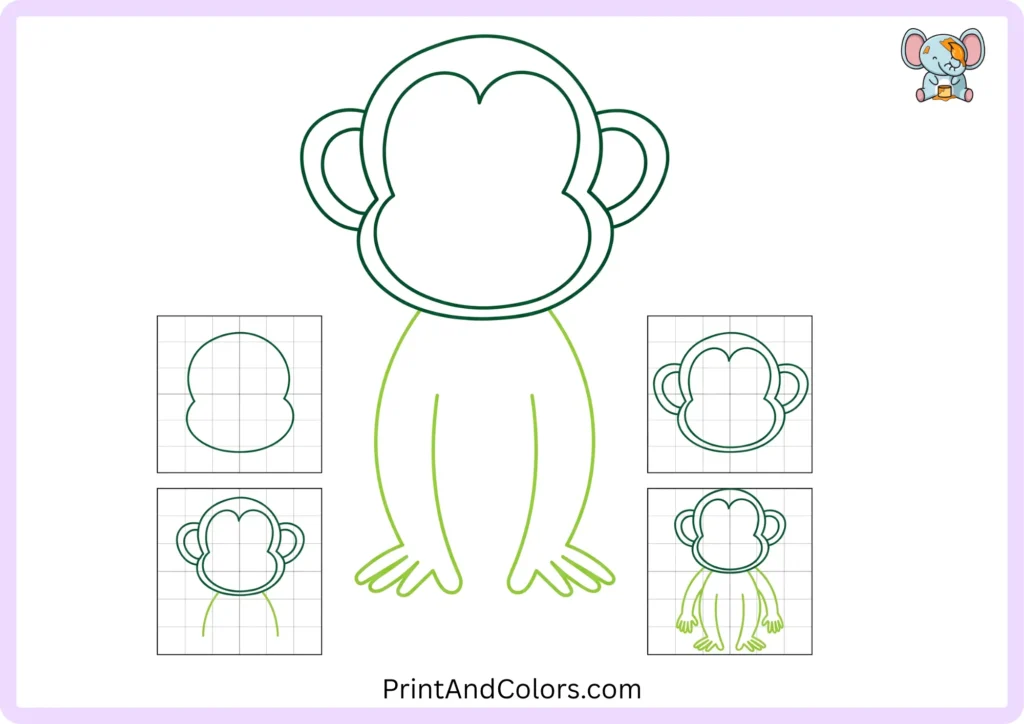
Start drawing the monkey’s body from the base of the head.
Draw a rounded body shape beneath the head. Then, extend curved lines downwards on both sides to form the monkey’s long arms.
Draw simple, rounded hands and fingers at the ends of the arms. You do not need to draw every finger in perfect detail—the goal is to keep the drawing simple for beginners.
Draw another curved line on each side to clearly distinguish the arms from the main body.
Step 5: Complete the Lower Body
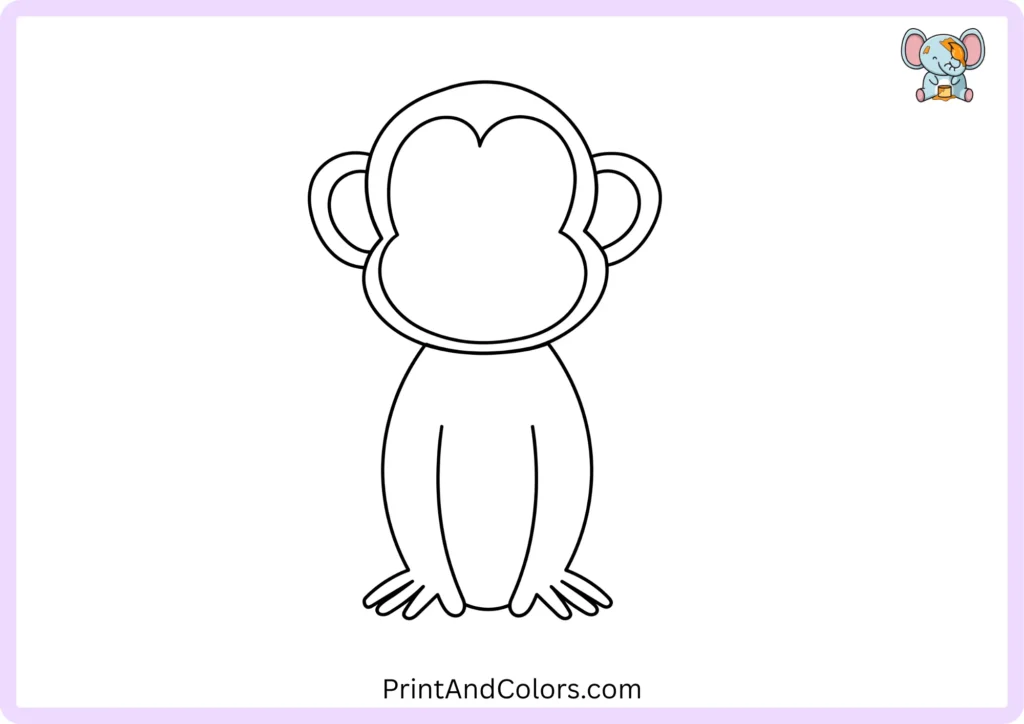
Now, attach the lower part of the body.
Draw a small, curved line between the arms, near the lower section. This completes the shape of the body and prepares the drawing for the legs.
Instead of making this line perfectly straight, keep it soft and rounded.
Step 6: Draw the Legs and Feet
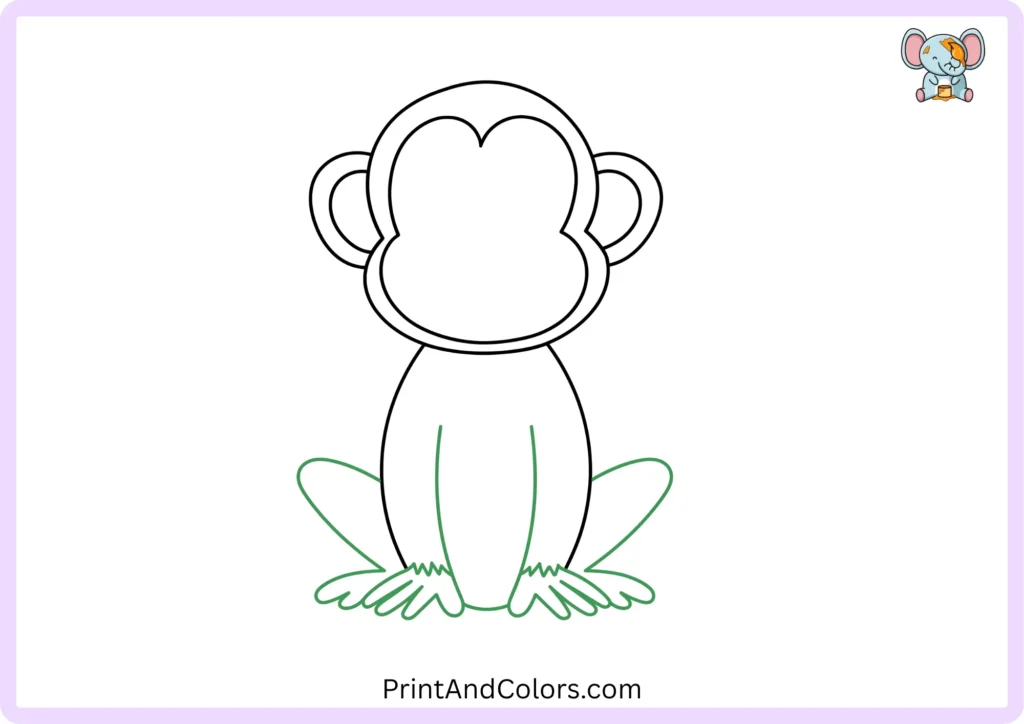
Now it is time to draw the legs for your monkey.
On both sides of the lower body, draw a large, curved shape for the legs. Extend these lines downwards to form the feet.
In a cartoon drawing, a monkey’s feet can appear large and round, so don’t hesitate to make them a bit bigger than usual. Draw a few curved lines to indicate the toes and complete each foot.
Step 7: Add the Curved Tail
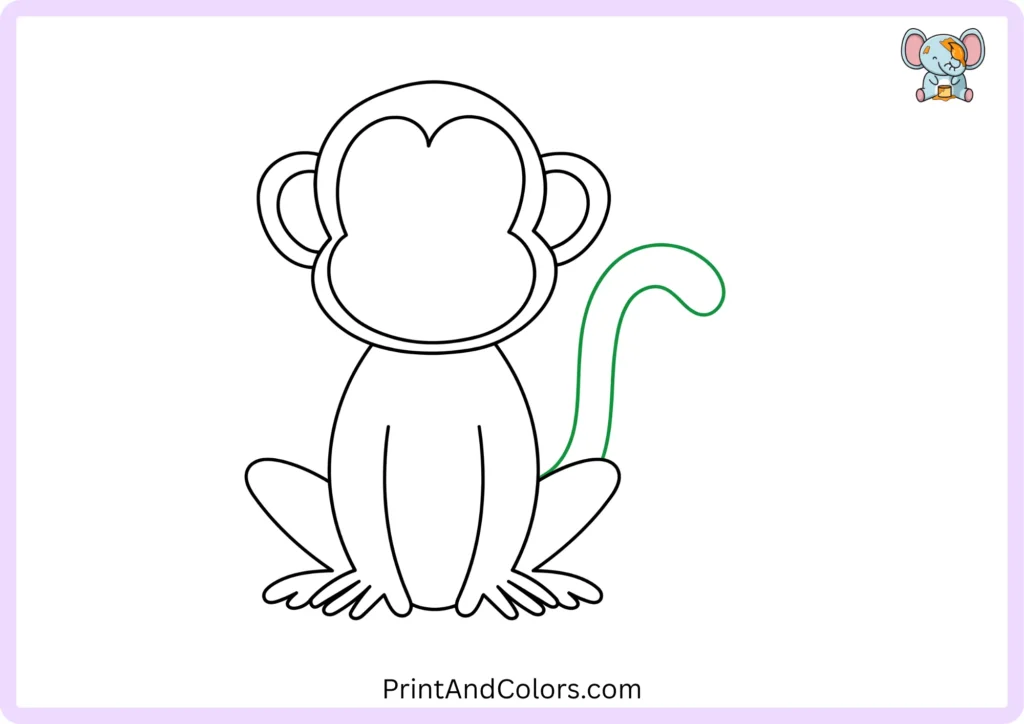
A monkey is incomplete without its tail!
Starting from the side of the body, draw a long, curved tail. Extend it outwards and then curve it back towards the body so that it forms a hook-like shape.
The tail is one of the easiest ways to make your drawing instantly recognizable as a monkey, so give it a smooth, confident curve.
Step 8: Draw the Eye Outlines
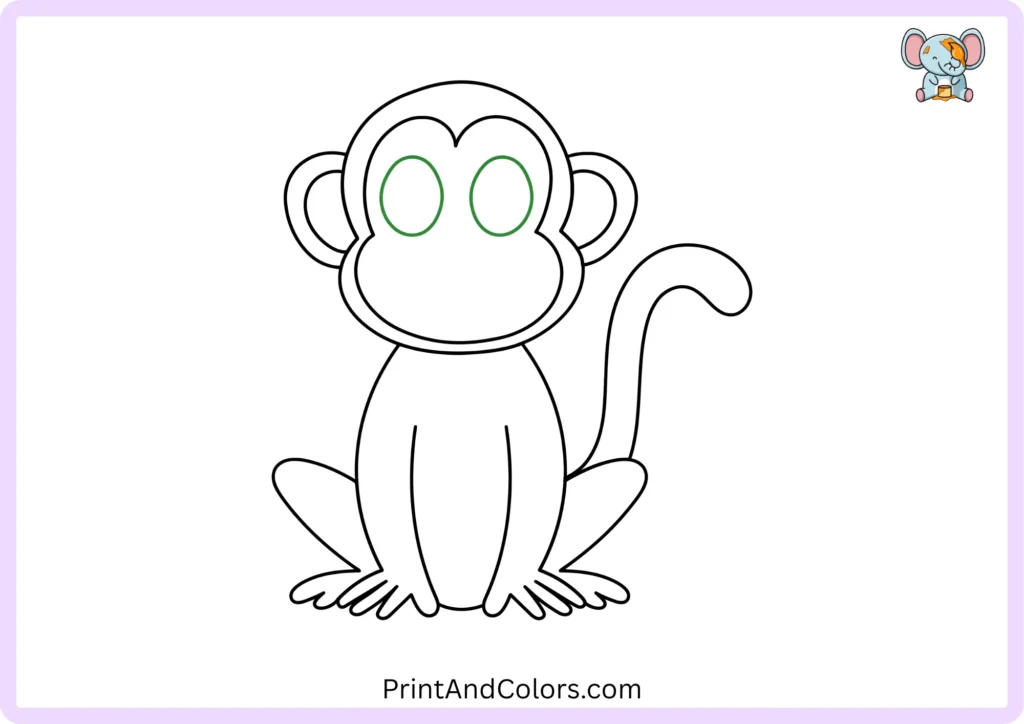
Now, return to the face and start adding expressions.
Draw two large, oval-shaped eyes near the upper part of the face. Try to make them roughly the same size and leave an appropriate amount of space between them.
If one eye looks slightly different, erase and correct it before moving on.
Step 9: Add the Pupils
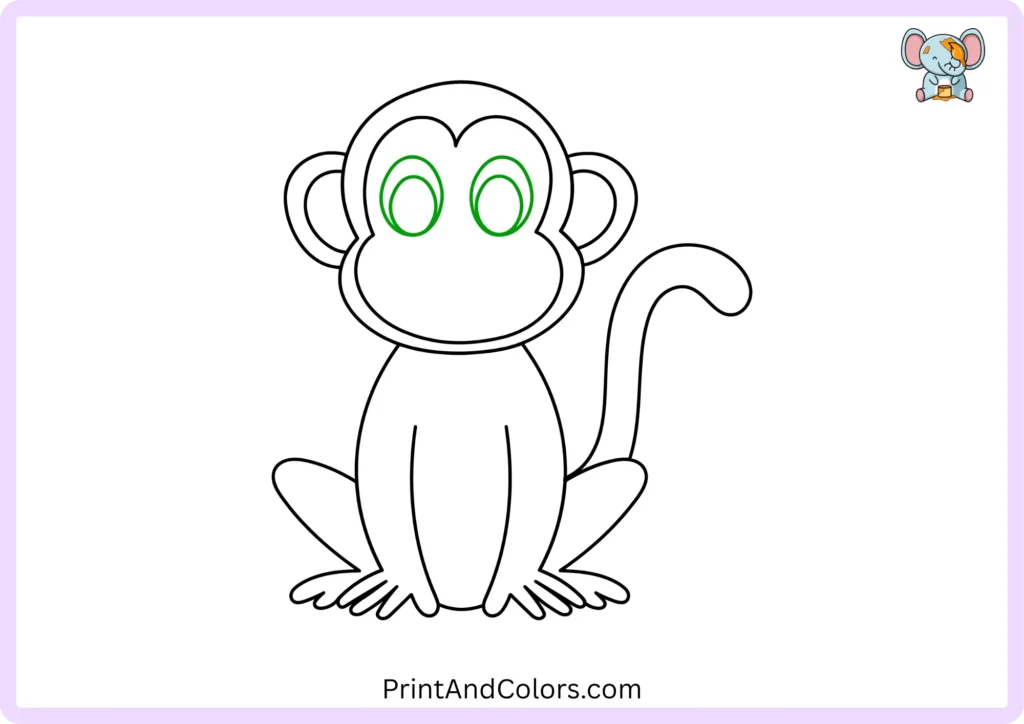
Draw an oval-shaped pupil inside each eye.
Position the pupils towards the lower-middle part of the eyes. Placing them symmetrically will create a balanced expression for the monkey.
At this stage, the face will begin to look much more lifelike.
Step 10: Add Eye Highlights
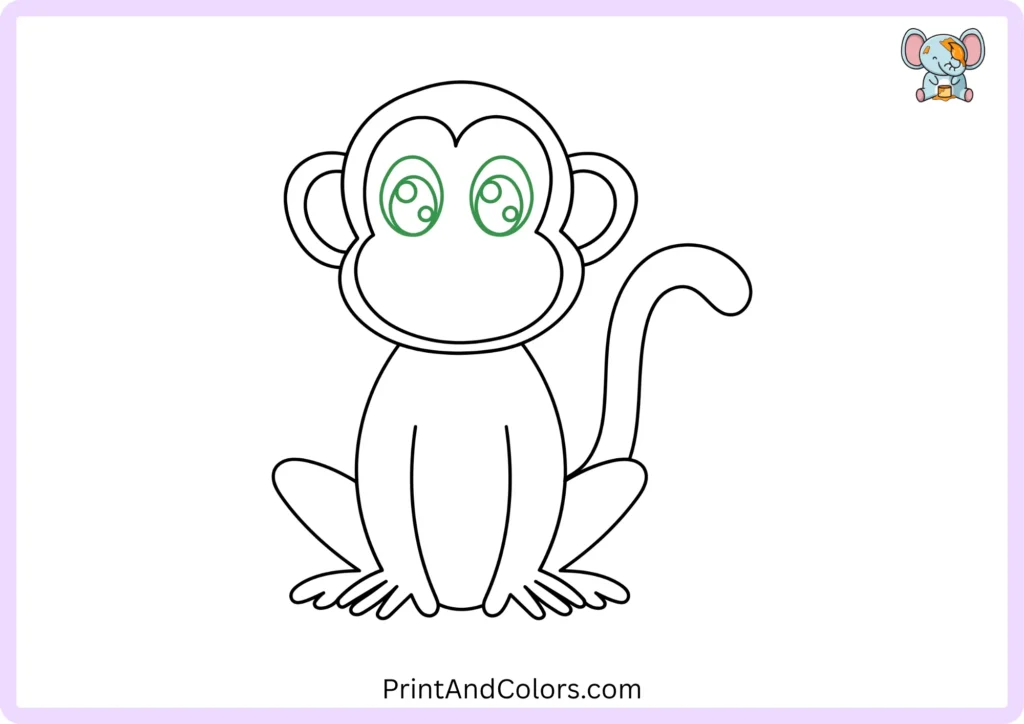
Add a little sparkle to the monkey’s eyes.
Draw two small, round highlights, one slightly larger than the other, inside each pupil. Leave these spots blank when coloring in the pupils.
Small details like these can make a simple cartoon drawing far more expressive.
Step 11: Draw the Nose
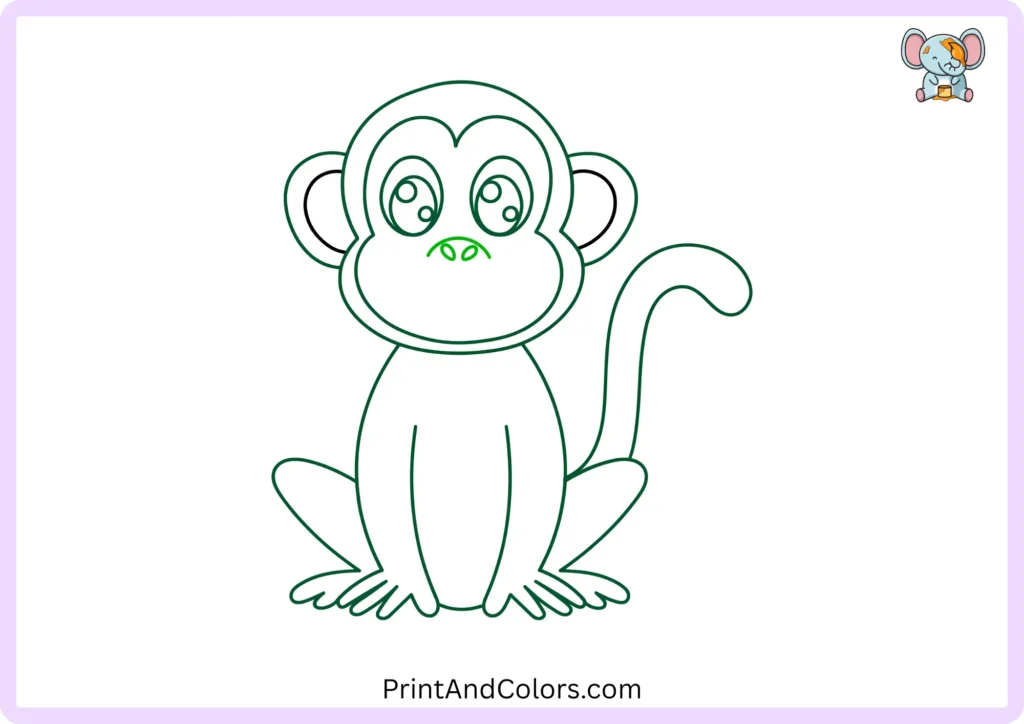
Draw the nose between the two eyes.
Start with a small curved line, and then draw two small, oval-shaped nostrils beneath it. Keep the nose simple; this friendly cartoon style does not require realistic anatomical details.
Step 12: Add the Monkey’s Smile
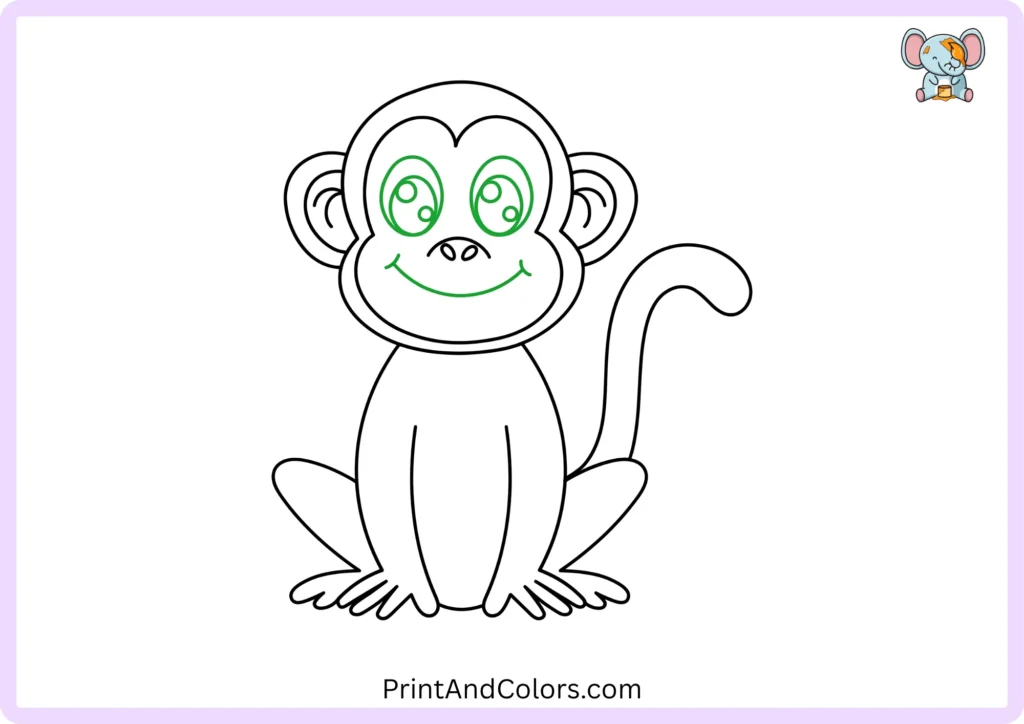
Create a happy expression on your monkey’s face with a curved smile.
Draw a long, slightly curved line beneath the nose. Add a small, rounded line at each end of the smile to complete the shape of the mouth.
You can also experiment with different facial expressions later, for instance, try drawing a surprised mouth or a mischievous grin.
Step 13: Add the Belly
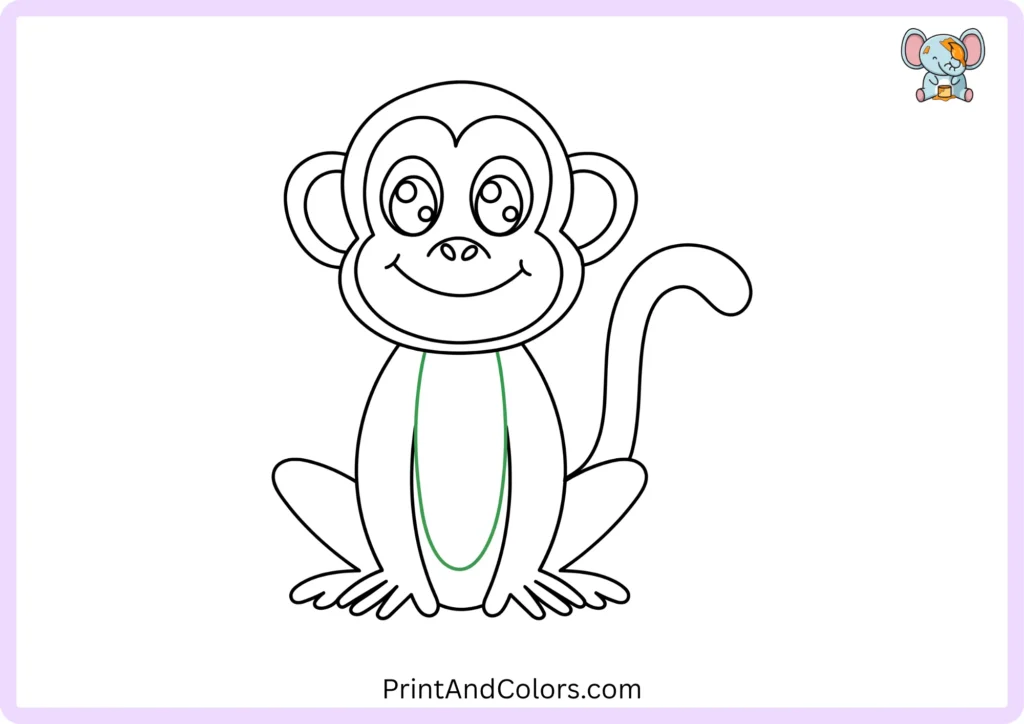
Complete the basic details of the drawing by adding the monkey’s belly area.
Inside the body, draw an elongated, rounded shape resembling an oval (or an egg). Allow its lower section to extend toward the center of the body.
When you color the monkey, this inner shape will become the lighter-colored belly.
Step 14: Color the Monkey
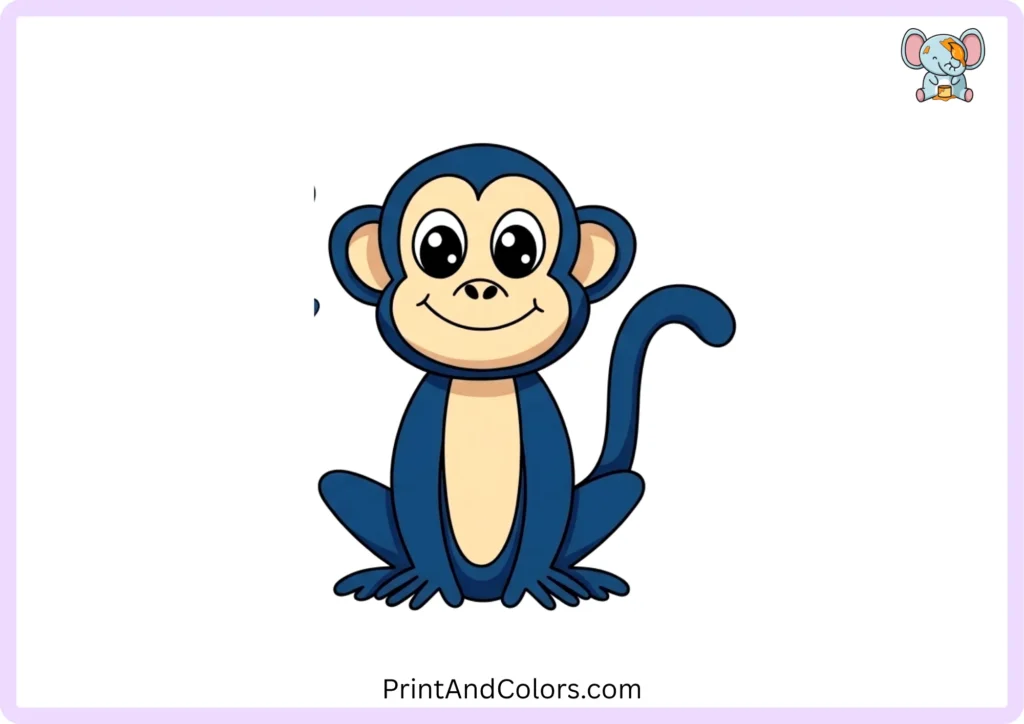
our monkey drawing is finished, now it’s time to color!
For a classic cartoon monkey, you could use:
- Dark brown for the head, body, arms, legs, and tail
- Light tan for the face, ears, and belly
- Black for the pupils and nostrils
- White for the eye highlights
But there is no single correct color for your artwork. Try light brown, golden brown, gray, tan, or even an imaginative color combination.
The important thing is to have fun and make the monkey your own.
Printable Monkey Drawing PDF & Book
Want to practice without keeping the website open?
Print the complete Monkey Drawing PDF and follow all 14 steps on paper. You can use it at home, in an art class, or as a simple drawing activity for kids.
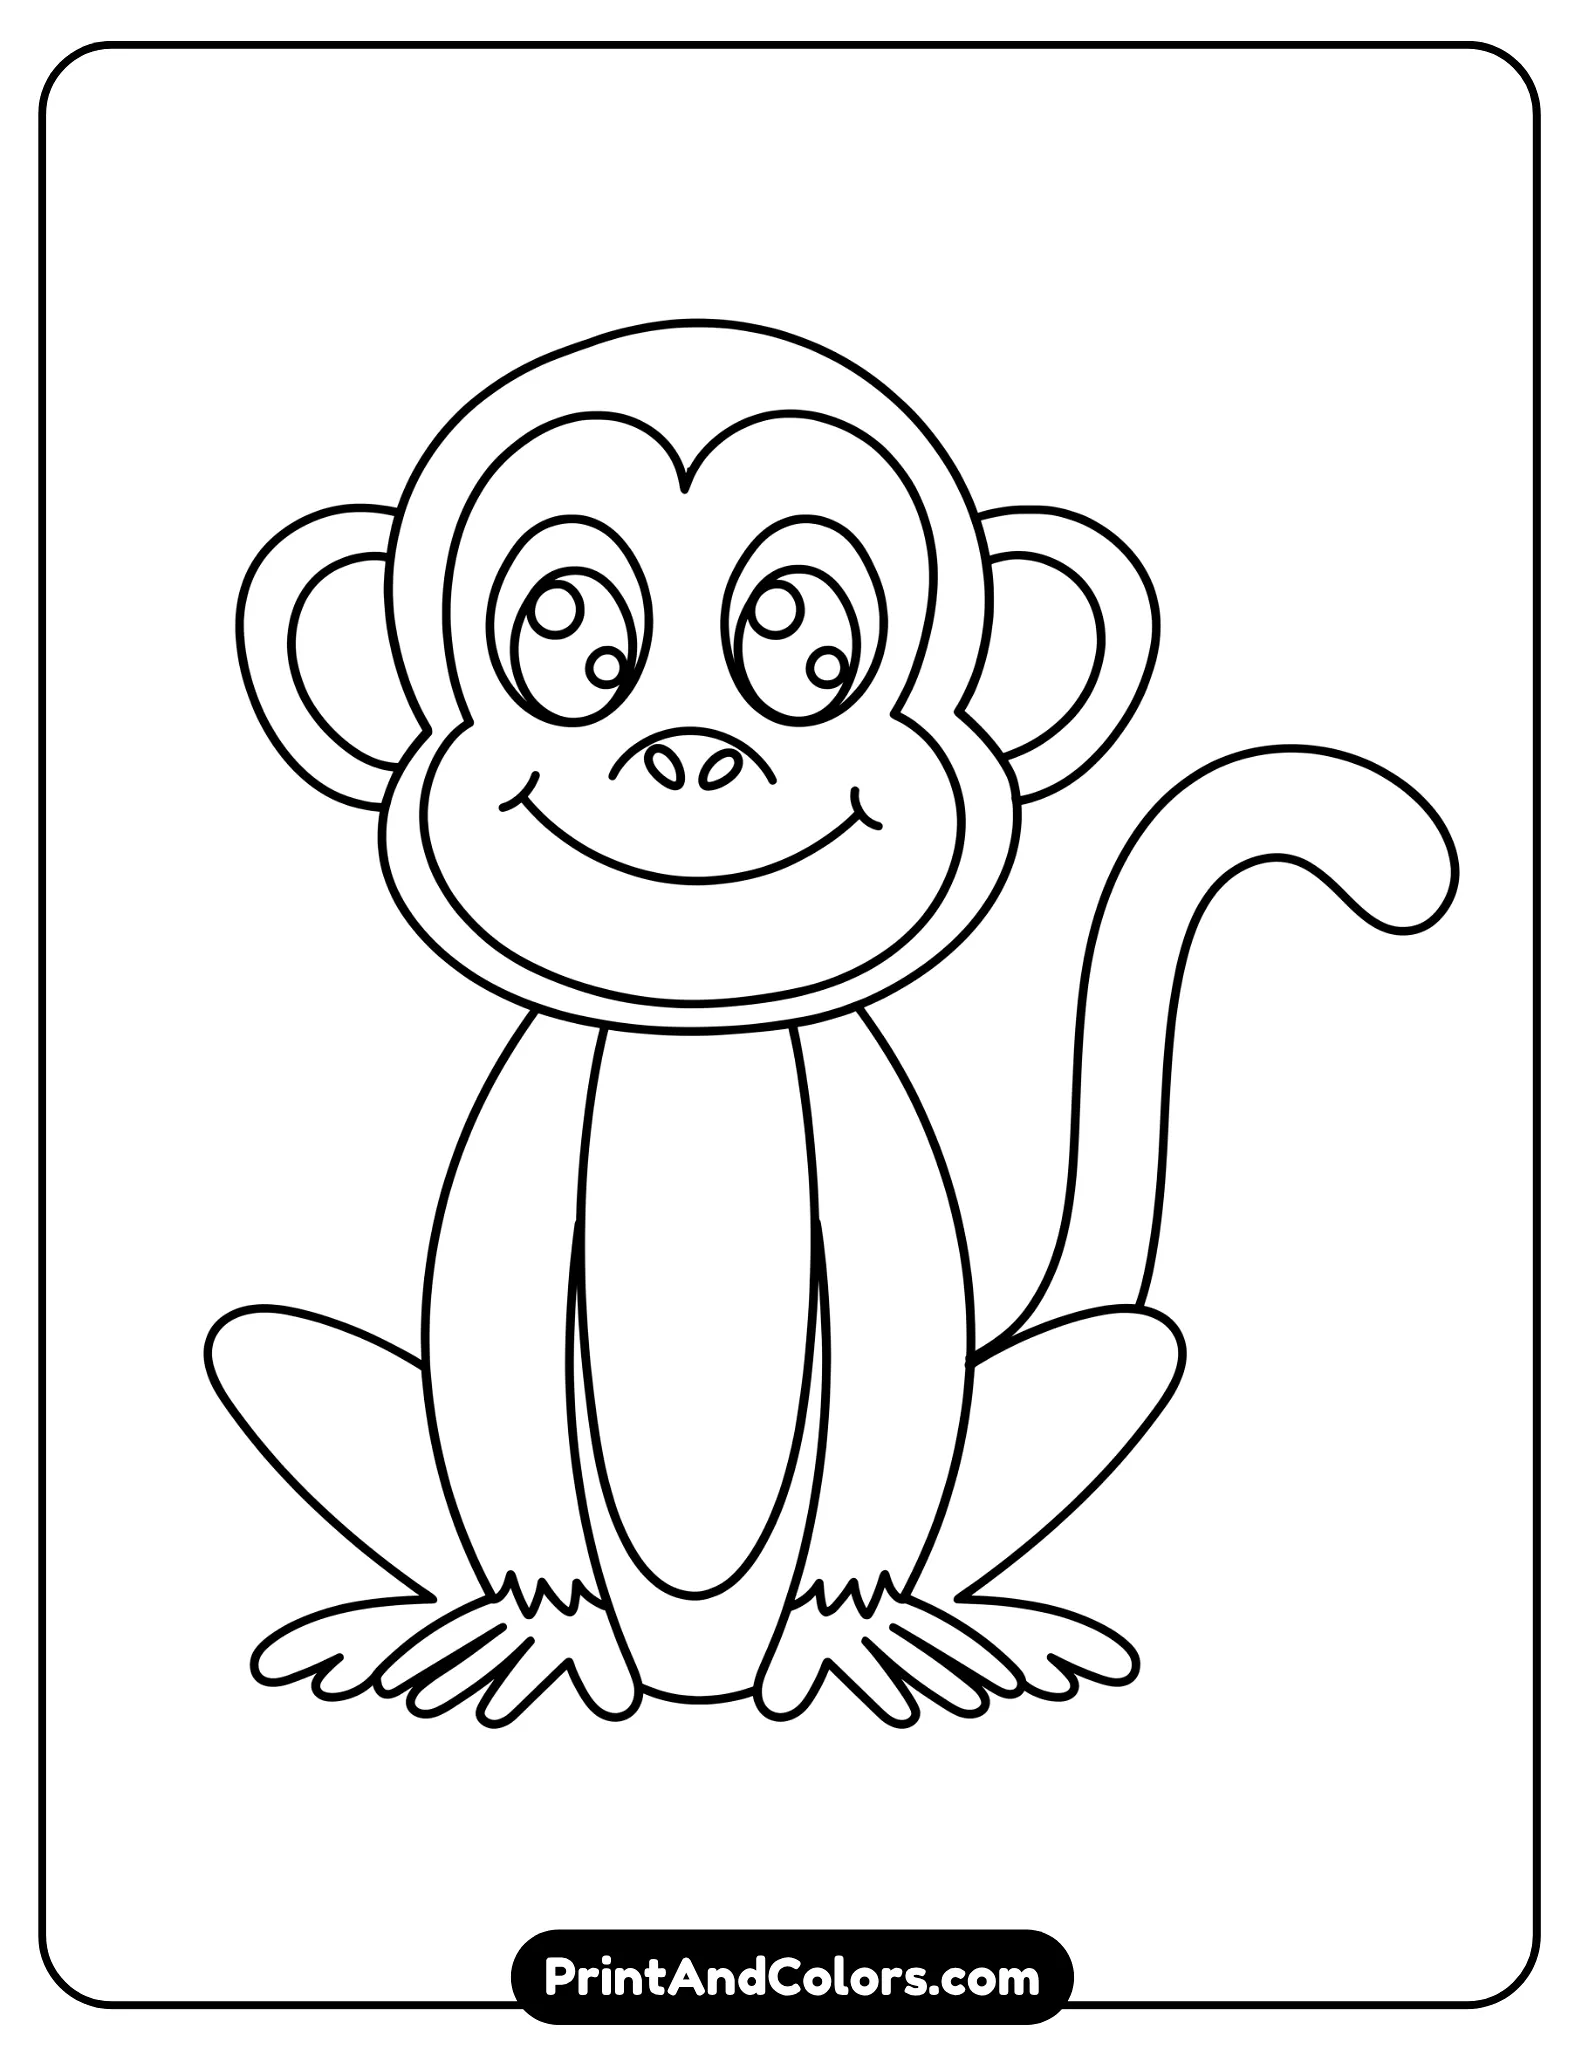
Printable Monkey Drawing PDF & Book
Printable monkey drawing outline showing the completed step-by-step cartoon monkey ready to print, trace, and color as a kids’ drawing activity.
Print the step-by-step monkey drawing worksheet and practice each stage.
You can also provide the complete sequence as a Printable Monkey Drawing PDF Book, with all of the steps collected into one convenient printable resource.
Easy Monkey Drawing Tips for Kids and Beginners
If your first attempt doesn’t look exactly like the example, that’s completely normal. Drawing improves through repetition.
Keep these simple ideas in mind:
- Draw construction lines lightly.
- Don’t erase guidelines too early.
- Compare the size of the two eyes before outlining them.
- Keep the head larger than the body for a cute cartoon style.
- Use smooth curves for the arms and tail.
- Make the feet slightly larger so the monkey is easy to recognize.
- Add color only after you’re happy with the outline.
- Try drawing the same monkey again without looking at every step.
The basic process is always the same: construct → outline → add details → refine → color.
Frequently Asked Questions
Is this monkey drawing suitable for beginners?
Yes. This tutorial is based on simple circles, ovals, and curved lines, making it suitable for children and beginners. You do not need any prior drawing experience for this. Start with light guidelines, draw the larger shapes first, and add facial details only after the proportions of the head and body have been established.
What materials do I need to draw a monkey?
You only need basic supplies: paper, a pencil, an eraser, and something for coloring. Using a black pen or a fine-tip marker to outline the sketch is optional. Crayons, colored pencils, or markers are all excellent choices for the final coloring stage.
How can I make my monkey drawing look cute?
For a cute cartoon monkey, make the head relatively large compared to the body, draw round ears and large eyes, and keep the facial features simple. A curved line for the smile and small highlights in the eyes create a friendly impression without the need for complex drawing techniques.
What colors should I use for a monkey?
Choosing brown and tan for a traditional cartoon monkey is easy, but you don’t necessarily have to stick to realistic colors. You can experiment with light brown, dark brown, golden brown, gray, cream, or any other creative combination. A printable version also makes for a great coloring activity, allowing children to choose their own colors.
Can I print the monkey drawing steps?
Yes. A printable version is especially useful for children, teachers, and parents who want to practice away from a screen. The complete lesson can be provided as a Printable Monkey Drawing PDF, while the book-style version can collect the full sequence into one printable practice resource.
Final Monkey Drawing
You did it! Starting with just two simple instructions, you created the monkey’s head, ears, face, body, arms, legs, feet, tail, eyes, nose, mouth, and belly, and then completed the picture by adding color.
Next time you draw a monkey, try changing one detail. Give it a different expression, draw the tail curving in a different direction, add a jungle scene in the background, or even draw the monkey’s entire family.
And when you are ready to practice more drawing, be sure to check out our other step-by-step drawing tutorials and printable coloring activities at ‘Print And Colors’.
Bring Every Imagination to Life
Premium Coloring Books & Instant Digital Printables
Transform your creative vision into high-quality, personalized coloring products perfect for gifts, education, or special events. Our team of illustrators crafts unique designs tailored to your exact needs.
2 Comments